fortitude_eric
2016-02-01 23:12
人生本是一个不断学习的过程,在这个过程中,图老师就是你们的好帮手,下面分享的PS合成简单的高光美女海报懂PS的网友们快点来了解吧!
本教程介绍单色高光海报制作方法。过程不是很复杂,不过前期的准备需要充足,喷溅、烟雾、粒子等笔刷需要自己去网上下载。
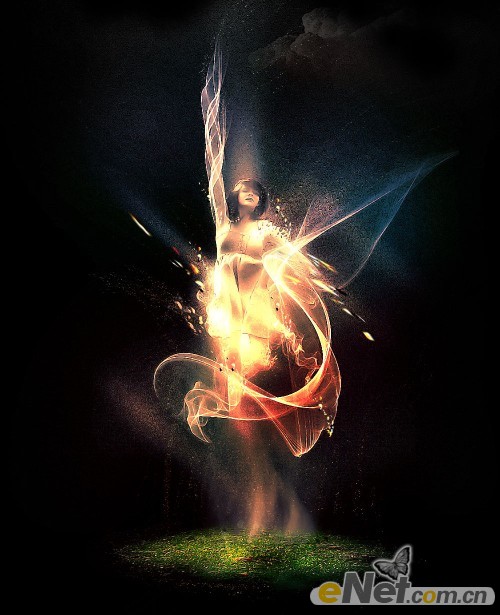
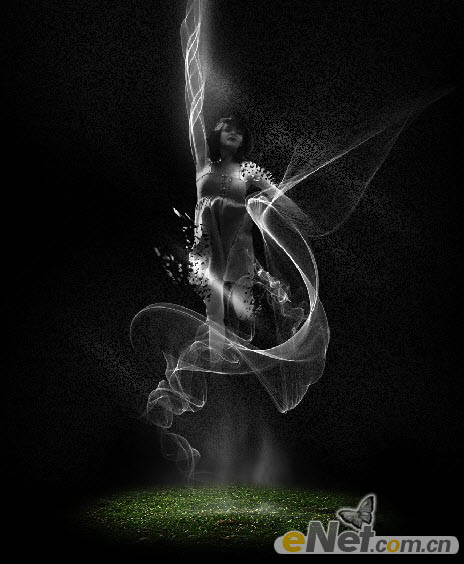
最终效果
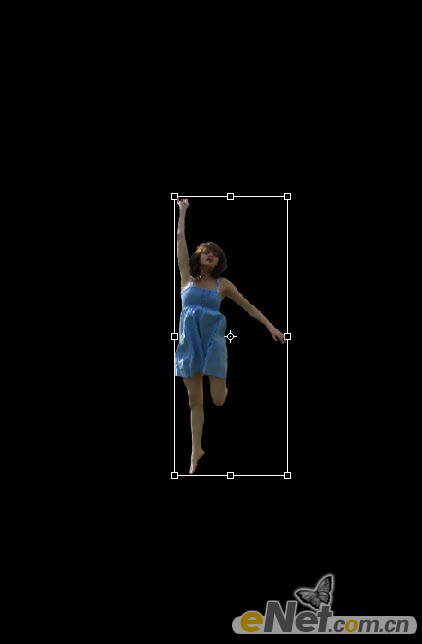
1、创建一个新的文件大小为1000*1500像素,背景为黑色。见抠选好的女孩粘贴到画布中并适当设置大小和位置。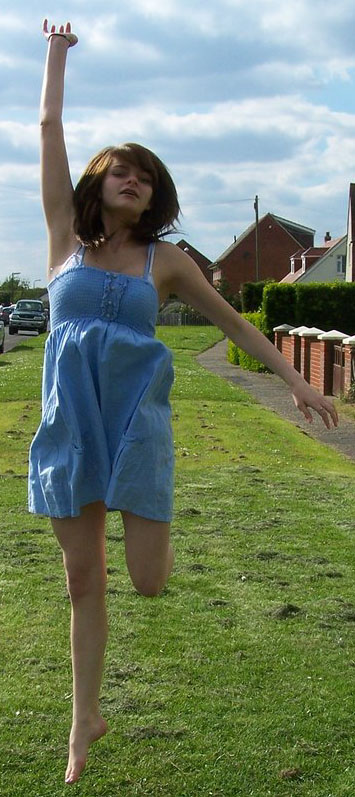
2、用软角“橡皮擦”并调整大小和流量,见以下部分涂抹掉。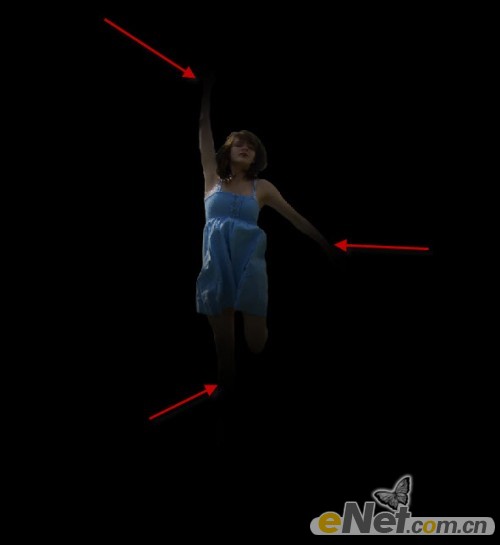
3、点击图层面板下方的“创建新的图层或调整图层”选择以下几个图层调整选项。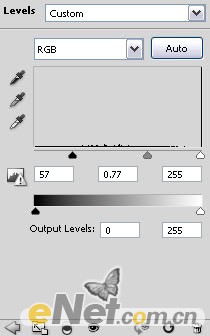
色阶 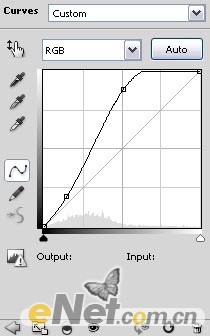
曲线 
黑白 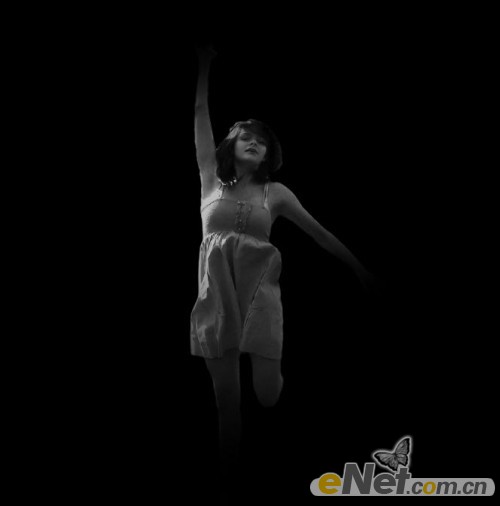
4、下面来做分裂效果。快速的方法是使用“套索工具”在裙子上随机制作出一些选区,如下图所示。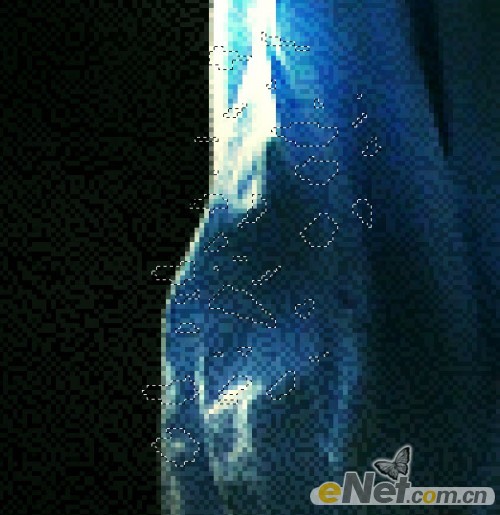
5、选择“矩形选框工具”按住Ctrl键,当鼠标指针有一个小剪刀显示。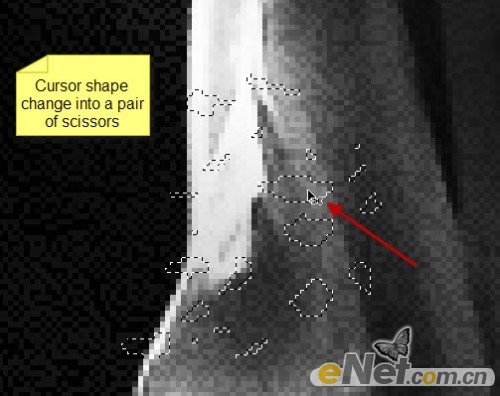
6、拖动鼠标离开女孩。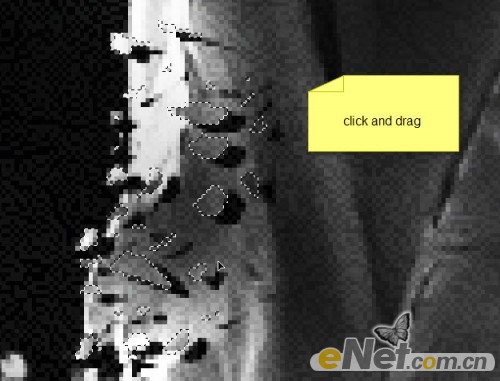
7、使用“自用变换”工具点击鼠标右键选择“扭曲”做一些飞散的效果。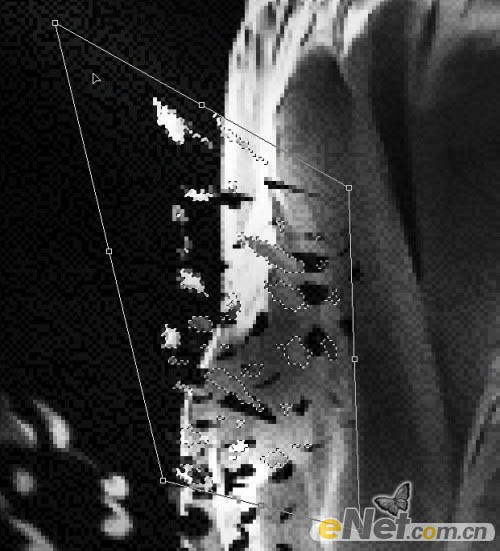
8、重复上面的步骤制作出更多的碎裂效果。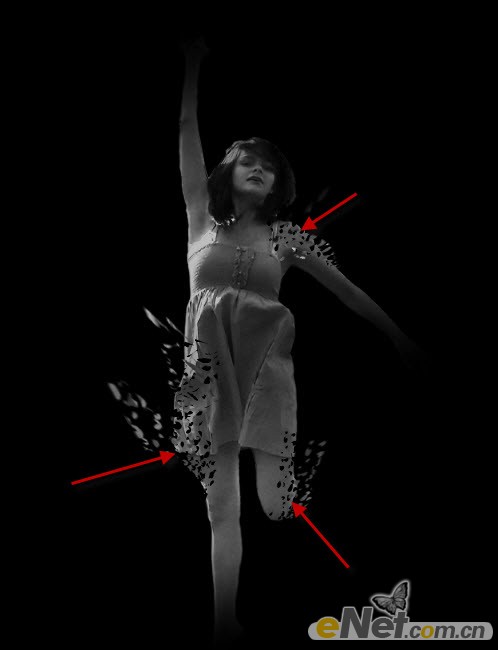
9、将一个密集黑点的纹理图片粘贴到画布,并将它放在背景层的上方,使用“滤镜锐化智能锐化”几次。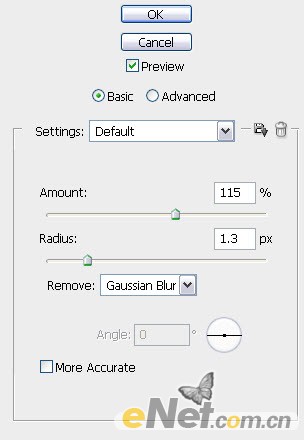
10、你将得到如下效果。然后再将这个层的不透明度降到10%左右。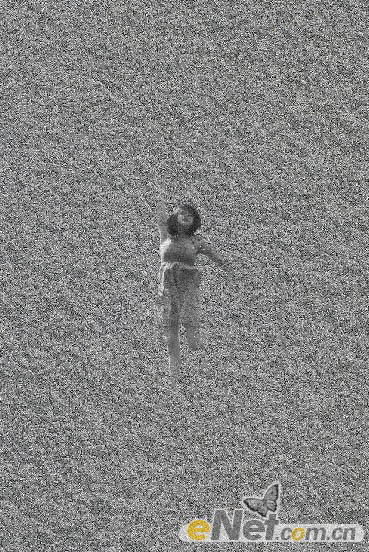
11、下面来制作光,新建一个层命名为“光”使用软角白色画笔绘制一个圆点。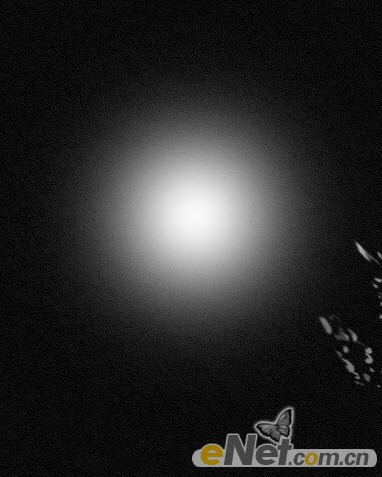
12、使用“自由变换”工具如下图调整。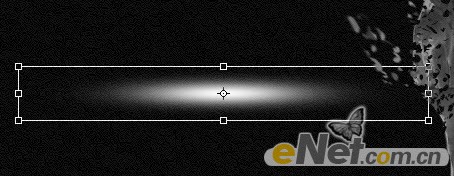
13、旋转改变位置。
14、将这个光层多复制几次,放在人物的不同位置。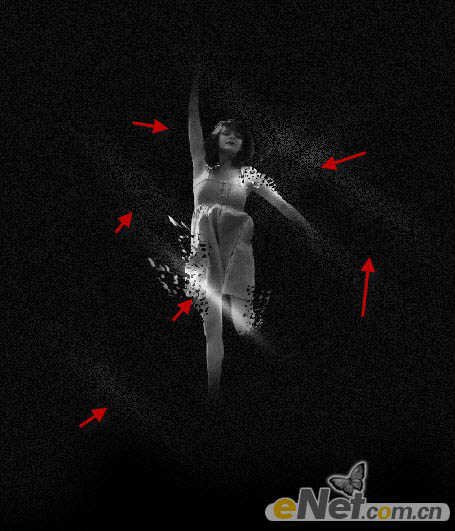
15、同样的方法在手臂之上添加一道光线。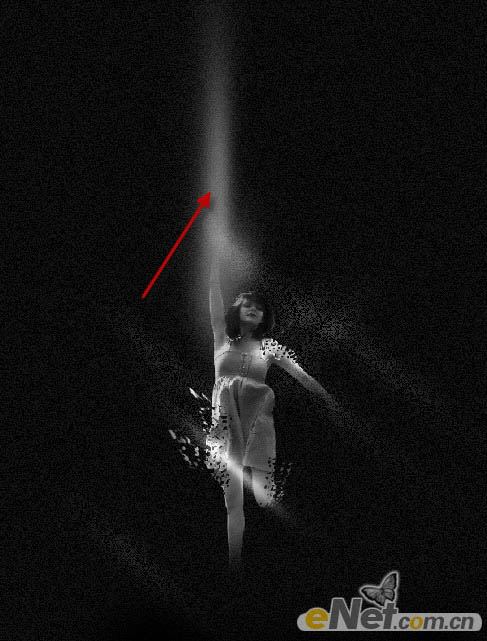
16、调出“色阶”并如下设置。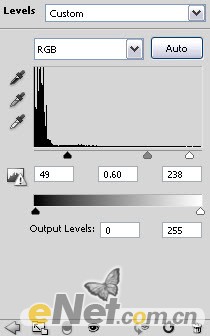
17、在色阶的“图层蒙版”中涂抹,来制作光照产生的阴影。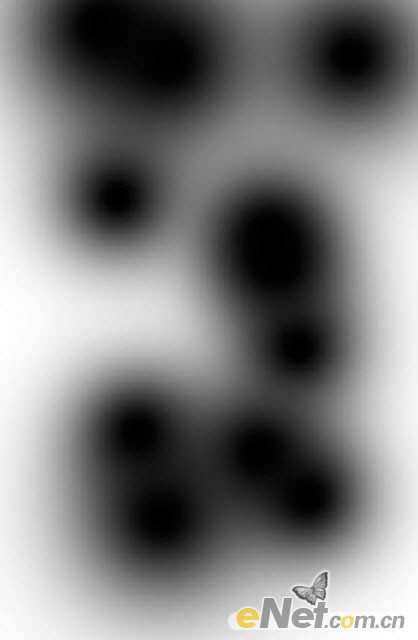
18、曲线。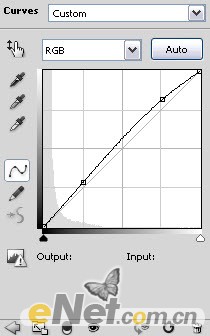
(本文来源于图老师网站,更多请访问http://m.tulaoshi.com)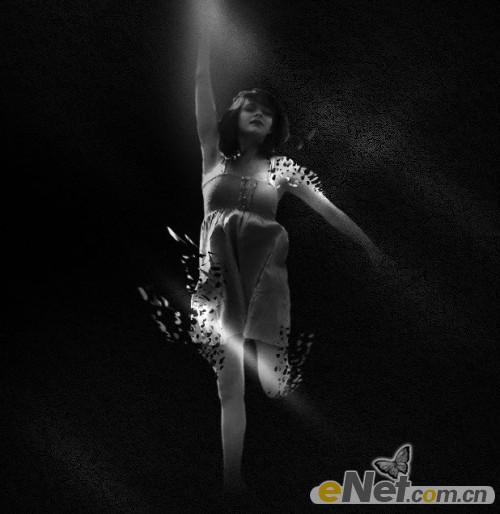
19、打开“草地”照片,并间他复制到画布上,使用“自用变换”里的“扭曲”如下设置。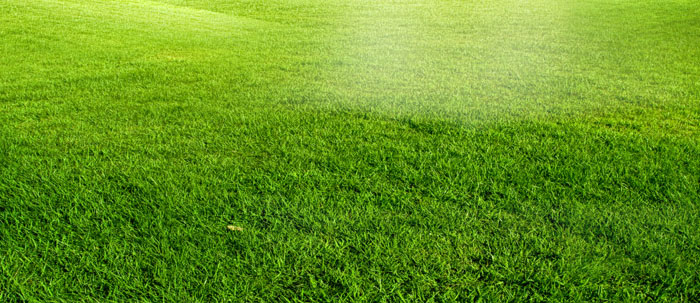
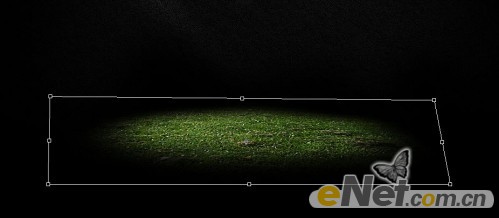
20、给草地层添加以下图层调整选项。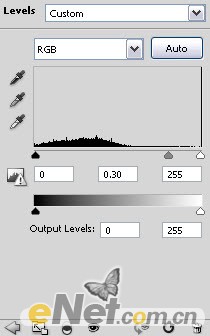
色阶 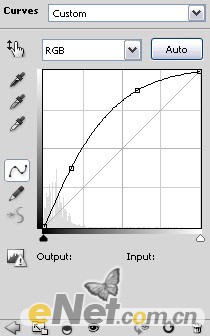
曲线 21、新建一个层命名为“烟雾”使用烟雾笔刷来绘制一些烟雾效果。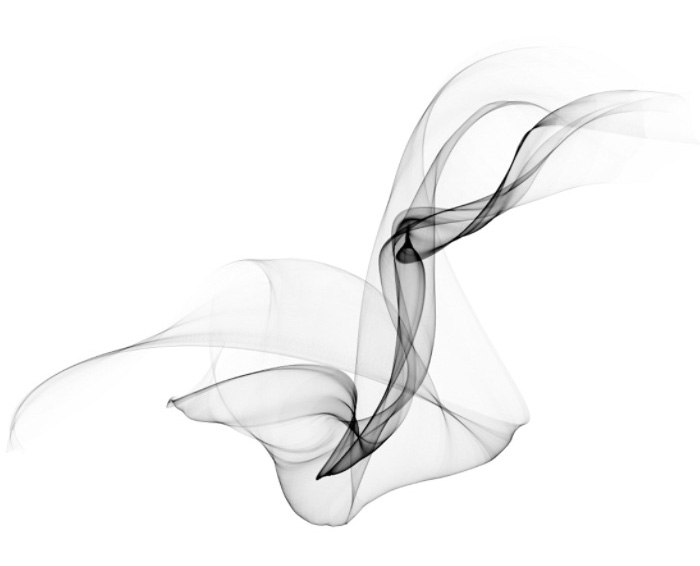
22、下面在草地上制作一些灰尘的效果。选择画笔设置笔尖大小为1px并将不透明度和流量设置为100%,按F5调出画笔调整。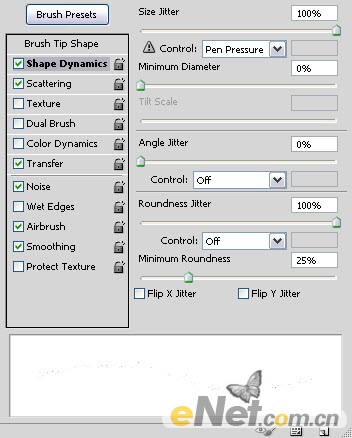
形状动态 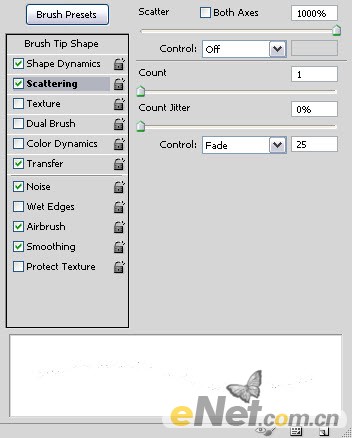
散布 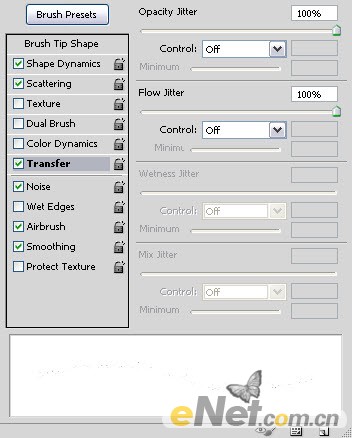
其它动态 23、同时也要将杂色、喷枪、平滑选上,然后在草地上方绘制一些灰尘,绘制成这样就可以了。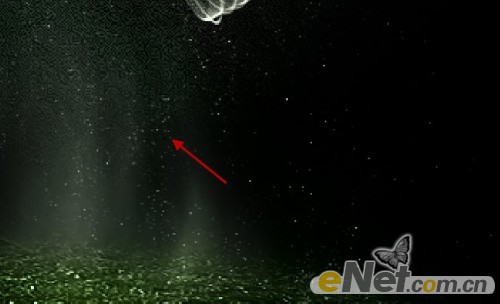
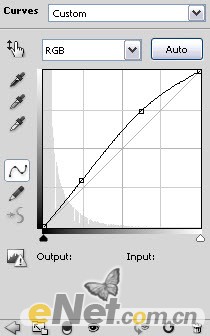
24、最后你可以调整一下图层得到你想要的整体颜色。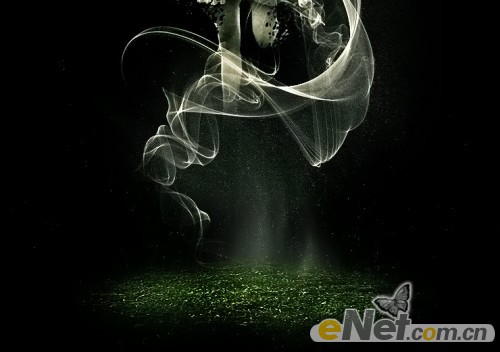
(本文来源于图老师网站,更多请访问http://m.tulaoshi.com)
曲线 
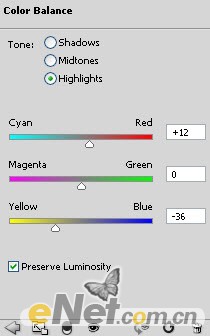
色彩平衡 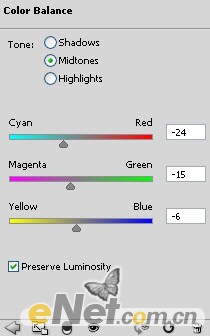
最终效果:


