下面,图老师小编带您去了解一下利用描边路径制作逼真的闪电,生活就是不断的发现新事物,get新技能~
用滤镜制作闪电是比较快的,不过做出的效果不是很真实。这里介绍用路径来制作,制作之前可以先找一些闪电图片参考一下,然后把主闪电跟分支分开来描边,后期可以根据需要加上外发光等增强效果即可。
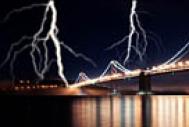
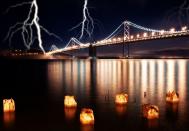
最终效果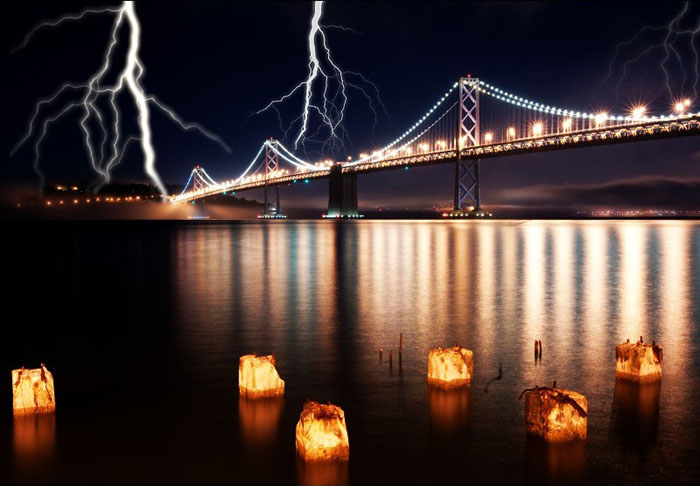
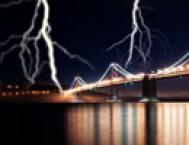
1、打开素材。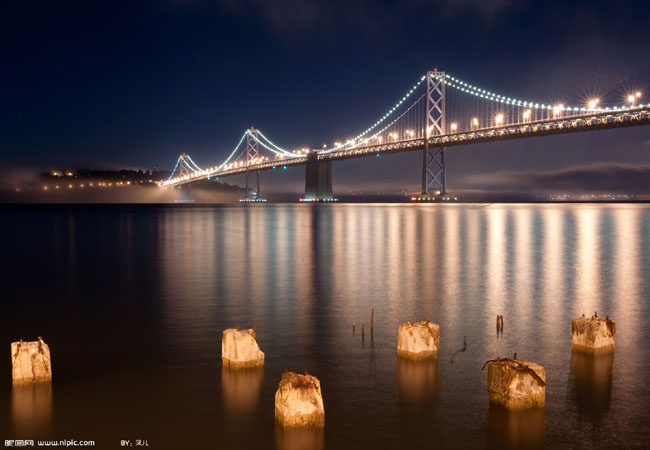
2、复制一层:模式改为叠加(为了让背景变暗一些,突出闪电的亮光)。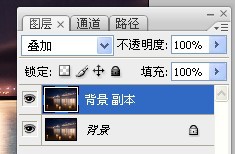

3、用钢笔画出如下路径(画不出来的用我这个照着画),耐心点。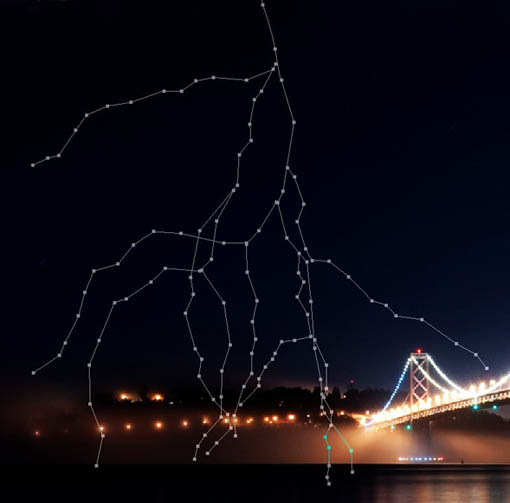
4、选中最亮的那根闪电的路径。
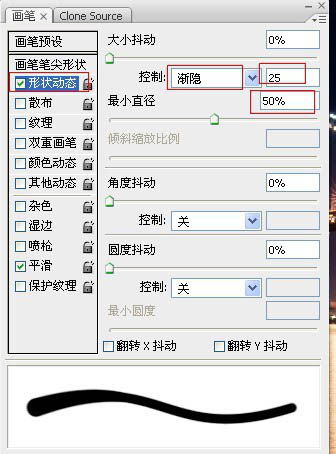
5、F5打开画笔调板,参数设置如下。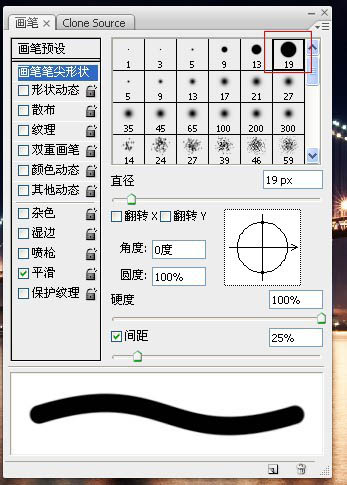
6、描边路径。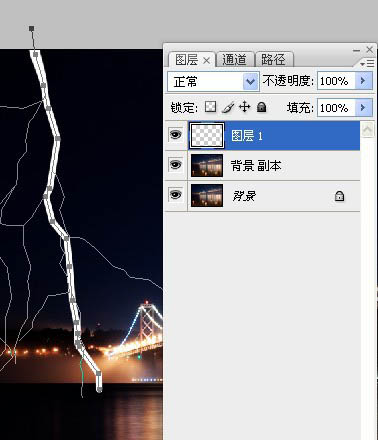
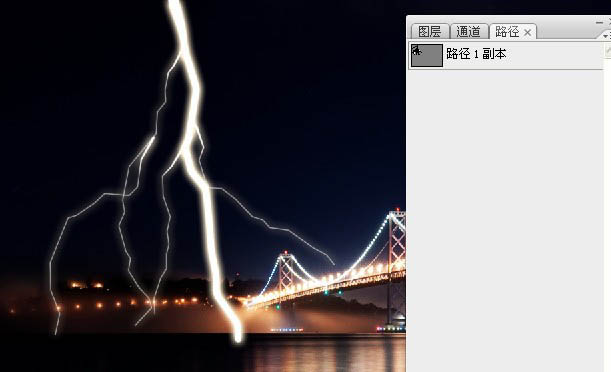
7、加一点外发光效果,以求真实的效果。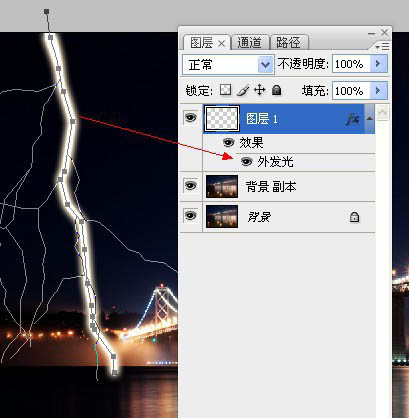
(本文来源于图老师网站,更多请访问http://m.tulaoshi.com)8、现在我们要绘制的是闪电中的小闪电部分。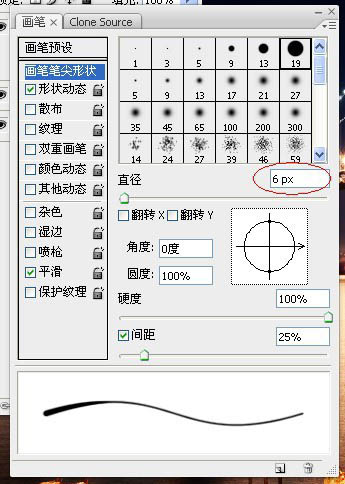
(本文来源于图老师网站,更多请访问http://m.tulaoshi.com)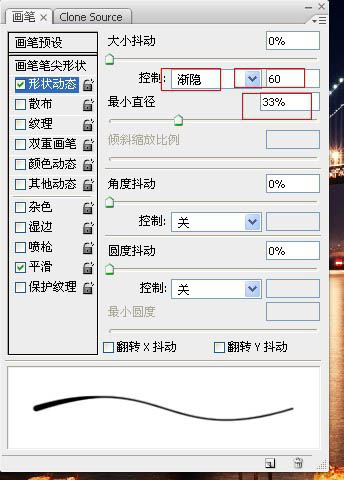
9、依旧是路径描边一下。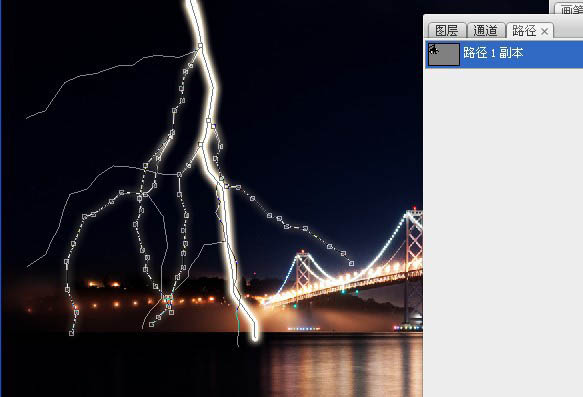
10、再用同样的方法绘制出其他路径的发光效果。
11、绘制出其他路径的发光效果,方法都一样的,只是需要耐心。
12、蒙版擦去不自然的地方。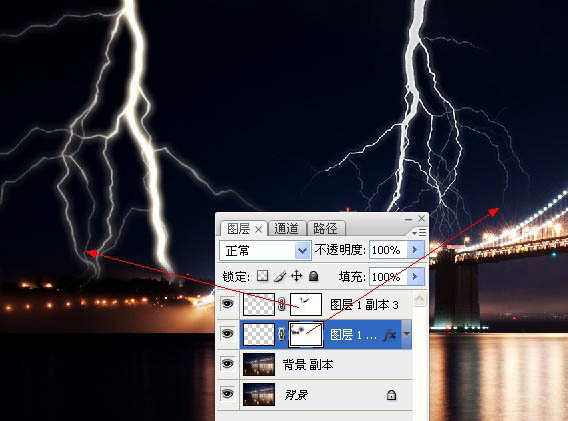
最终效果: