想要天天向上,就要懂得享受学习。图老师为大家推荐Photoshop快速调整照片优雅的暗蓝色,精彩的内容需要你们用心的阅读。还在等什么快点来看看吧!
原图 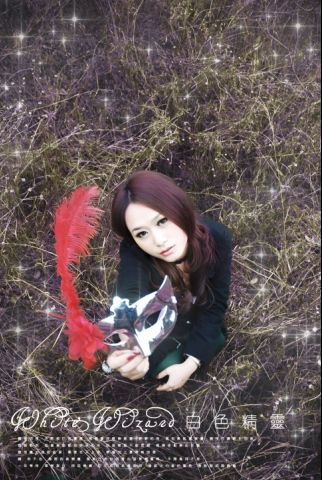
最终效果
(本文来源于图老师网站,更多请访问http://m.tulaoshi.com/psxpcl/)1、打开原图素材,按Ctrl + J把背景图层复制一层,把复制后的图层混合模式改为“正片叠底”,图层不透明度改为:70%,然后用橡皮工具把脸部稍微擦两下,然后合并图层。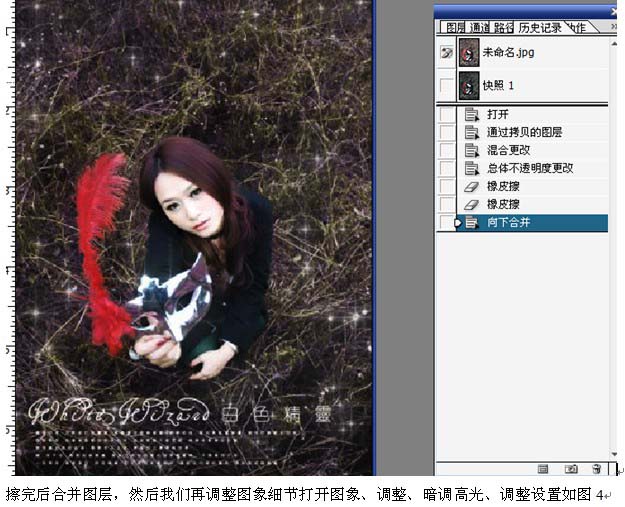
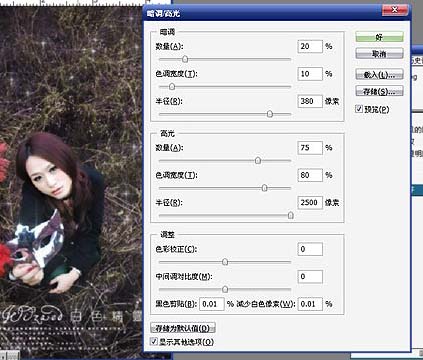
2、选择菜单:图像 调整 暗调高光,参数设置如下图。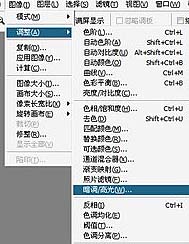
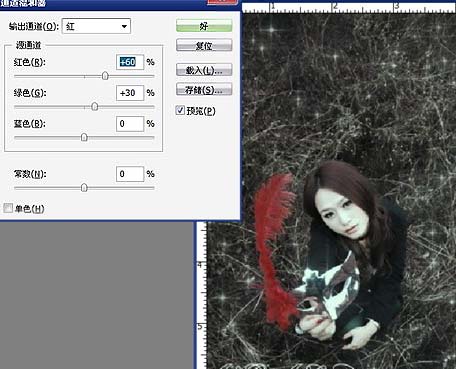
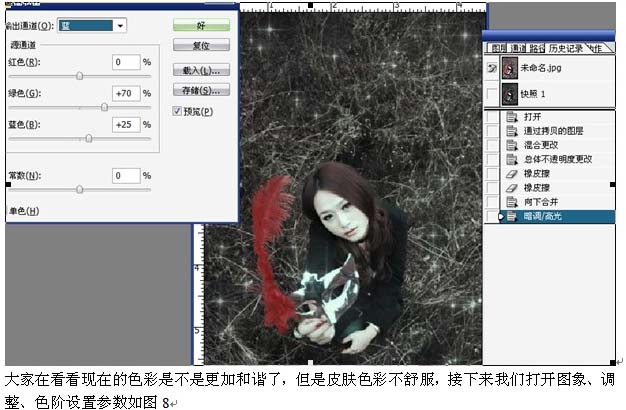
3、选择菜单:图像 调整 通道混合器,参数设置如下图。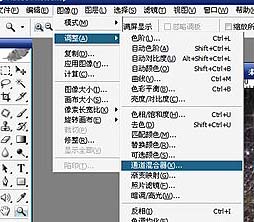
(本文来源于图老师网站,更多请访问http://m.tulaoshi.com/psxpcl/)4、选择菜单:图像 调整 色阶,参数设置如下图。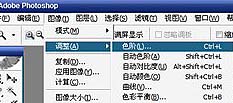

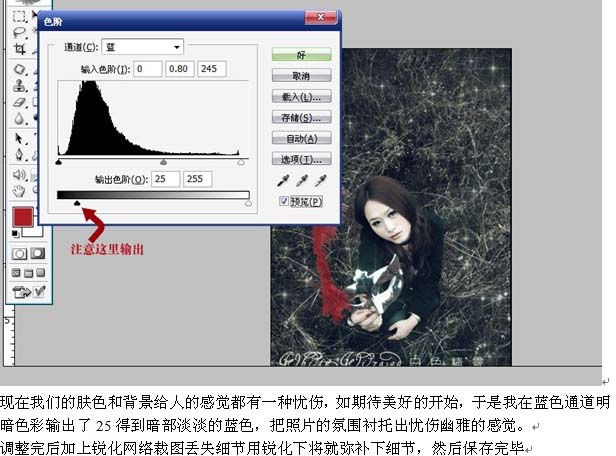
5、调整后色彩以后再适当的锐化一下,完成最终效果。
(本文来源于图老师网站,更多请访问http://m.tulaoshi.com/psxpcl/) 


