今天天气好晴朗处处好风光,好天气好开始,图老师又来和大家分享啦。下面给大家推荐Photoshop制作动感的立体字海报,希望大家看完后也有个好心情,快快行动吧!
效果图由两大部分构成:立体字及装饰。立体字直接用PS自带的3D工具制作,最好选CS6及新出的PS版本,功能强大很多。装饰部分直接用一些水果素材及笔刷等来装饰,可以用滤镜及液化工具进行一些变形处理。
最终效果
1、创建新文件,大小1400px * 800px,然后设置淡蓝色背景。
2、创建新图层,使用白色柔和的笔刷工具在画布中心点上白点。
(本文来源于图老师网站,更多请访问http://m.tulaoshi.com)3、新图层的混合模式设置为”柔光”。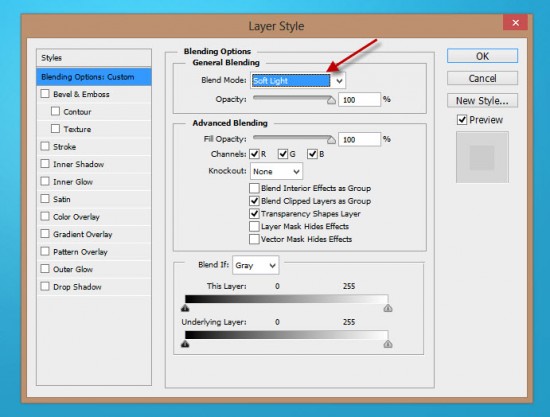

4、通过这一步,加入3d文字效果,首先使用文字工具,淡粉色,输入一行字。
5、PS CS6下,字体图层, 3D从所选图层新建3d凸出,具体设置如下。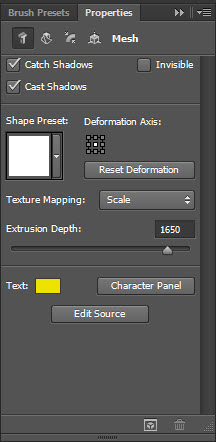
6、变形。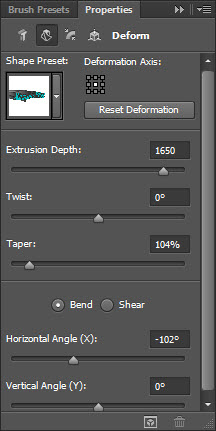
7、盖子。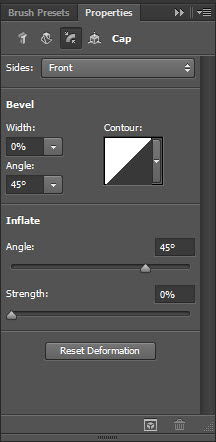
8、坐标。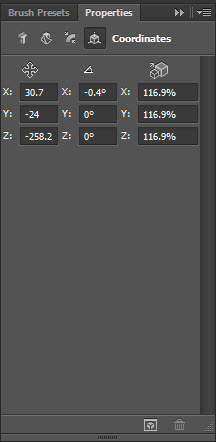
9、材质。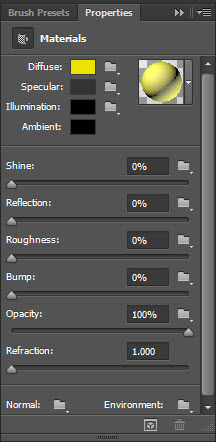
10、无线光。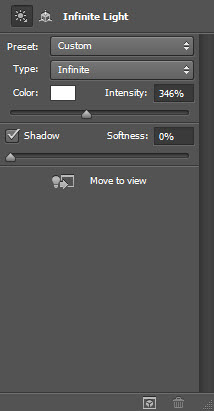
11、渲染3d字体,并且转换为智能对象,得到效果如下。
12、利用自由变换 将字体旋转一定角度。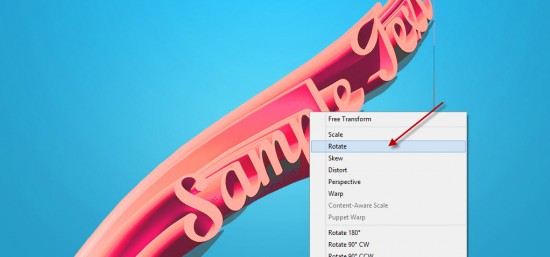
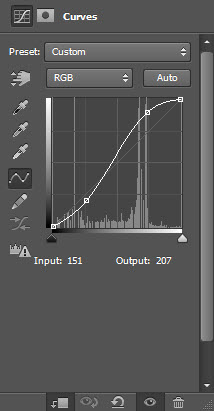
13、新建下面两个调整图层,作为文字图层的剪贴蒙版:色阶,曲线。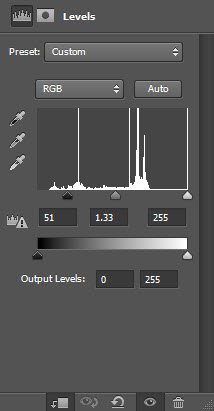
(本文来源于图老师网站,更多请访问http://m.tulaoshi.com)
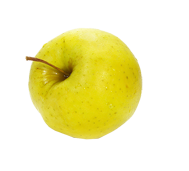
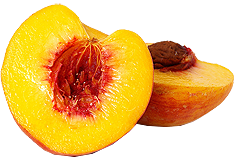
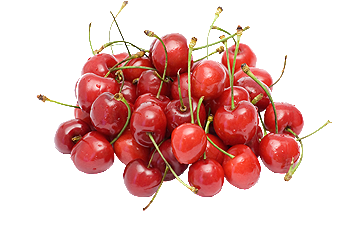
14、需要给图像中增加一些水果,选择一组水果。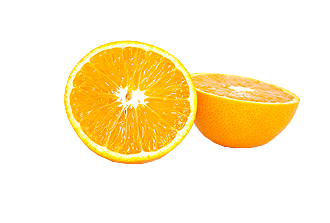
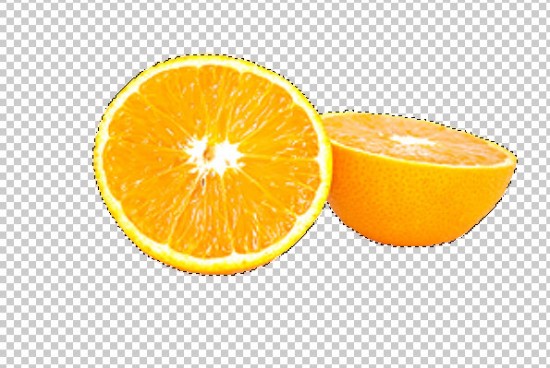
15、将选中的部分复制粘贴近文字文件中,并重新调整大小。
16、重复上述步骤,可以多混入一点水果。


17、将所有的水果图层合并,然后复制几次。在最顶层的图层中,采用滤镜扭曲海洋波纹,如下设置。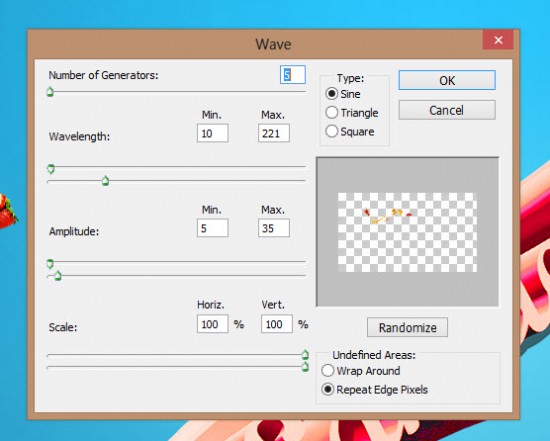

18、将海洋波纹图层复制几次,按下图中那样将他们环绕与文字周围。
19、几乎要完工了!可以为水果图层加入一点液化滤镜效果。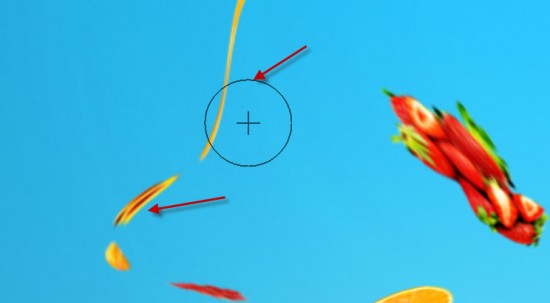
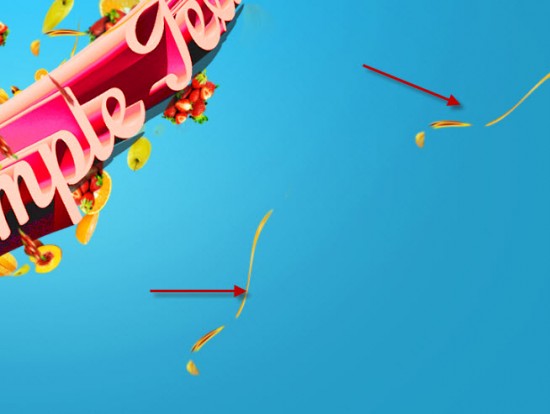
20、通过笔刷,添加了云彩和水中气泡的效果。
最终效果:


