今天图老师小编要跟大家分享Photoshop打造亮丽的红色古典美女写真,精心挑选的过程简单易学,喜欢的朋友一起来学习吧!
本教程将介绍一种中国古典特色的效果制作。画面基本上都是有古典元素构成,如国画,梅花,红色等作者也精心加上了一些装饰素材,效果非常不错。
最终效果 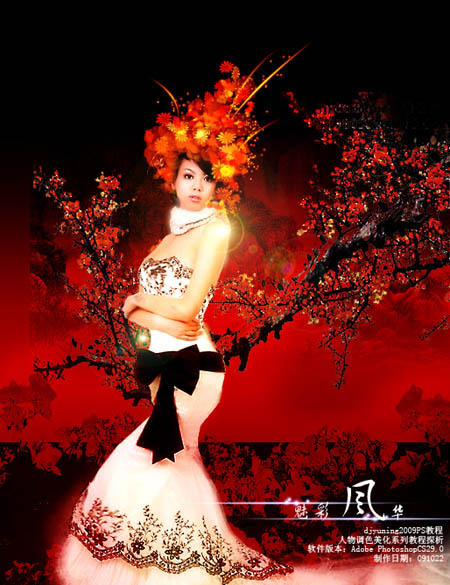
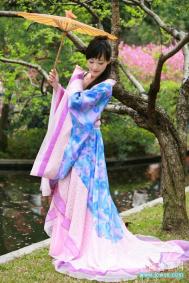
1、打开人物素材,【ctrl+J】拷贝出一个副本,不要嫌这一布啰嗦,和新建图层一样,这是一种很好的作图习惯。
2、使用【滤镜】-【液化】打开液化面板,我们来给任务做稍微的修饰和调整。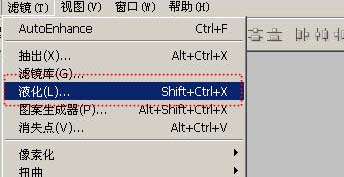
(本文来源于图老师网站,更多请访问http://m.tulaoshi.com/psxpcl/)3、这里,我为了取得一种沉稳的构图方式,对人物的几个点做了修正!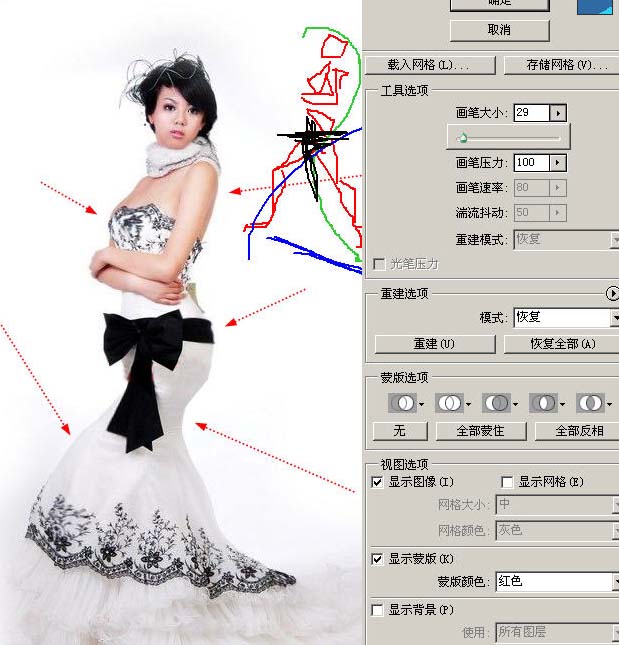
4、调整好以后就可以对图像扣图了!扣图的方法可以使用蒙板通道等,具体扣图本站多处教程,在此不再鏊述。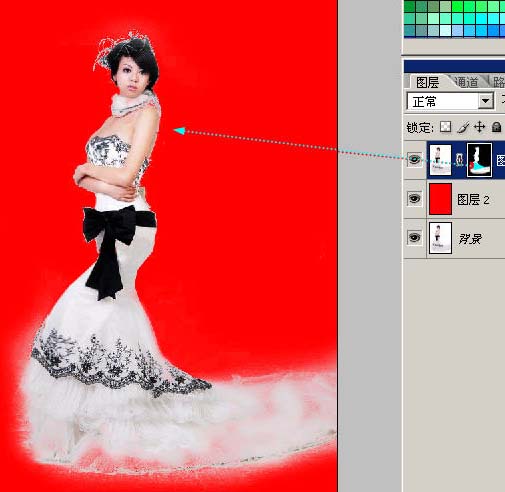
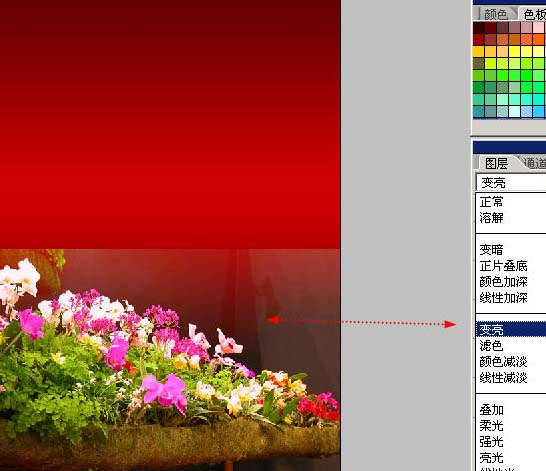
5、稍微调整一下背景,吧人物衬托一下,背景要和人物分开一定的层次!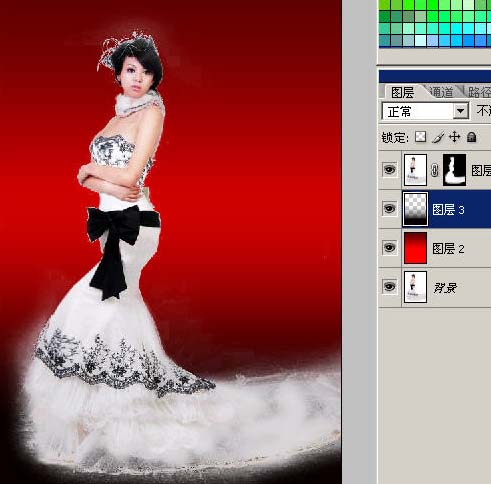
6、拖拉进素材,使用图层混合模式等方法对素材做调整。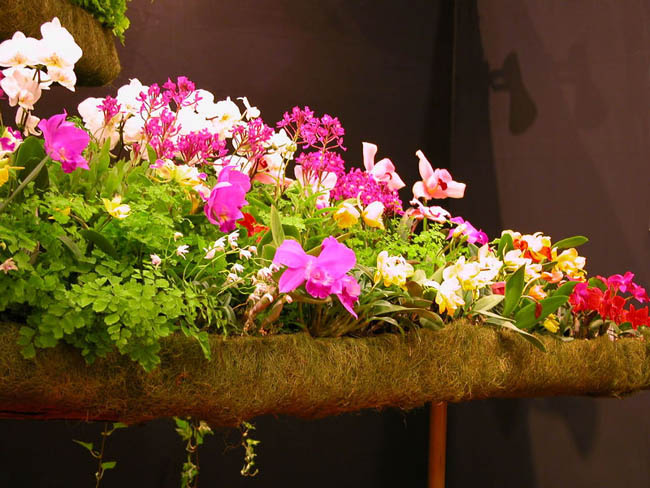

7、按下【B】键,在图像上单击右键载入【特殊效果画笔】,选择【追加】,画笔就被加载到了目前画笔列表的最下方,选择一种花朵的笔刷!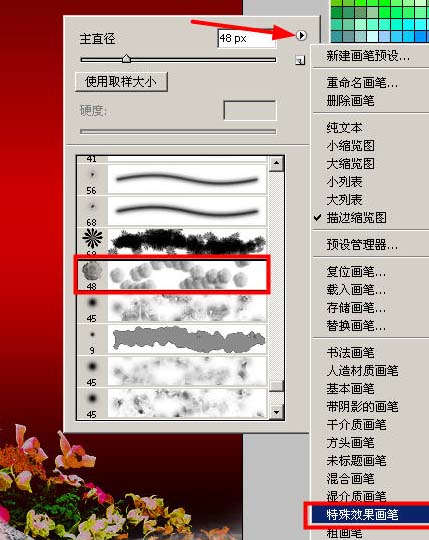
8、调整大小,在人物图层的上部新建图层,用画笔点缀!
9、调整前景色背景色,选择另一种效果画笔继续点缀!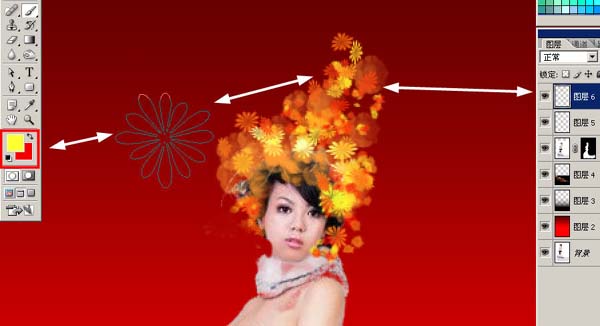
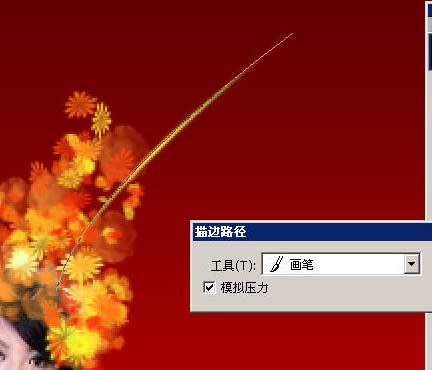
10、使用【钢笔】工具绘制曲线,做压力描边。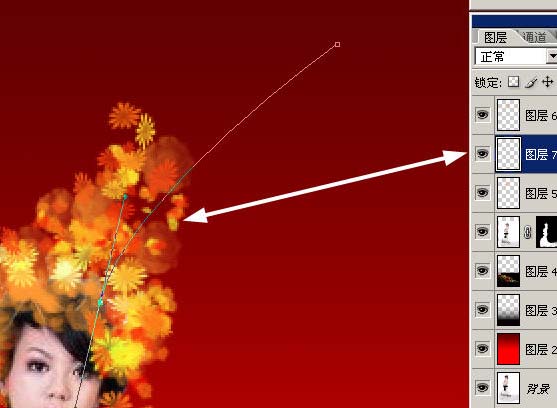
11、注意图案和线条以及星星点点形成的疏密对比 色彩对比 面积对比。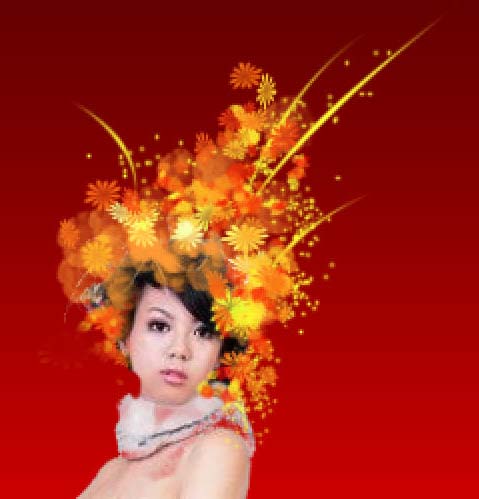
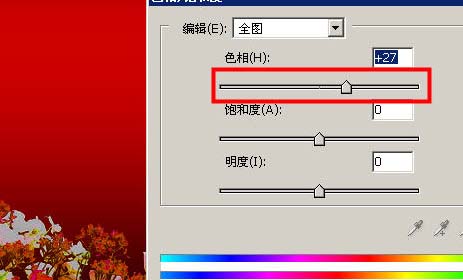
12、对人物图层做稍微的偏色处理,让人物的色彩能和环境色彩靠拢。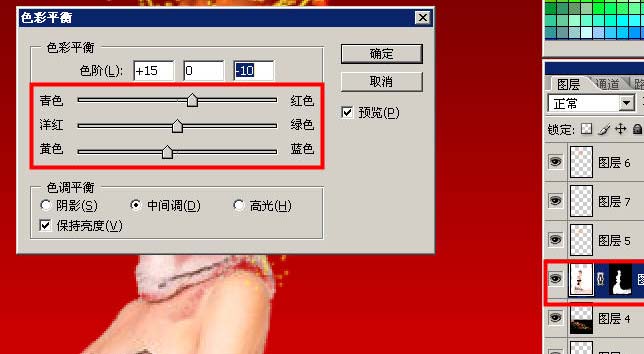
13、对人物图层做USM锐化。半径设置为1就可以了~上下的参数自己看着预览效果调整!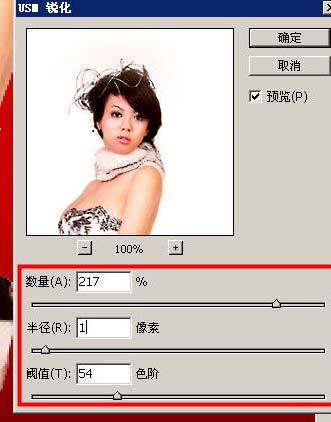
(本文来源于图老师网站,更多请访问http://m.tulaoshi.com/psxpcl/)14、在图层面板的最上方新建图层,混合模式为柔光,用画笔在图层上涂抹出各个区域的色彩靠拢!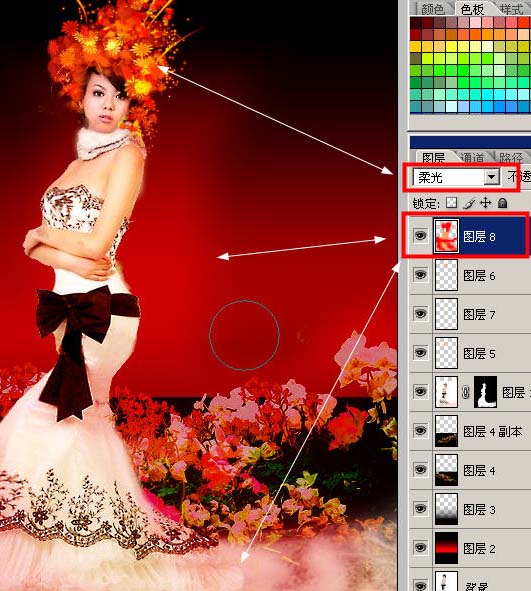
15、载入梅花素材,扣除白色区域。放在背景图层上方。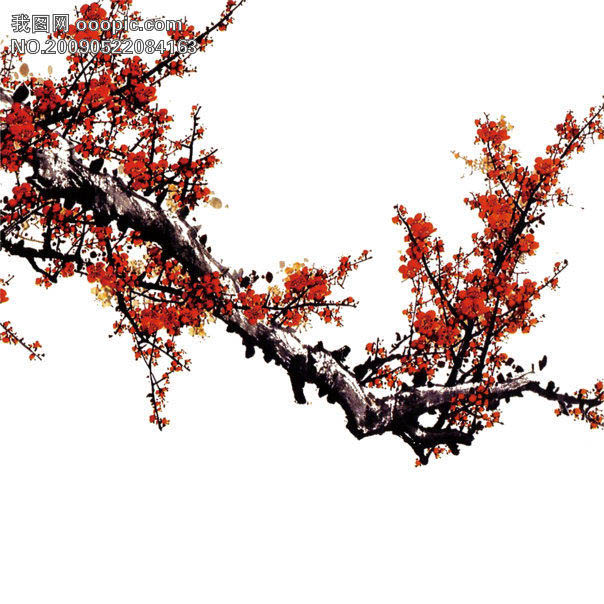
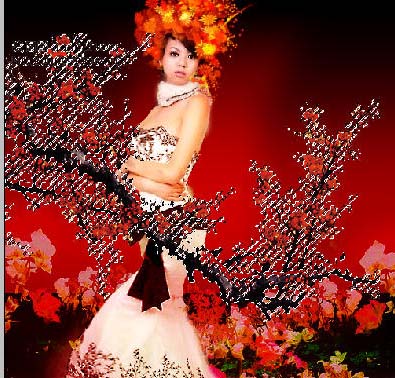
16、载入山水画,混合模式更改为【叠加】。叠放次数注意下。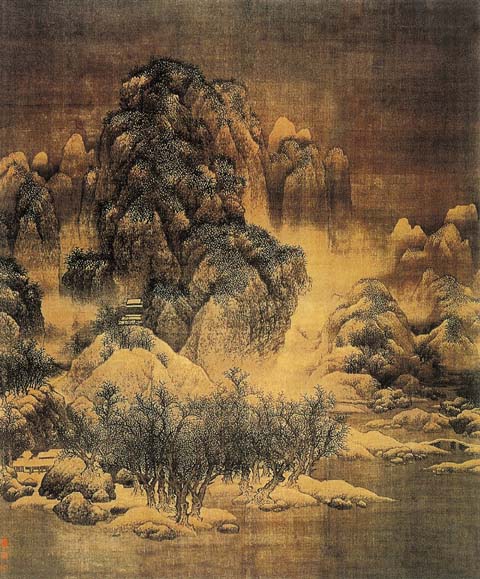
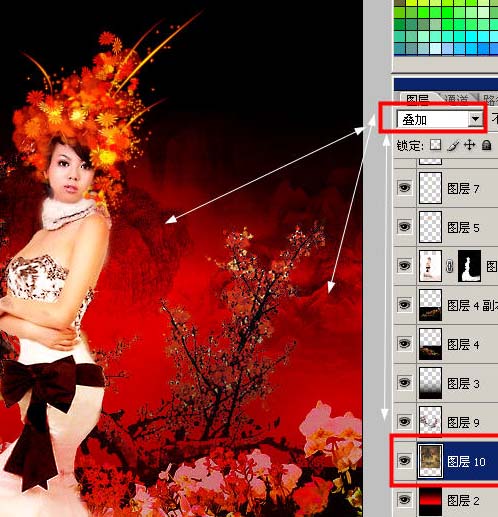
17、适当调整各素材和图像构成的关系。不要让凸显出现构图失误。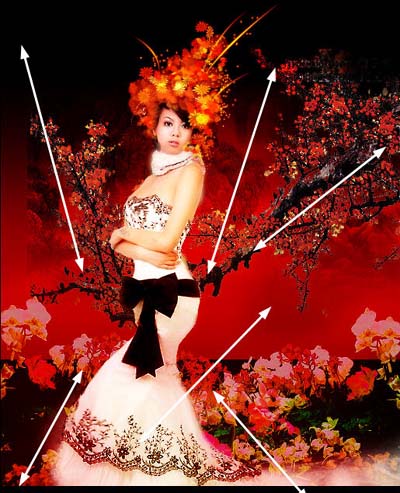
18、添加些小的闪光点,使画面出现几个高调!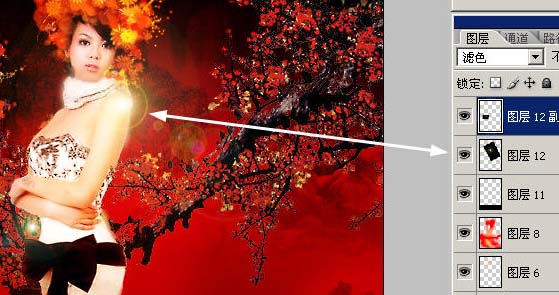
19、做一下色阶调整。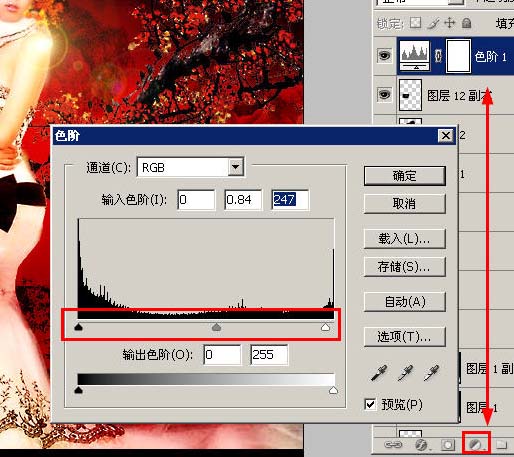
20、添加文字,完成最终效果。