爱你的那个他21
2016-02-01 20:11
想不想get新技能酷炫一下,今天图老师小编就跟大家分享个简单的Photoshop制作卷起沙尘暴的汽车海报教程,一起来看看吧!超容易上手~
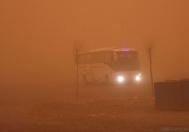
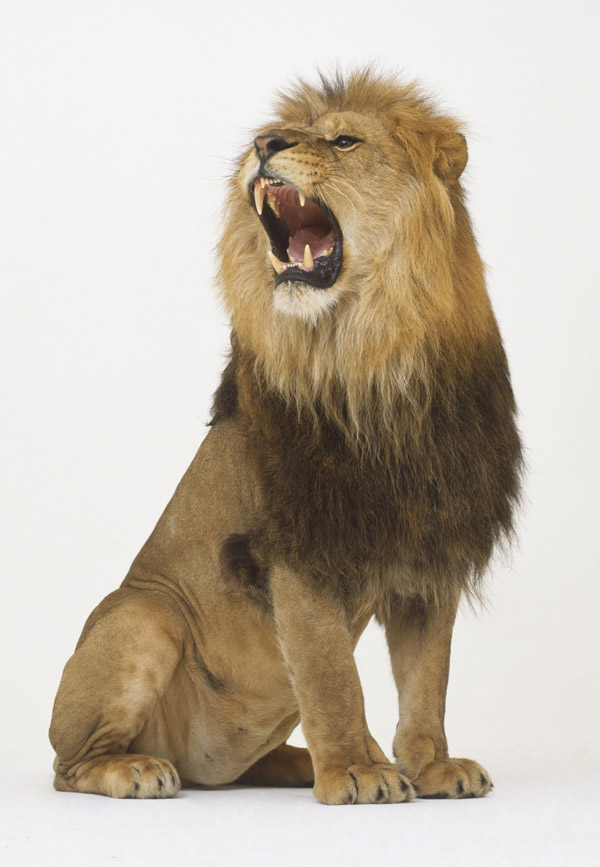
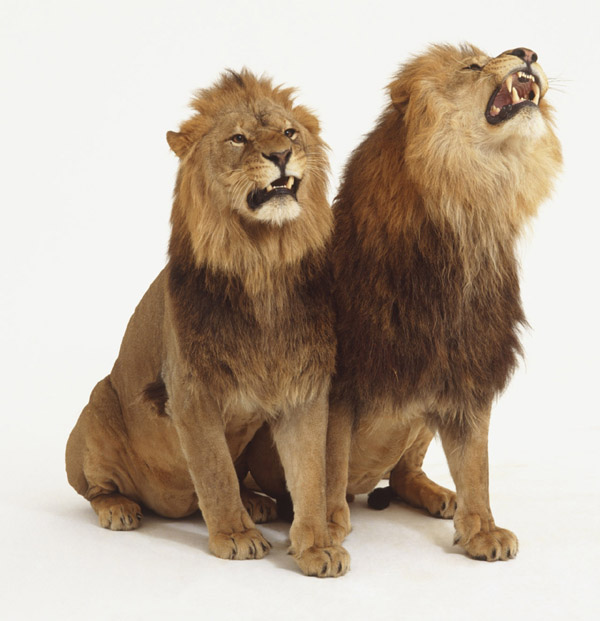
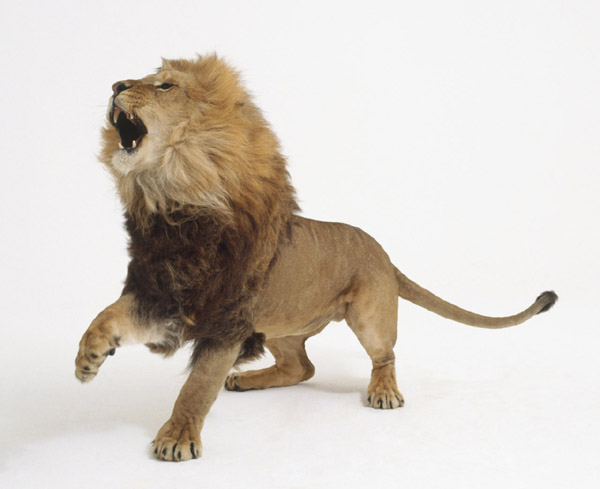
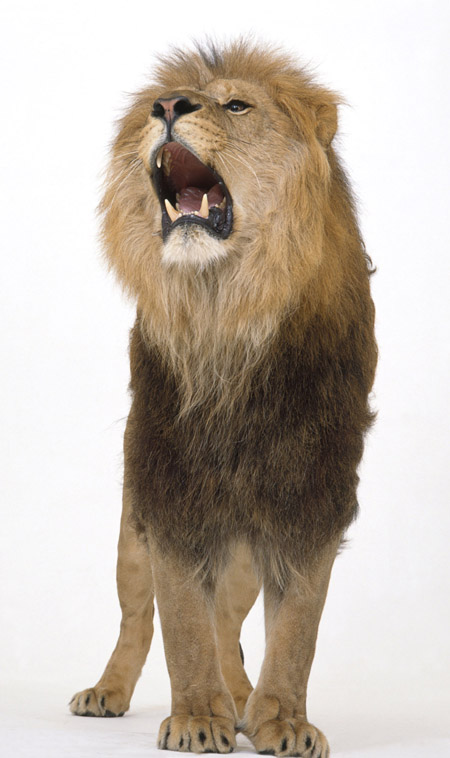
效果图非常有冲击力。作者在合成的时候把一些代表速度和王者风范的元素都融入到沙尘暴中,如狮子,苍鹰等,让车子的霸气显露无遗。
最终效果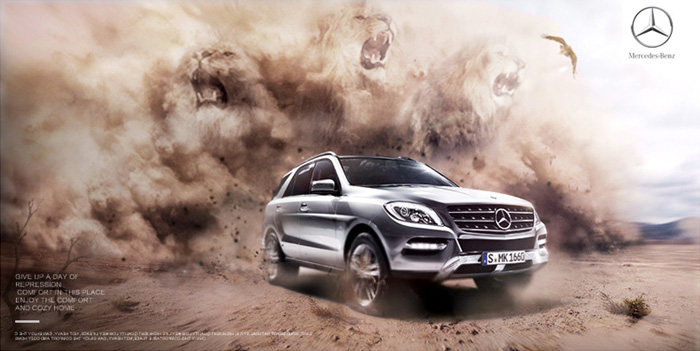

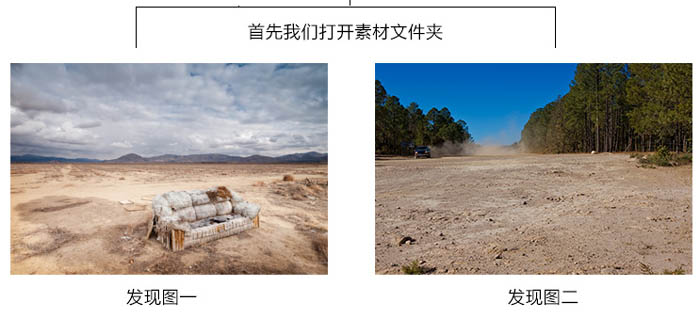
1、首先打开下图所示的两张素材。
(本文来源于图老师网站,更多请访问http://m.tulaoshi.com)
先把图一的天空和图二的地面简单组合起来。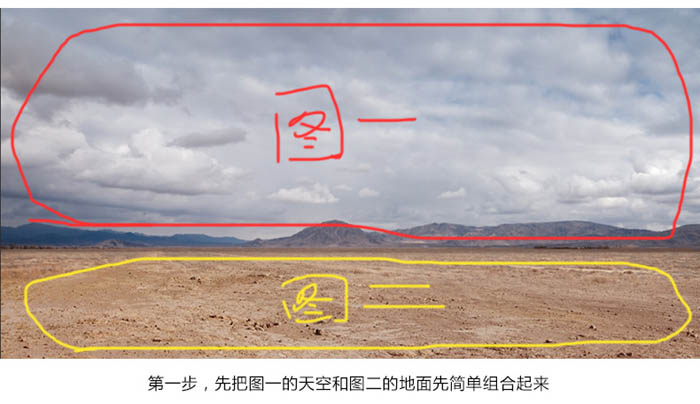
2、把图二的部分泥土地给勾选出来,把砂石地面体现出来。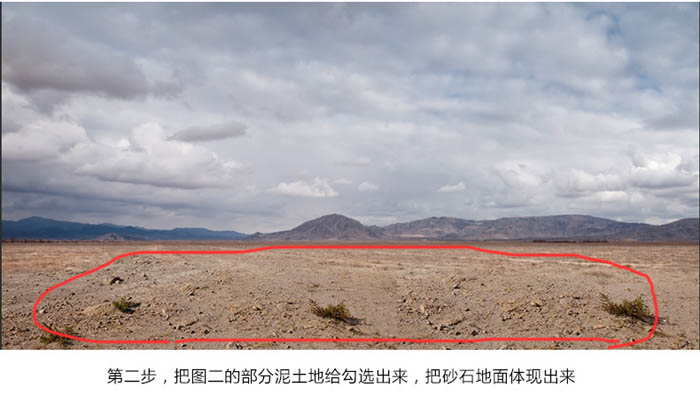
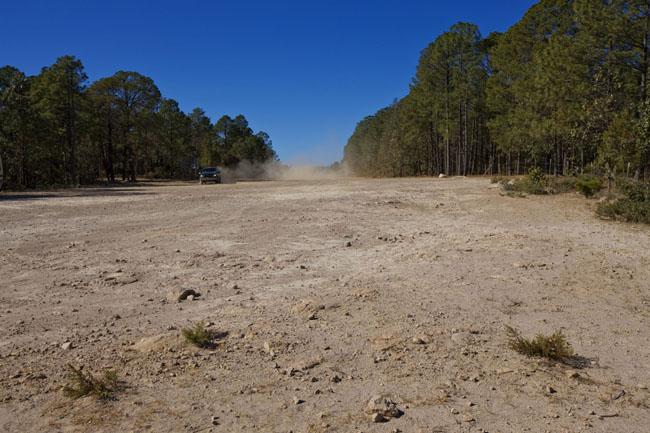
接下来打开下图所示的素材。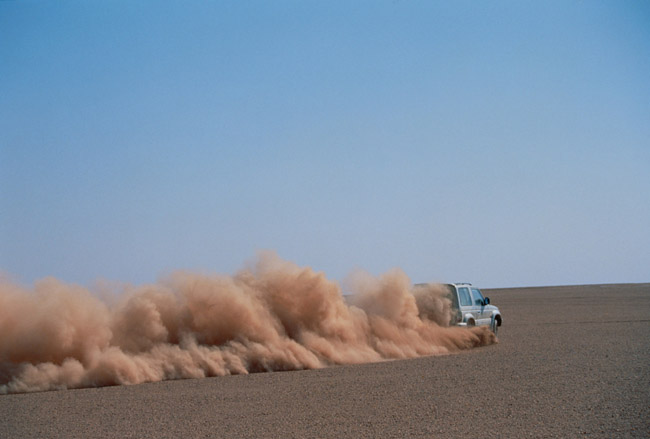
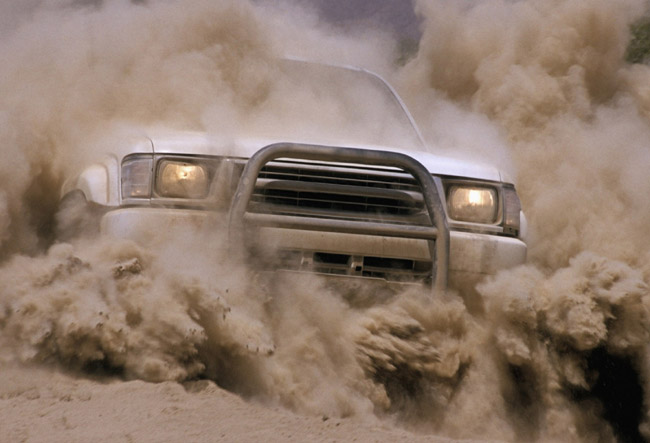

3、把图四的尘那部分截取进来,并放置这样的一个位置。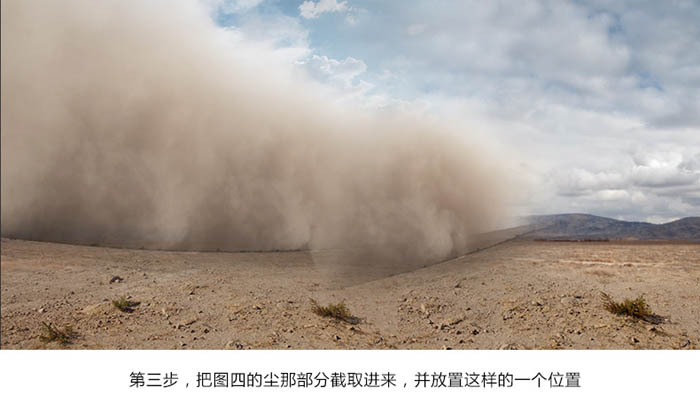
4、用可选颜色调成融入场景图的颜色。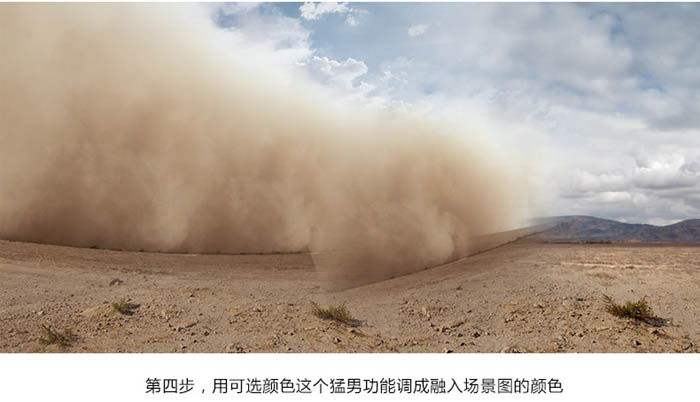
5、接着按住Ctrl + J 这个复制功能,多复制几层这个灰尘。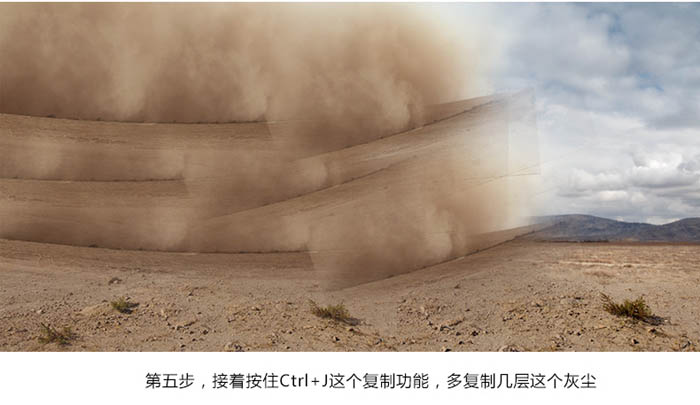
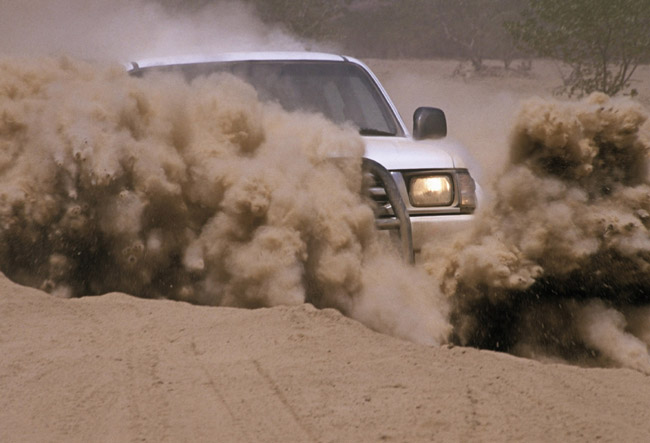
6、勾选图三的沙尘素材,同样放进画面当中。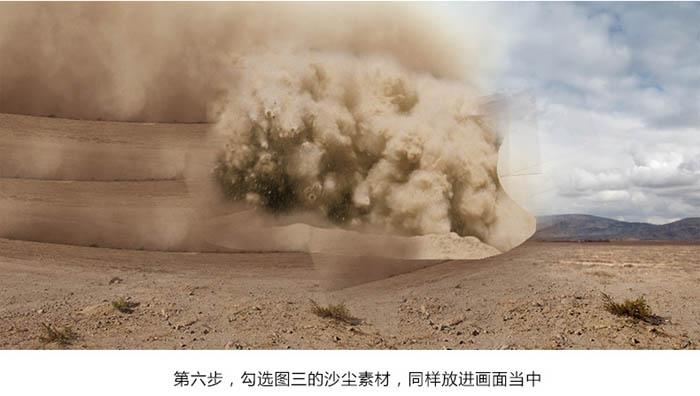
7、同样用复制的图层随你感觉走,组合成如图一样的效果。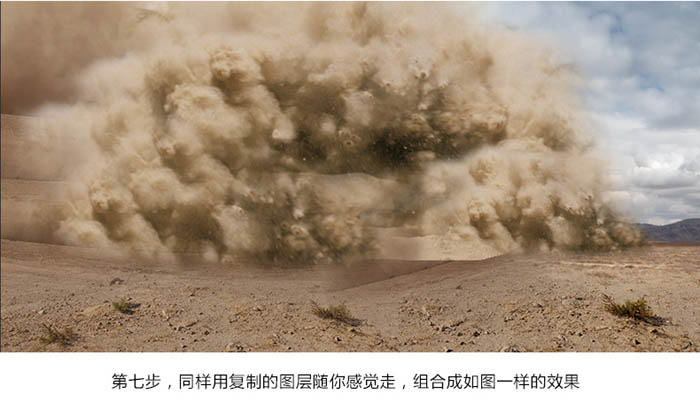
8、截取图一和图四的部分素材放在背后。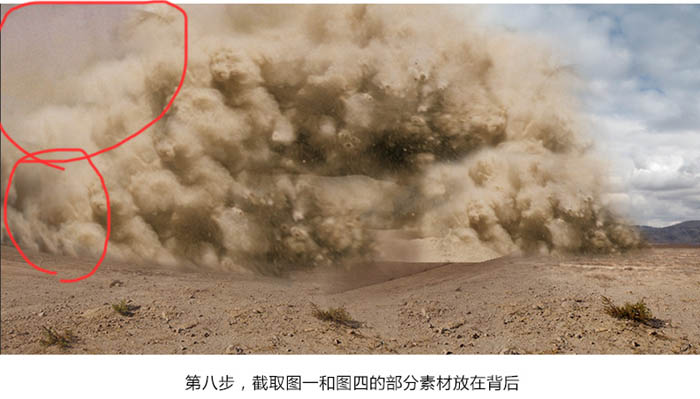
9、用沙尘素材给添加一层柔光效果,来增强画面的冲击感。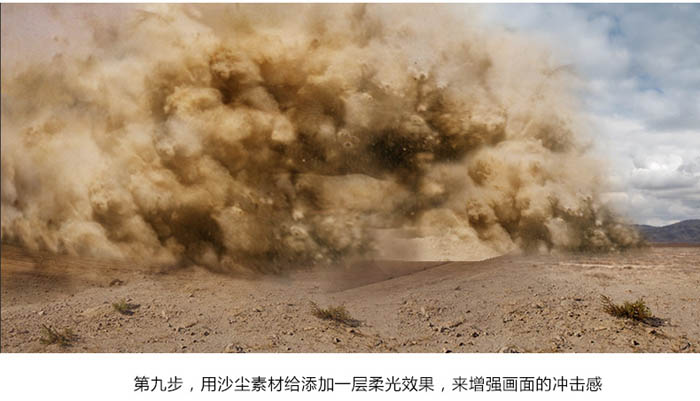
10、继续用沙尘素材填补画面。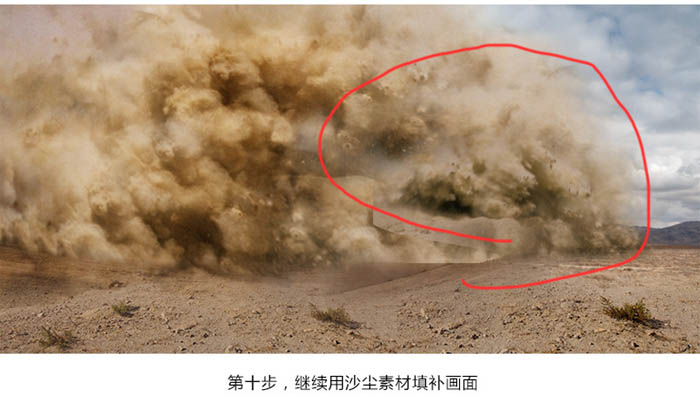
11、把我们的主角放进画面当中,并保留原素材的阴影部分,可减轻做阴影的步骤。

12、用画笔工具给局部添加沙尘效果,不透明度尽量调低一点。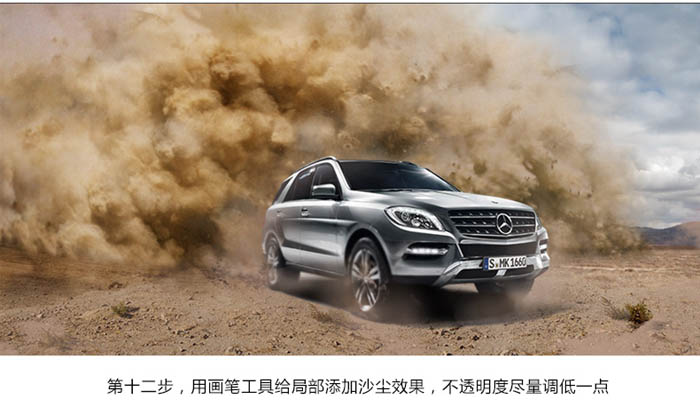
13、给局部添加汽车行走后会弹起的一些小石头素材,石头素材需要自己找。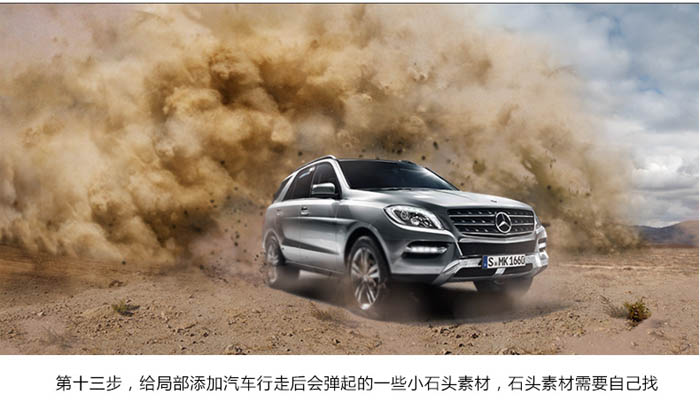
14、给画面降低饱和度,并且用画笔给沙尘局部加深。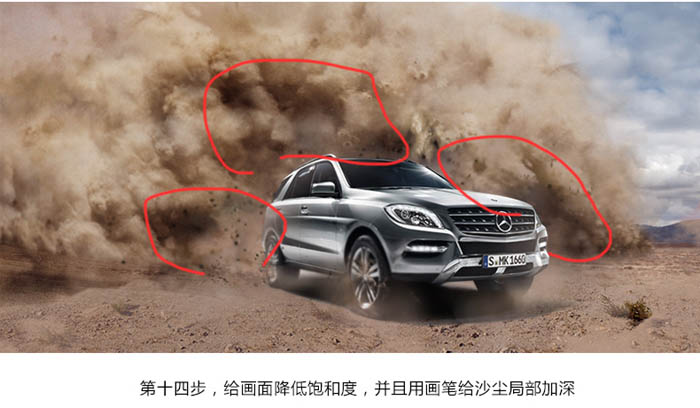
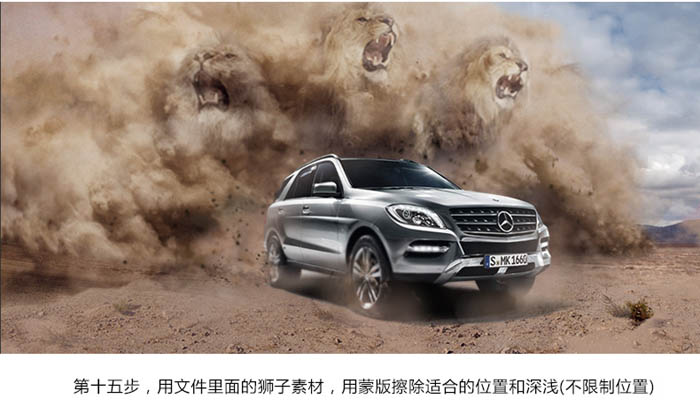
15、打开狮子素材,用蒙版擦出适合的位置和深浅。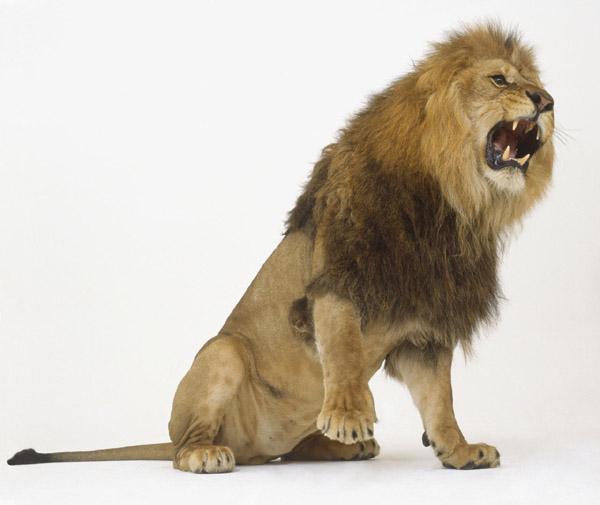
(本文来源于图老师网站,更多请访问http://m.tulaoshi.com)
16、给画面的颜色改一下,调整数值如图。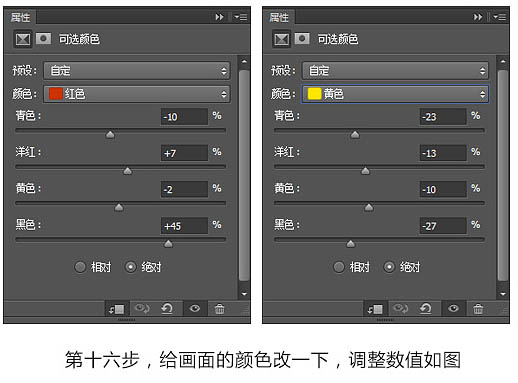
17、截取天空一部分素材,弄在车的玻璃上,说明一下上空的环境。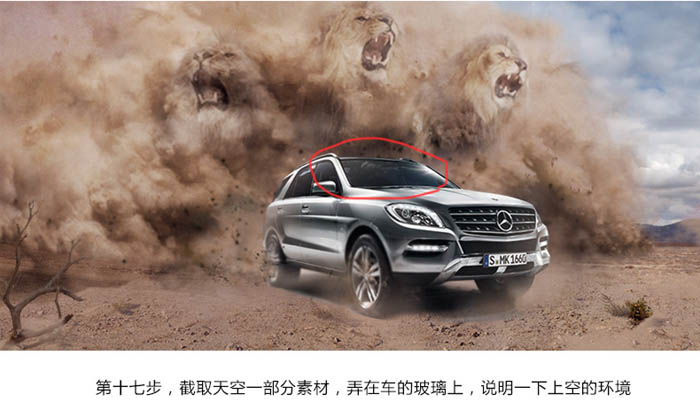
18、单独勾选车轮做一个模糊,可以是动感,可以是径向,不限制,证明车在奔跑。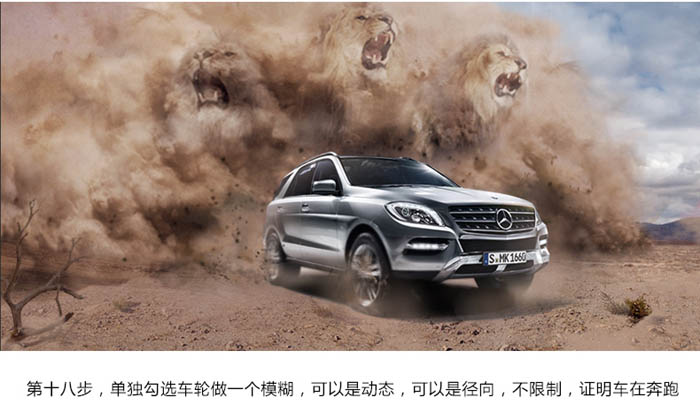
19、以上全部画面合并出一个新的图层,然后径向模糊,擦出中间部分。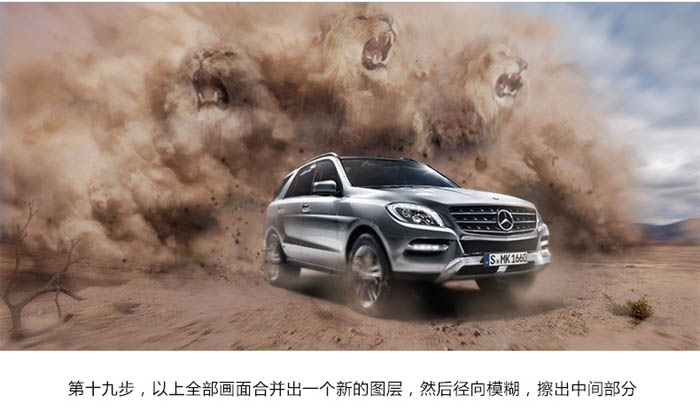
20、再用调色图层给画面做出色的对比,具体参数就不截图出来了。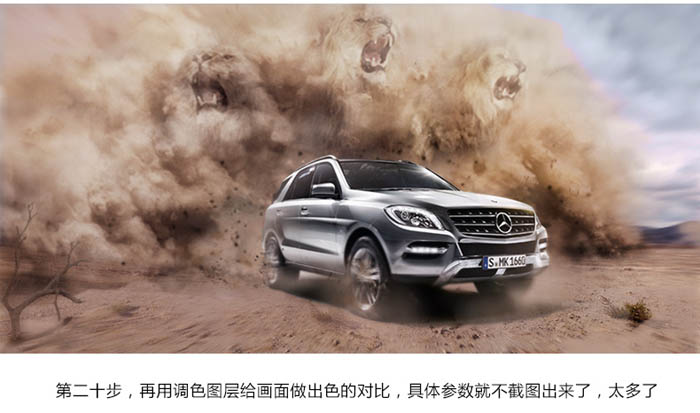
21、做一个光晕效果,添加光源的强度。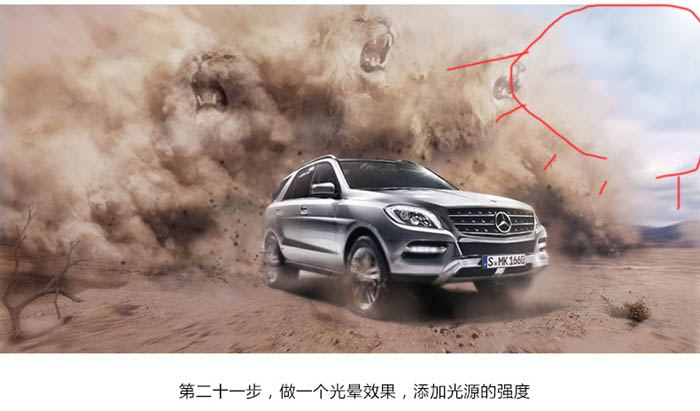
22、弄一个对比度图层,略微调一下画面的清晰度。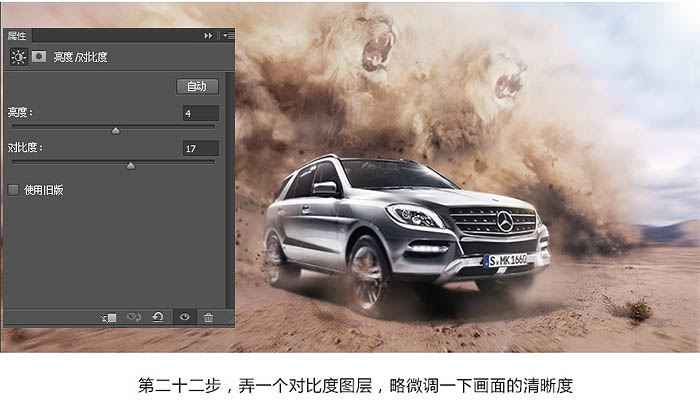
23、光有了,暗部也得做,增加画面感,以及视觉集中处。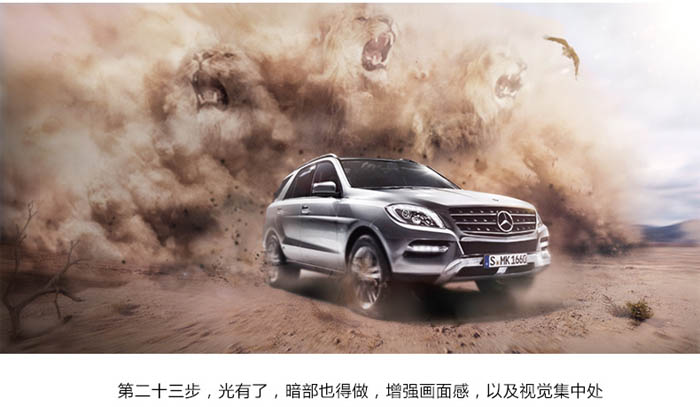
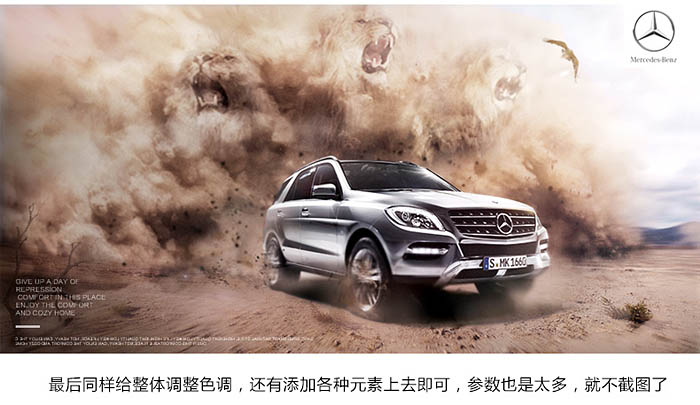
最后同样给整体调整色调,还有添加各种元素上去即可,参数也是太多,就不截图了。
最终效果: