爱你如初2014
2016-02-01 09:00
下面是个Photoshop简单给人物照片美白及柔化处理教程,撑握了其技术要点,学起来就简单多了。赶紧跟着图老师小编一起来看看吧!
本教程的磨皮及调色方法都是比较基础的。也是运用比较广泛的方法。一般调色之前需要给人物简单磨皮处理,如果觉得磨皮比较麻烦的话,可以下载一些外挂滤镜来简化。
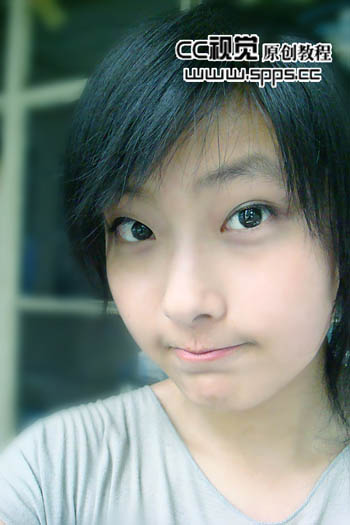
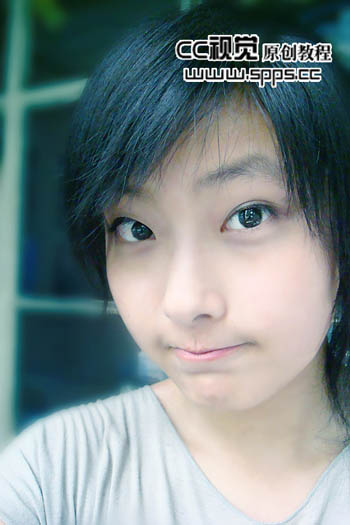
原图
(本文来源于图老师网站,更多请访问http://m.tulaoshi.com/psxpcl/)
最终效果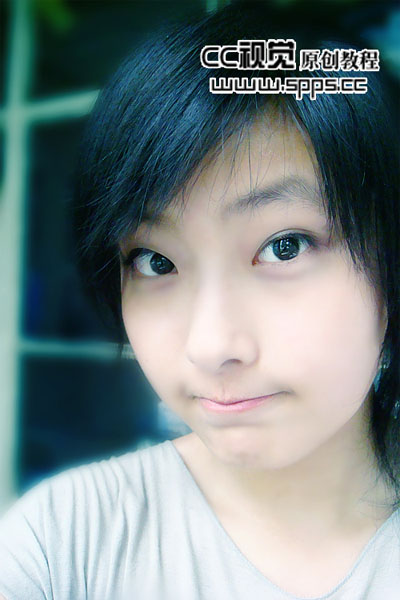
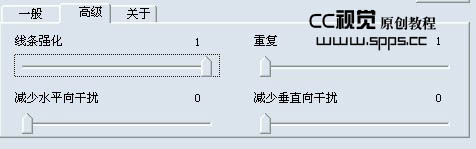
1、打开原图,CTRL+J复制一层,用数码照片修复美化滤镜(也叫DCE Tools滤镜,没有这款滤镜的可以去网上下载),选择自动修复,数值如图,然后用修复画笔把脸部的斑点去掉。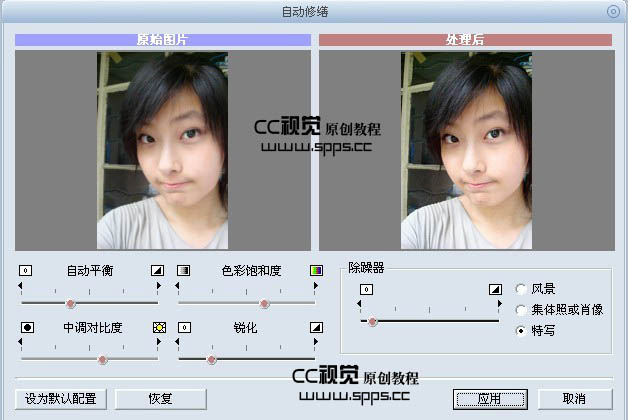

2、新建图层,Shift+Ctrl+Alt+E盖印可见图层,然后高斯模糊2个像素,按住Alt点击添加图层蒙板,用白色画笔把人物脸部涂抹出来,给MM磨皮。
3、新建图层,Shift+Ctrl+Alt+E盖印可见图层,然后高斯模糊5个像素,给该图层添加图层蒙板,用黑色画笔把人物涂出来。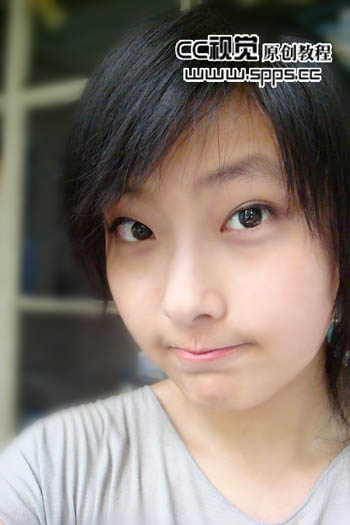
4、新建图层,Shift+Ctrl+Alt+E盖印可见图层,把该层改为滤色,然后执行滤镜/其他/高反差保留,数值为1,然后把该层的混合模式改为柔光。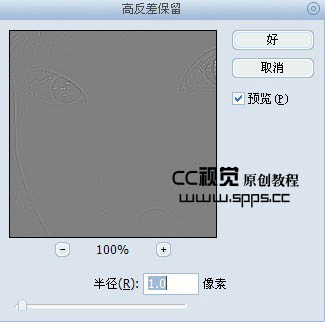

5、执行图层 新建调整图层 色彩平衡,数值如图。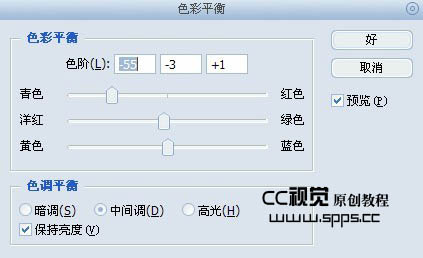
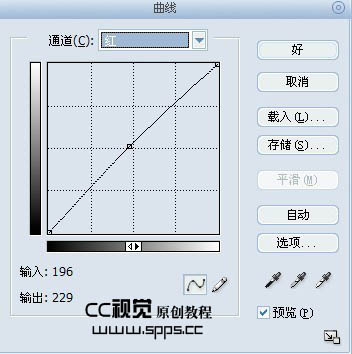
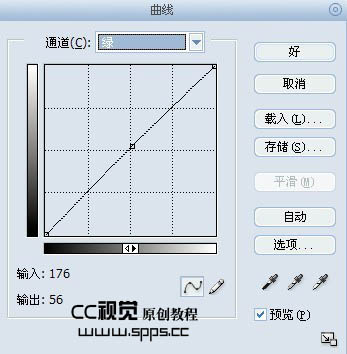
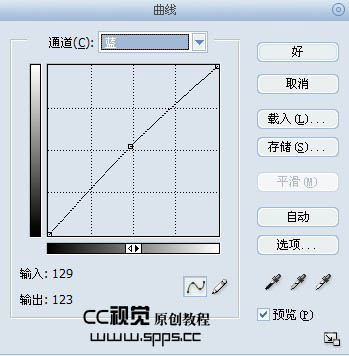
6、执行图层 新建调整图层 曲线,数值如图: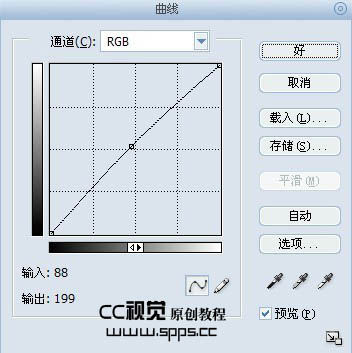

7、执行图层 新建调整图层 可选颜色调整图层,数值如图: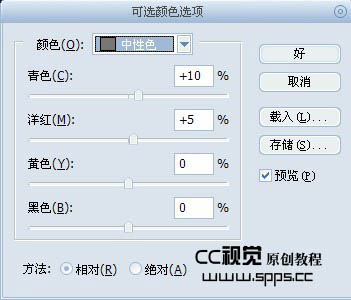
(本文来源于图老师网站,更多请访问http://m.tulaoshi.com/psxpcl/)
8、继续执行图层 新建调整图层 可选颜色,在蒙板上然后用黑色画笔把人物涂出来。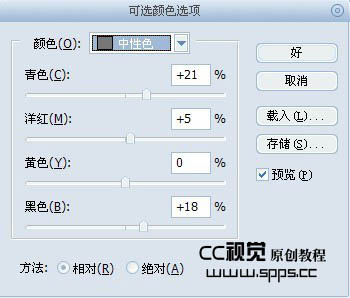

9、新建图层,Shift+Ctrl+Alt+E盖印可见图层,用Topaz滤镜锐化一下,然后把该层的不透明度改为30%。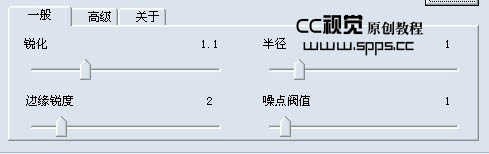


10、新建图层,Shift+Ctrl+Alt+E盖印可见图层,复制该图层,然后高斯模糊5个像素,把混合模式改为柔光,不透明度70%,完成。
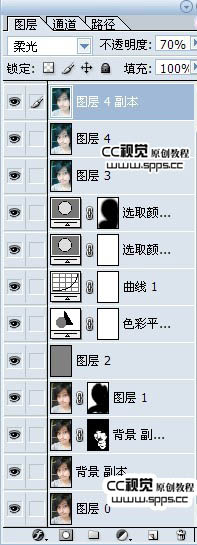
下图为图层参照及最终效果: