想不想get新技能酷炫一下,今天图老师小编就跟大家分享个简单的Photoshop制作彩色的丝光文字效果教程,一起来看看吧!超容易上手~
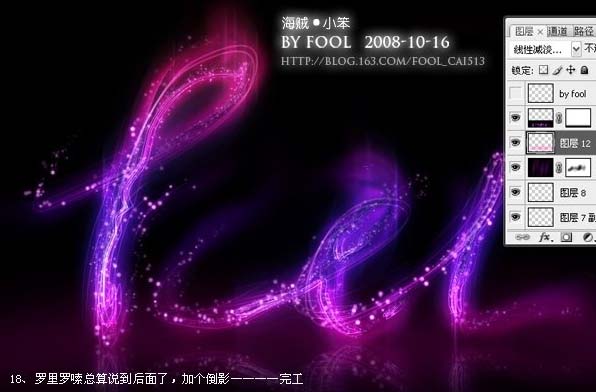
最终效果
1、新建一个800 * 600像素的文件,背景填充黑色,然后用钢笔工具勾出想要的文字路径。
2、新建一个图层,设置画笔,参数如下图,然后选择描边路径。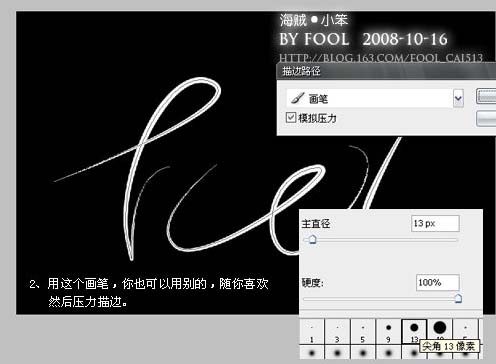
3、复制一层,然后高斯模糊,参数设置如下图。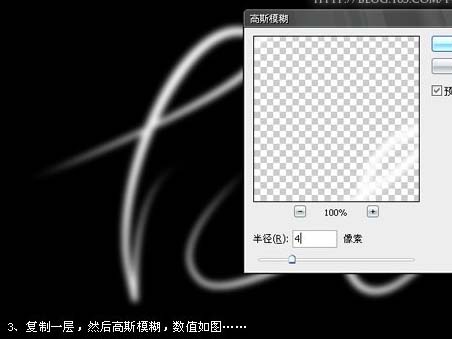
4、选择涂抹工具涂抹,强度为69。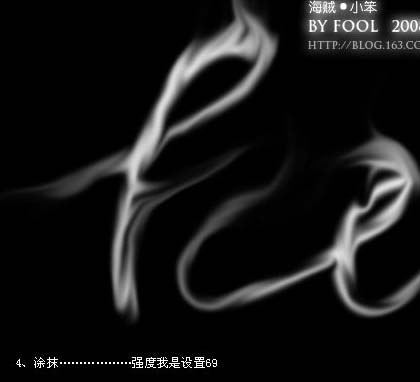
5、然后双击图层选择图层样式,参数设置如下图。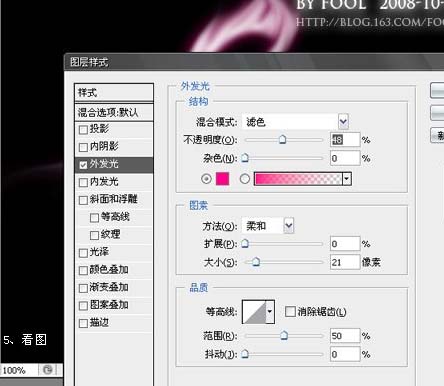
6、按Ctrl + J把加好样式的图层复制一层。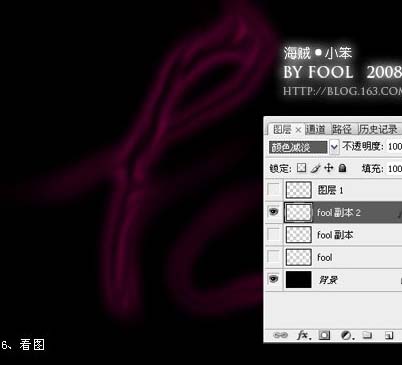
(本文来源于图老师网站,更多请访问http://m.tulaoshi.com/psxg/)7、调出文字选区,点路径面板,转为路径。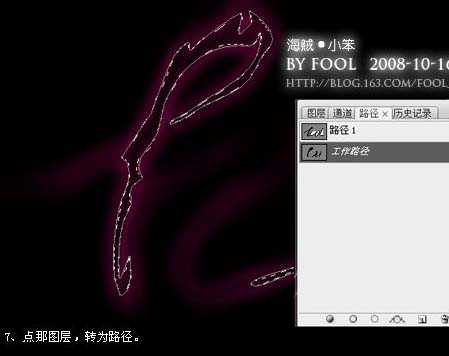
8、回到图层面板,描边一个像素,然后再设置外发光。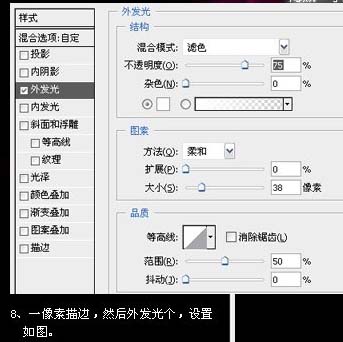
9、复制路径,然后移动描点随便拖随便拉。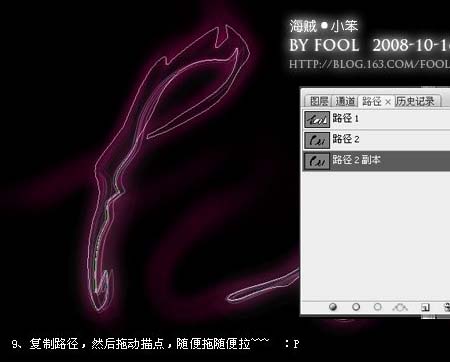
10、描边,外发光,然后复制多几个图层,上下左右随便移动。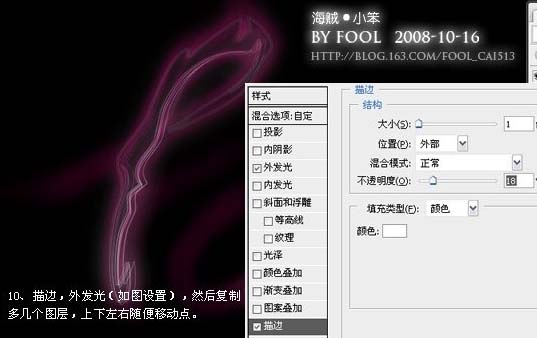
11、其中最上那层执行:滤镜 模糊 动感模糊,参数设置如下图。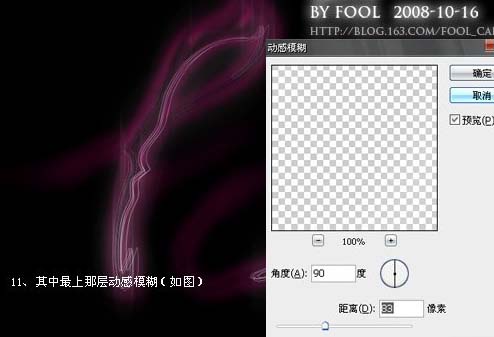
12、选择渐变工具拉出紫色到蓝色的渐变如下图,然后把图层混合模式改为“柔光”,加上图层蒙版用黑白渐变有上往下拉出透明渐变。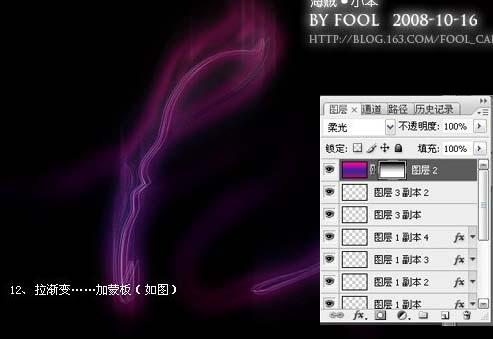
(本文来源于图老师网站,更多请访问http://m.tulaoshi.com/psxg/)13、复制渐变图层,图层混合模式改为“颜色减淡”。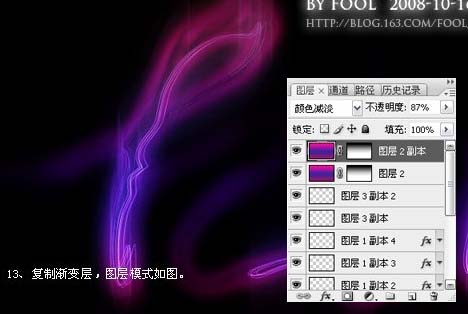
14、看上去不是很好看,随便再画几条路径,然后柔光。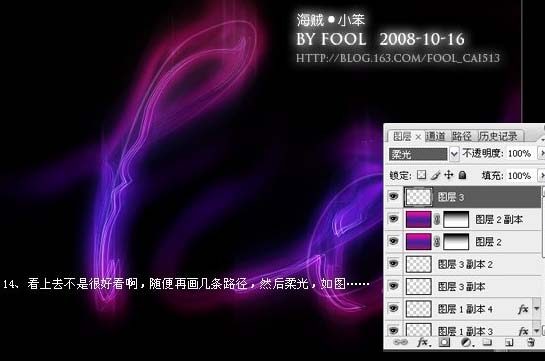
15、再多龙几条。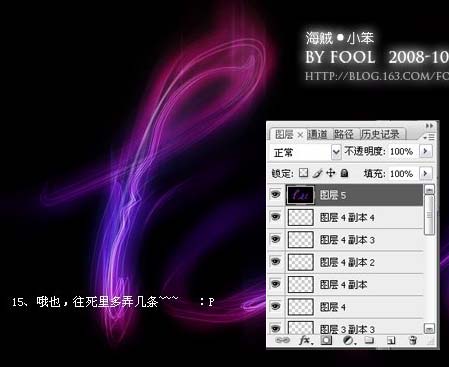
16、设置画笔。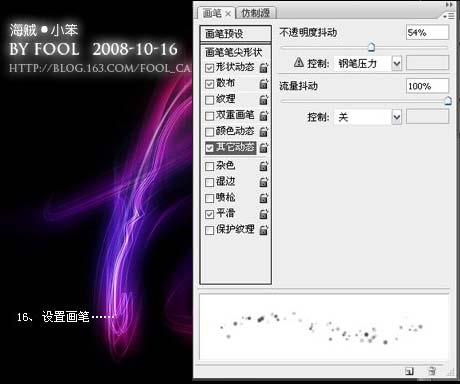
17、继续描边路径。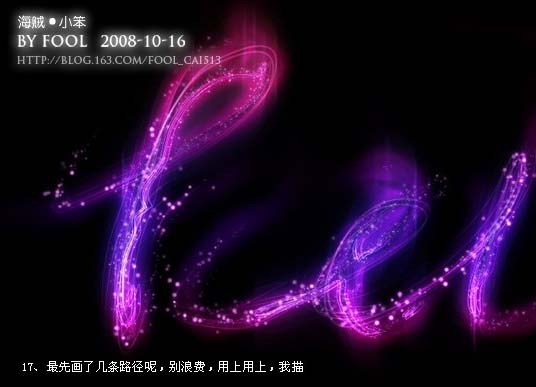
18、加上倒影完成最终效果。