本教程介绍3D文字效果的制作方法。制作的时候需要一定的美学透视技巧,这样制作的文字比较真实,如果您会3D的话可以直接用软件做出来。
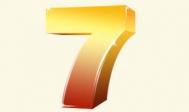
最终效果 
1、首先是立体模型的构建,如果你会3DMAX,则可以通过这个软件先建一个立体模型,再转到PS上来做后期处理,如果不会这个软件,那么就是考验你空间立体构建能力了,通过钢笔勾出“7”字各部分的路径,并建立选区,填充黑色(每个部分保存一个图层,以便后期处理用)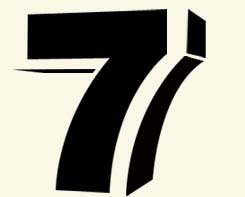
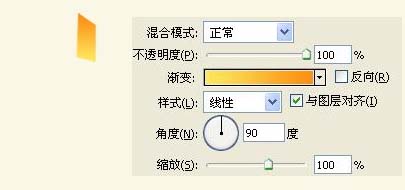
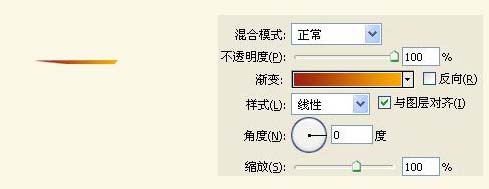
2、“7”字各面已经勾画成功,那么现在就是对这几个面进行颜色处理的时候了,各部分均进行渐变处理,至于如何把握各层颜色,就要看自己对于采光透视的了解了。本次教程各部分所运用的颜色渐变如下图:
(本文来源于图老师网站,更多请访问http://m.tulaoshi.com/psxg/)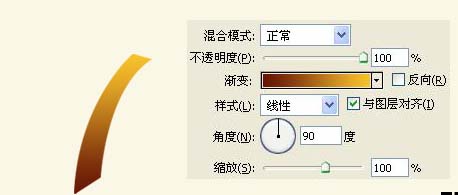
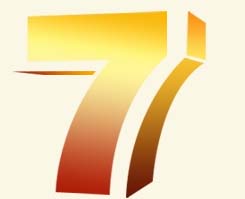
最终得到的效果如下图:
(本文来源于图老师网站,更多请访问http://m.tulaoshi.com/psxg/)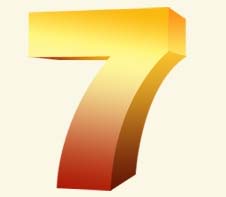
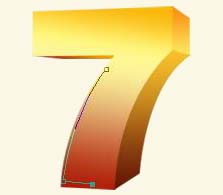
3、立体效果已经初步完成,那么是否感觉这样的效果缺少一定的光泽感,没错,接下来我们就要对“7”做反光处理,首先应找准反光点,接下来又是考验钢笔运用的时刻了。 先点击画笔,选择好我们需要的反光线条的宽度,这边我先选择直径为4的柔角画笔。
然后点击钢笔,用钢笔勾好路径。
4、右击-在弹出的选项栏中选择-描边路径,弹出对话框如图: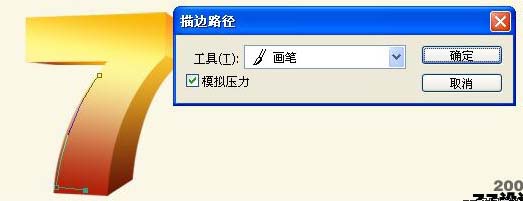
5、记住应在模拟压力那打勾,然后点确定,得到的效果如图: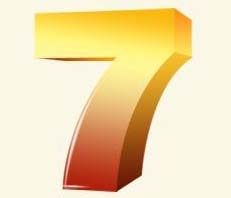
其他的反光线条照样画葫芦,最终得到: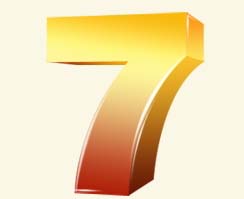
那么如果我们感觉这样的效果跟最终想法还有一些差距,可以适当使用-星光笔刷,这样可以让立体效果更为绚丽逼真。