今天图老师小编给大家介绍下PS制作可爱的绿色花纹水晶字,平时喜欢PS制作可爱的绿色花纹水晶字的朋友赶紧收藏起来吧!记得点赞哦~
本教程基本上都是用图层样式来制作文字效果。文字部虽然效果已经不错了,但是后期的装饰效果也比较重要。稍微点缀一些花纹,适当加上高光及倒影,效果就会大为不同。
最终效果 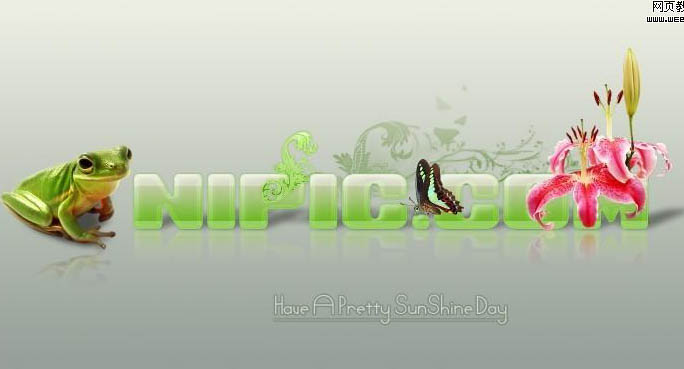
1、新建画布,绘制渐变背景。效果如下;
2、输入你所需要的文字; 按住ctrl键单击文字图层以载入选区。切换至通道面板,新建Alpha 1通道,填充白色,Ctrl+D取消选区;
3、执行滤镜—模糊—高斯模糊,数值不4,得到下面效果;
4、按Ctrl+L给合键执行(色阶)命令,设置弹出的对话框参数如下;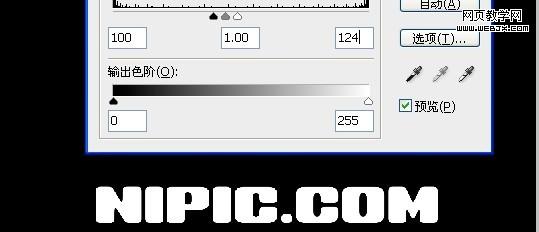
5、按住Ctrl键单击通道Alpha1激活通道选区,切换至图层面板,关掉文字图层,然后新建一个图层得到图层1,设置前景色为白色进行填充,得到如下图效果;
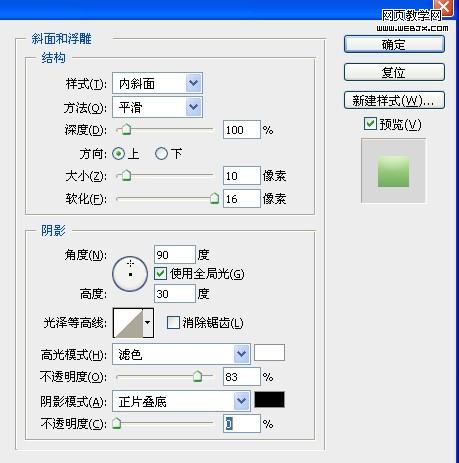
6、单击图层样式,选择(渐变叠加),设置如下图参数;在对其添加(斜面浮雕)和(描边)选项;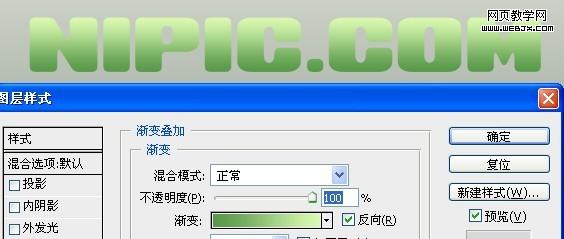

描边效果: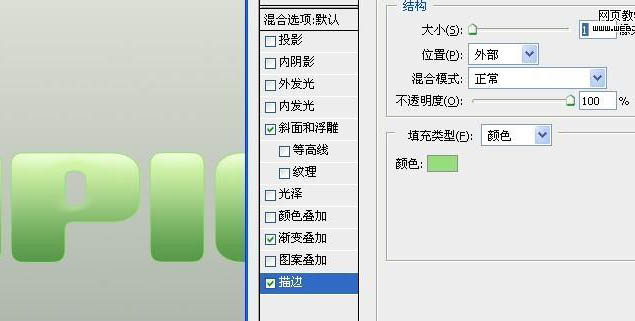
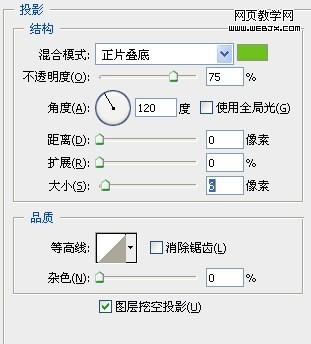
7、继续添加图层样式(光泽)和(内发光)(投影)选项,分别设置对话框如上;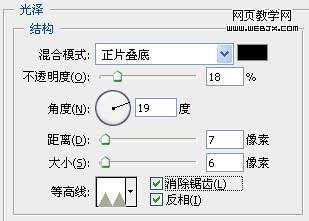
(本文来源于图老师网站,更多请访问http://m.tulaoshi.com/psxg/)
8、添加样式等到下面效果;
9、新建图层2,设置前景色为白色,选择矩形工具,单击“形状样式”绘制以下图矩形;
10、按Ctrl键单击图层1载入选区,选择图层2并单击“添加图层蒙版”按扭为其添加蒙版,然后设置不透明度为20%;
11、按Ctrl键单击图层1,然后在图层1下方新建图层3设置前景色为黑色。然后对其进行填充; 在Ctrl+T进行自由变换,得到以下效果;
12、执行滤镜—模糊——高斯模糊,半径值为6,在将不透明度设不40%左右,得到以下效果;
13、Ctrl 键单击图层1将其载入选取区,并按Shfit键选取图层2;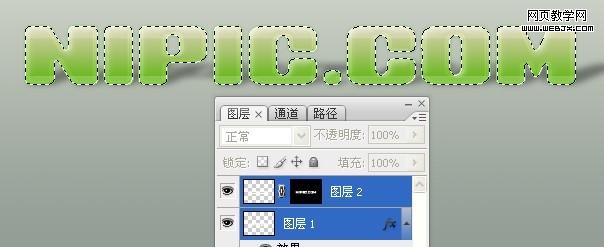
14、按Ctrl+Shfit+C执行拷贝(合并拷贝),在Ctrl+V粘贴,得到图层4; 在Ctrl+T自由变换,并进行(垂直翻转),在将其进行压扁,将图层4的模式改为(柔光)。在进行添加图层蒙版 ,进行线形渐变对其进行渐隐效果;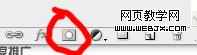

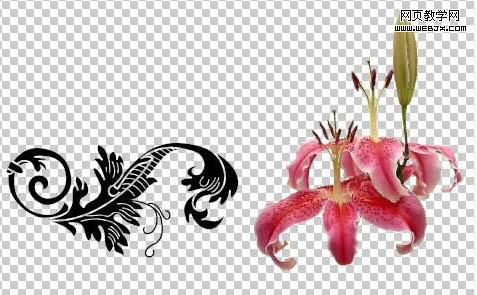
15、 最后一步将其它四个素养置放其中,得到最终效果;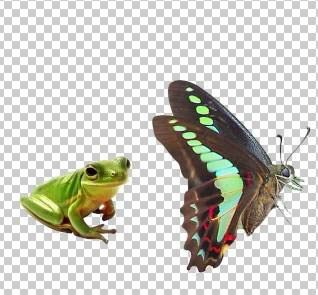
(本文来源于图老师网站,更多请访问http://m.tulaoshi.com/psxg/)