今天给大家分享的是由图老师小编精心为您推荐的Photoshop打造非常精细的暗调彩妆图片,喜欢的朋友可以分享一下,也算是给小编一份支持,大家都不容易啊!
本教程的面部细节部分处理非常经典。作者用选区选区肤色部分质感较强的一小块定义为图案,然后用定义的图案填充,再适当降低图层不透明度就可以增强肤色的质感,方法非常实用。 原图
最终效果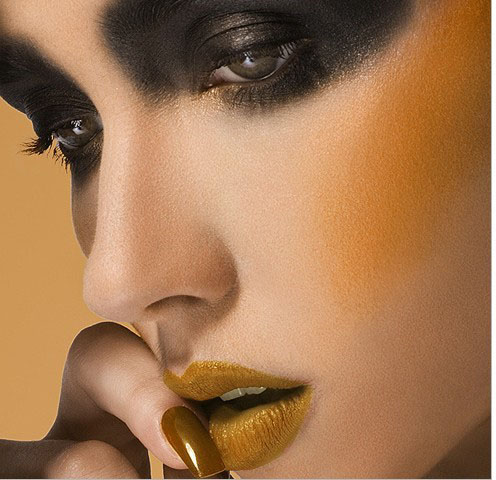
1、打开RAW格式导出来的原片(具体值数如下图)。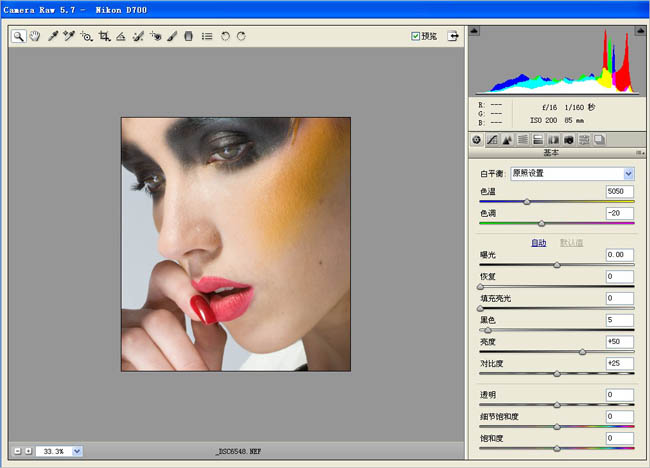
(本文来源于图老师网站,更多请访问http://m.tulaoshi.com/psxpcl/)
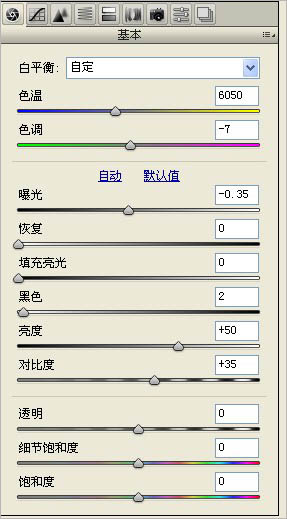
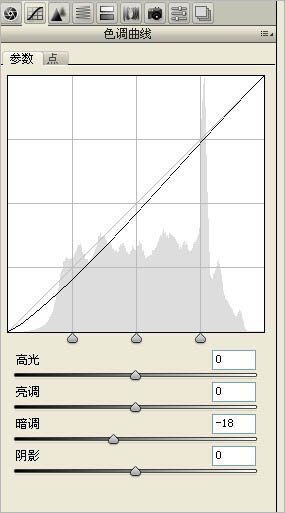
2、在RAW格式中主要调整了色温,接下来导成JPG到PS中,先给妆容片定整体色调。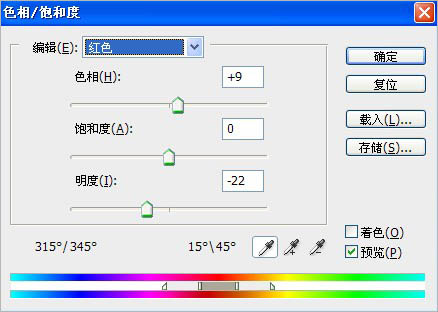
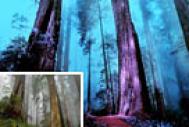
3、给背景换一个颜色。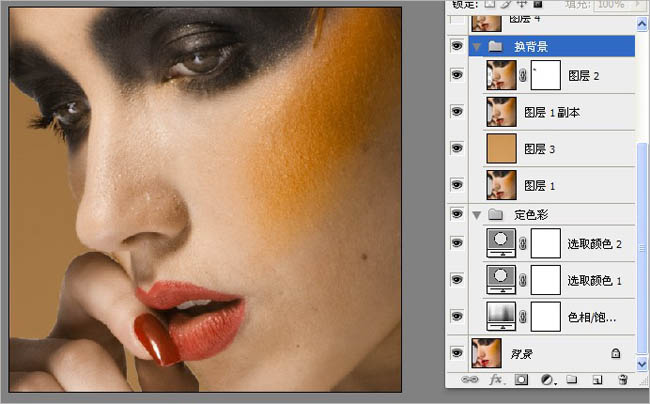
(本文来源于图老师网站,更多请访问http://m.tulaoshi.com/psxpcl/)
4、嘴唇和指甲更换色彩,这样使整体的色调统一和谐。勾出嘴和指甲选区路径。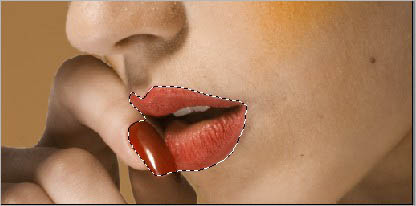
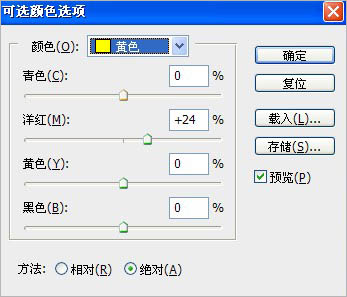
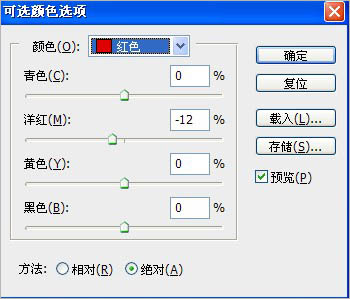
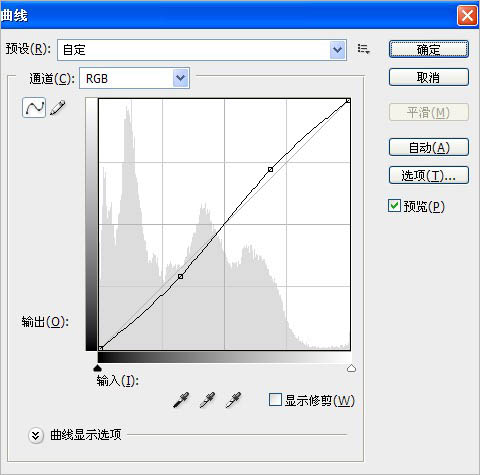
5、用可选调整色调,曲线加反差。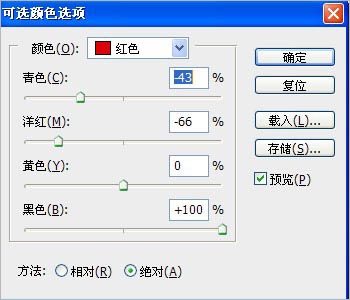
6、做到这里效果图如下,接下来开始对质感进行处理,也就是我们这次妆容片的重点---质感。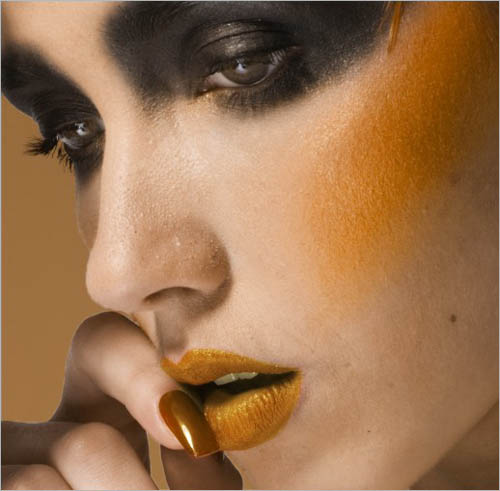
7、盖印所有图层得到图层5,并复制图层5得到图层5副本。然用仿制工具对图层5副本进行磨皮处理。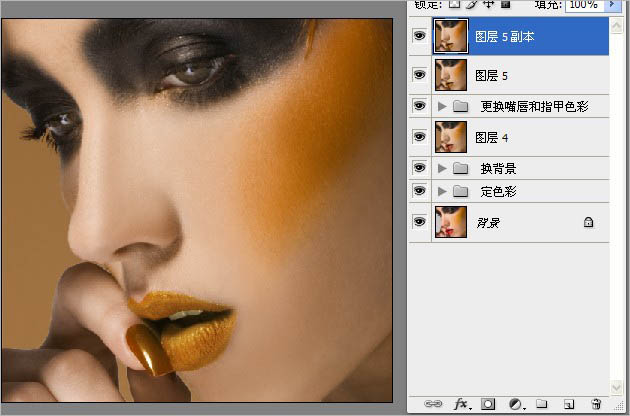
8、用选区取皮肤有质感的一块后复制,得到图层6,然后图层6载入选区,隐藏图层5副本。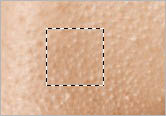
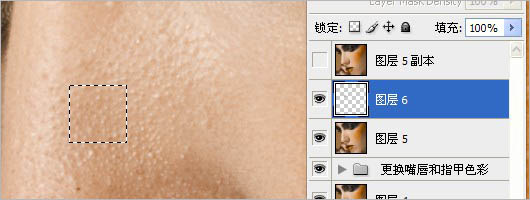
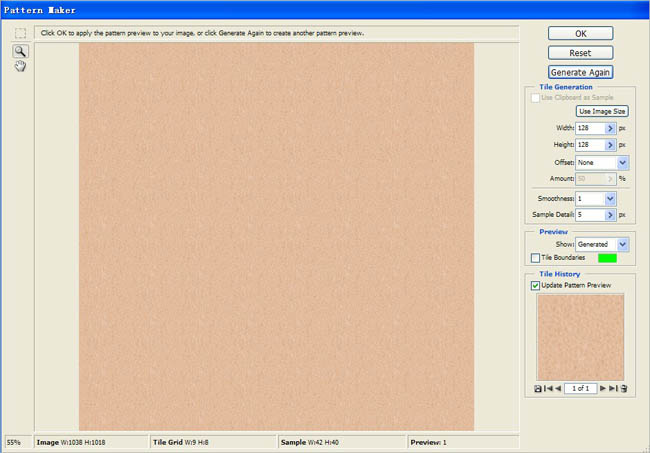
9、执行滤镜-图案生成器-点Generate生成皮肤。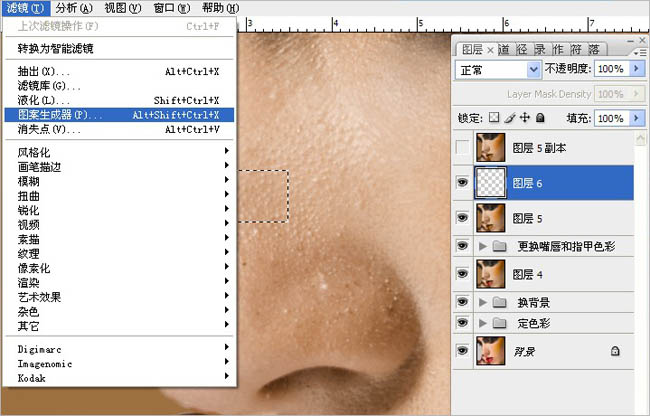
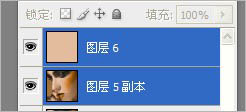
10、图层6不透明度为35,将图层6与图层5副本合并。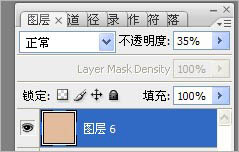
11、将图层6加上蒙版,蒙版反相得到黑色蒙版。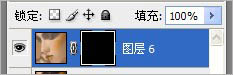
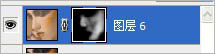
12、画笔不透明度10左右。前景色为白色。擦出面部要修整的部位。

13、锐化收工。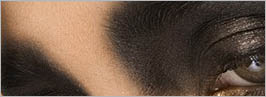
最终效果: