想要天天向上,就要懂得享受学习。图老师为大家推荐Photoshop完美修复偏灰多斑的人像图片,精彩的内容需要你们用心的阅读。还在等什么快点来看看吧!
素材图片有点偏灰,人物脸部的肤色缺少质感。处理的时候需要逐步增亮,同时还需要修复脸部的斑点和杂色。教程中用了一种非常实用的祛斑方法,双曲线法。这种方法操作起来简单,效果非常完美。 原图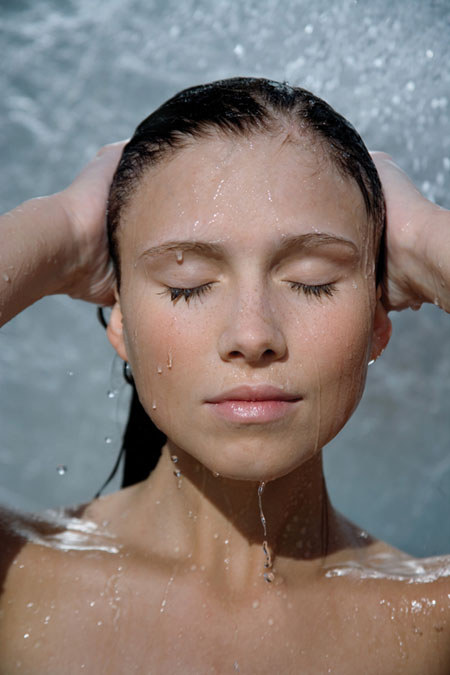
最终效果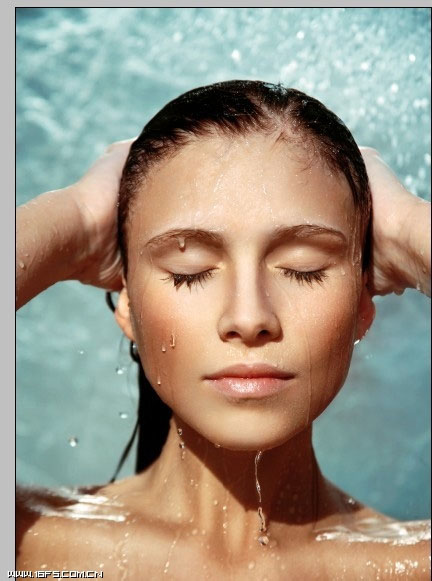
1、调整自动色阶(图像—调整—自动色阶),去灰。
2、新建空白层,选择修复画笔工具,对较明显的瑕疵进行处理。
3、创建新组,并在组内建立曲线调整层,如下。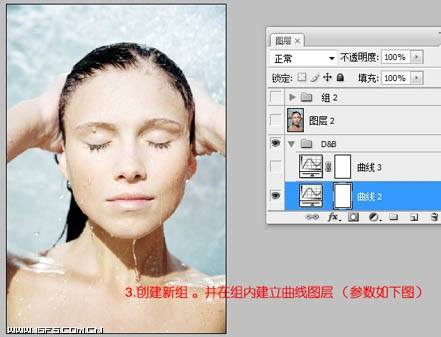
4、一个提亮。
5、一个压暗。
6、建立观察器、并新建颜色填充1 (黑色) 图层模式为颜色。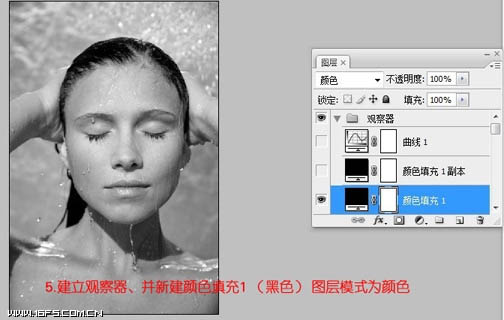
7、复杂颜色填充1 将其图层模式改为叠加。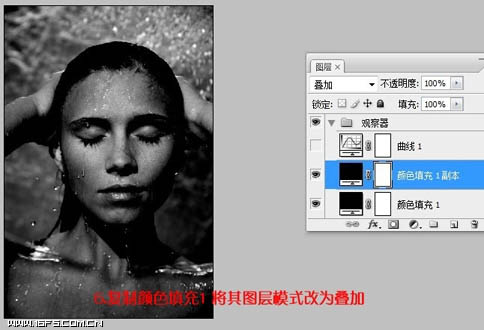
8、建立曲线图层 加深图像对比。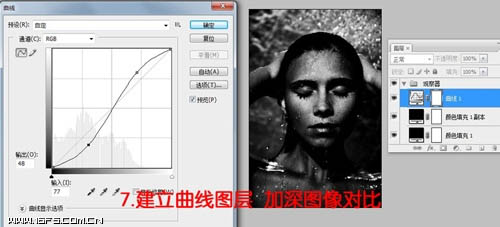
9、将叠加的颜色填充图层不透明度设置到60%左右。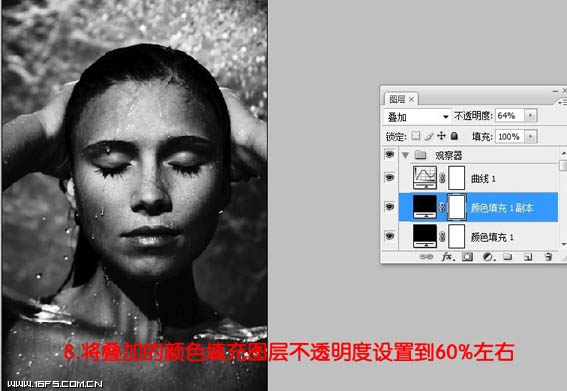
(本文来源于图老师网站,更多请访问http://m.tulaoshi.com/psxpcl/)10、用画笔工具修饰图像细节,画笔的属性设置参考如图设置,不透明度一般在10左右,流量100,画笔的大小根据修改的地方调整,如下。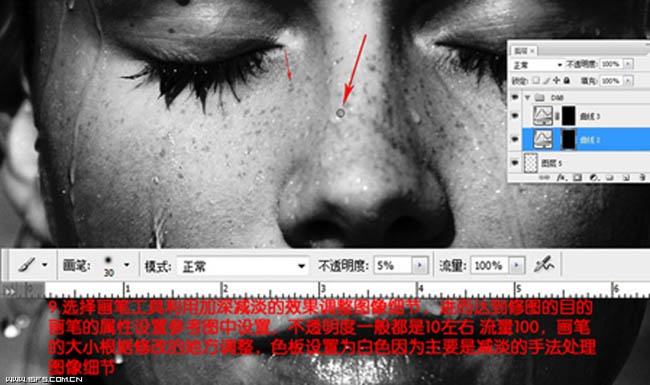
11、修饰后。
12、新建图层模式为柔光并勾选50%中性灰,生成50%灰的灰色图层。
13、用画笔工具来调整节人物的光影,不透明度设置为8%左右,前景色在黑与白之见转换。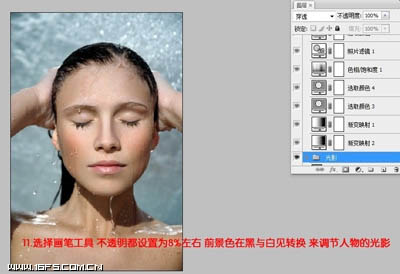
14、新建渐变映射图层 颜色从黑到白, 增加图像对比度。
15、新建渐变映射2 使皮肤为棕色。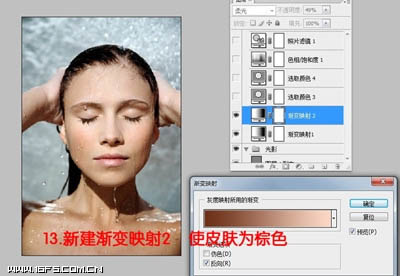
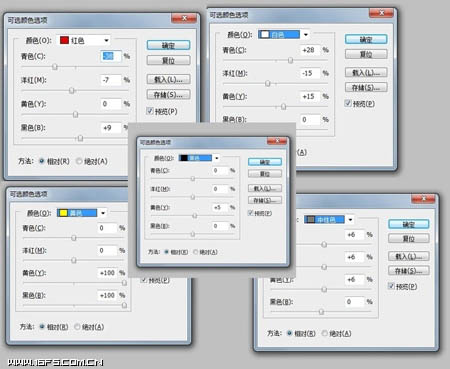
16、新建可选颜色图层 对人物的肤色进行调节 其参数如下。
17、再次建立可选颜色图层 参数如图。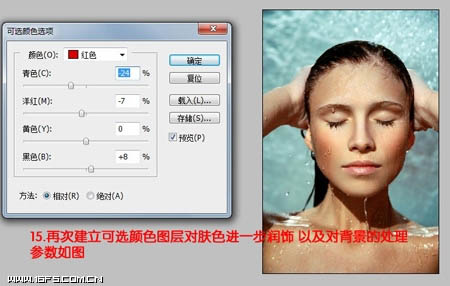
(本文来源于图老师网站,更多请访问http://m.tulaoshi.com/psxpcl/)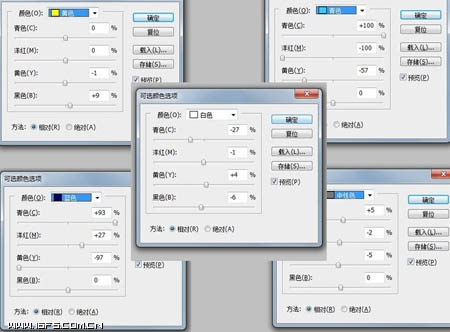
18、合并图层 并对人物进行进一步处理。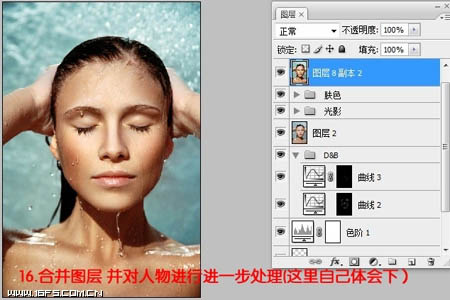
19、复制一层 将其图层模式设置为线性光,执行高反差保留,数值不能太大,达到锐化人像的效果。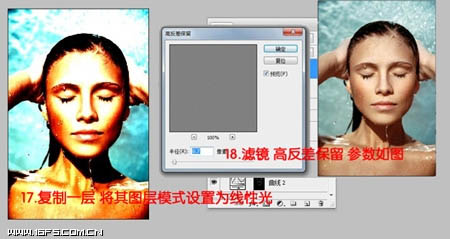
最终效果: