想不想get新技能酷炫一下,今天图老师小编就跟大家分享个简单的Photoshop制作发光的红色霓虹字教程,一起来看看吧!超容易上手~
本教程介绍霓虹字的制作方法。大致过程:打上文字后用图层样式做出简单的发光字效果,然后添加一些灯泡等素材装饰在文字中间,再渲染一下颜色即可。
最终效果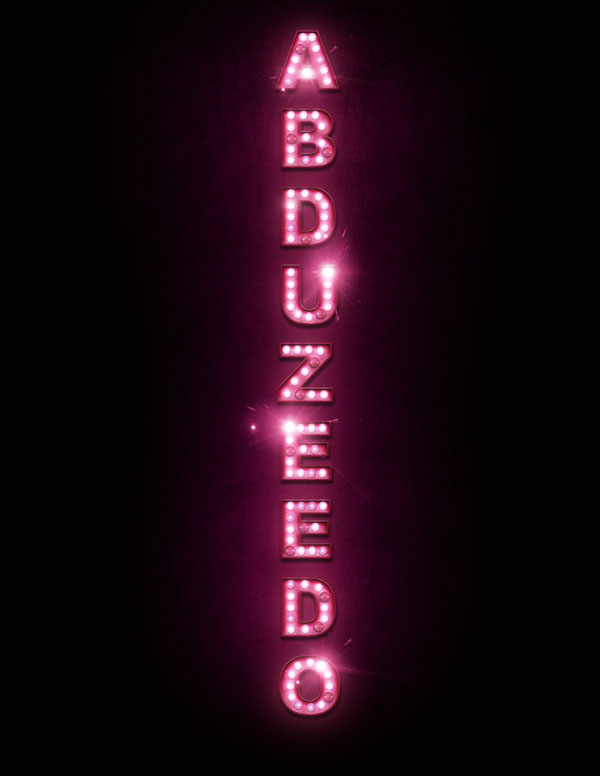
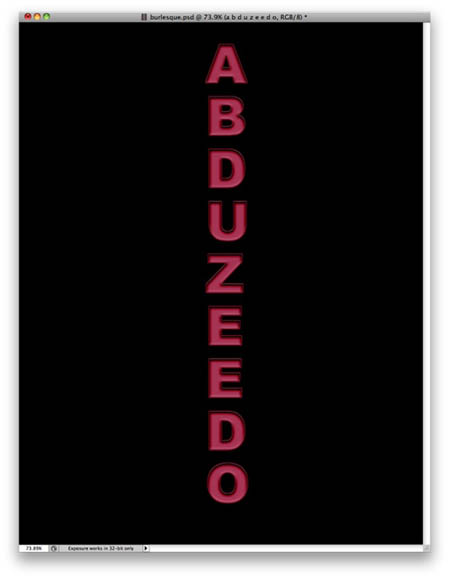
1、打开Photoshop,创建一个新文档,大小是 1113x1440像素,黑色背景。然后竖向添加一个文本。
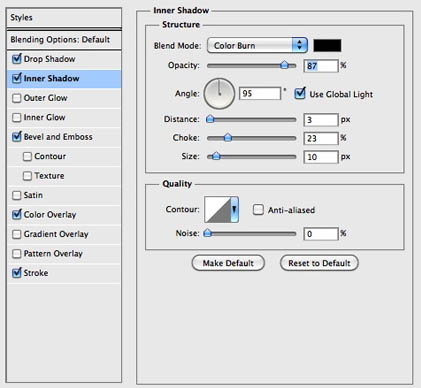
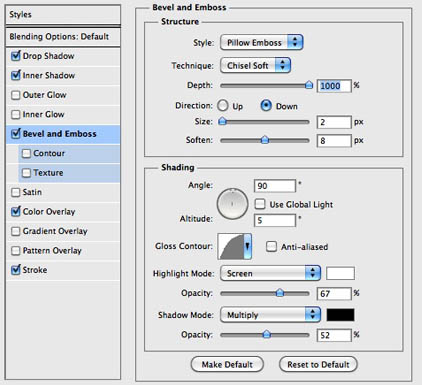
2、选择文字层,去 “图层图层样式投影。使用下面的阴影值。随后设置其他数值,参照下面这些图。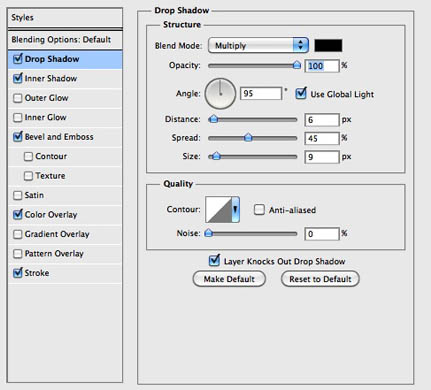
颜色值是#b2355b。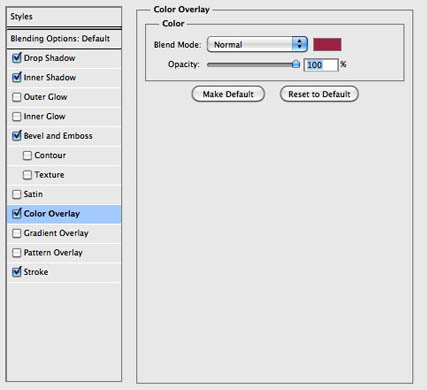
下面的颜色数值是#6f0022。
(本文来源于图老师网站,更多请访问http://m.tulaoshi.com/psxg/)
3、要创建灯光效果,我们从其他的图上复制一个光点来做灯泡。我用的图像你可以在这里找到它。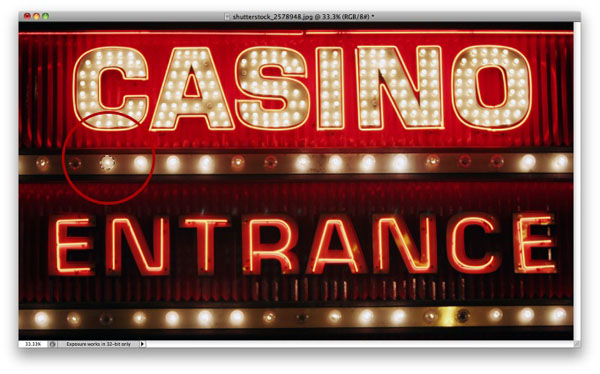
4、把这个小光点按照下图放置在文本上,然后把这些光点合并为一层(图层合并图层)。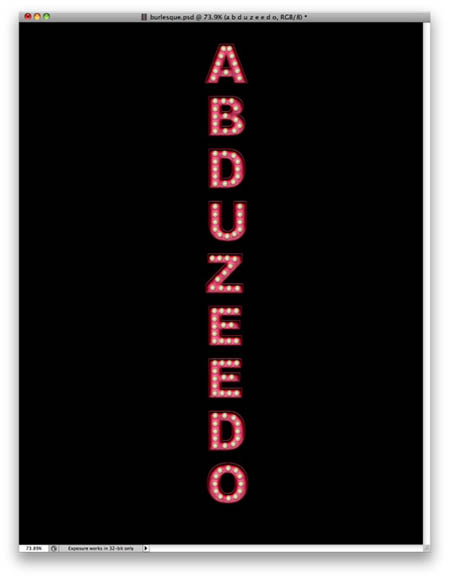
5、选择光点层(灯泡层),进入 “图层图层样式投影。使用下面的值。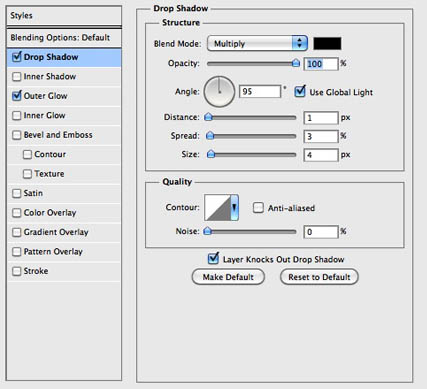
6、现在设置外发光。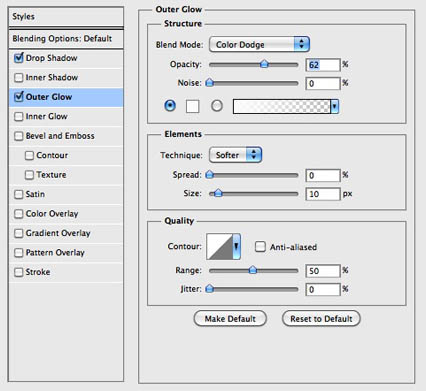
7、去图像调整色相和饱和度。点击着色按照下图设置数值,更改为粉红色色调。
8、复制这一层,去掉阴影和外发光效果。之后去 滤镜模糊高斯模糊。半径为20像素。新建一个文件夹,把这层放进去,然后更改文件夹的混合模式为颜色减淡。
9、使用橡皮擦工具(E),调整为灯泡差不多大小。然后用从上一步选择的模糊层开始清除一些灯,使部分小光点(灯泡)暗淡一些。(真实的灯泡不可能是一样的亮度。)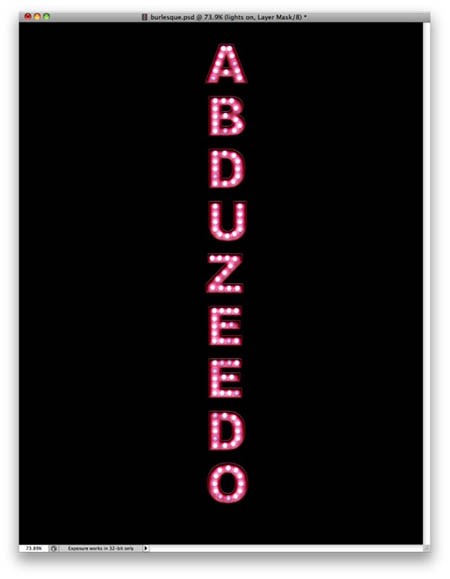
10、从下面的图像上扣一个坏掉的灯泡下来。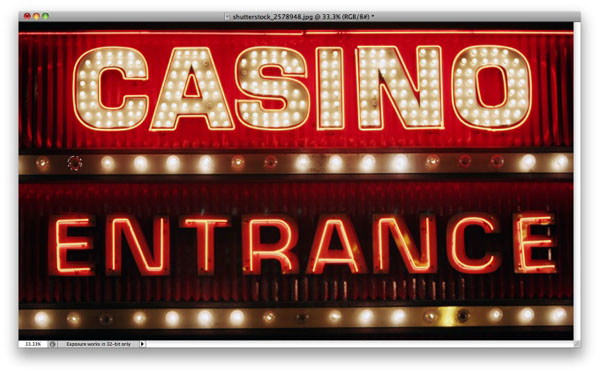
11、每个字母里都有坏掉的灯泡,我们按照下图位置复制粘贴这些坏掉的灯泡(光点),然后把它们合并为一个层。
12、到 “图层图层样式投影。
13、这是到目前为止我们得到的效果。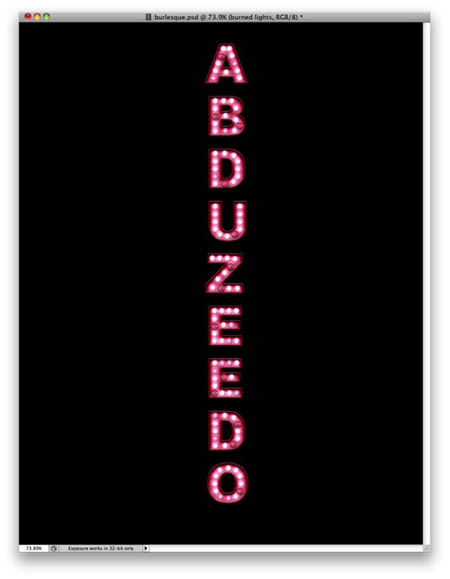
(本文来源于图老师网站,更多请访问http://m.tulaoshi.com/psxg/)14、让我们给灯泡添加一些耀眼的光,素材图片你可以在这里下载。之后,调整素材图片的大小并删除多余部分只留下耀斑的部分。去图像调整色相/饱和度。再次选择着色选项,改变色调为粉红色。这一层使用滤色混合模式。看下图,我们多在几个灯泡上弄出这些光来。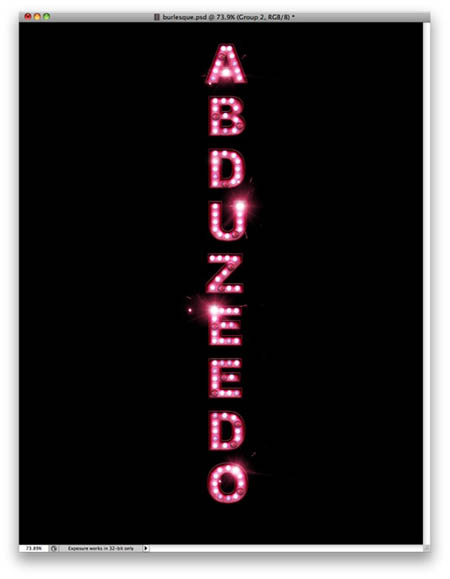
15、现在复制文本,并关闭所有的特效,给一个高斯模糊效果,这样做为的是能让文字发出淡淡的粉红光线,看下图。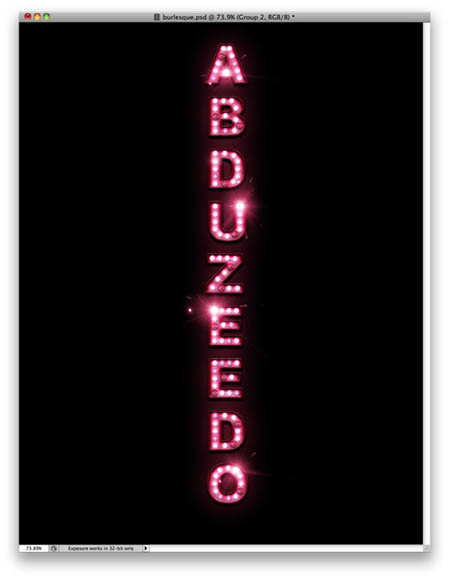
16、现在,让我们下载一张纹理素材做背景.网上有很多,大家自己找一下就有的。
17、对比上图,做出下图效果有很多方法,本教程就不在这里累述了,不会的同学自己琢磨一下哦。
18、选择纹理层,到图层图层样式颜色叠加。使用粉红色的颜色,混合模式为正片叠底。我们这样做是为了使纹理得到粉红色。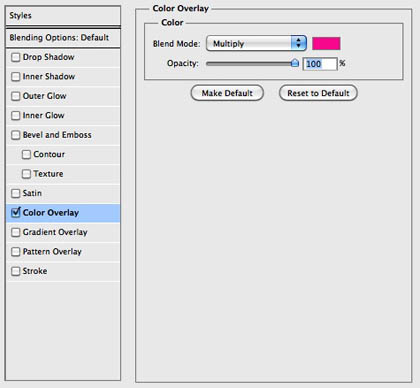
19、选择所有图层并复制它们,之后合并为一个新文件,然后使用键盘快捷键 ALT+SHIFT+E。之后去滤镜模糊高斯模糊。半径为20像素。你将获得一个漂亮的模糊层,改变混合模式为屏幕,不透明度为60%,这将创建一个非常酷的粉色发光效果。
最终效果: