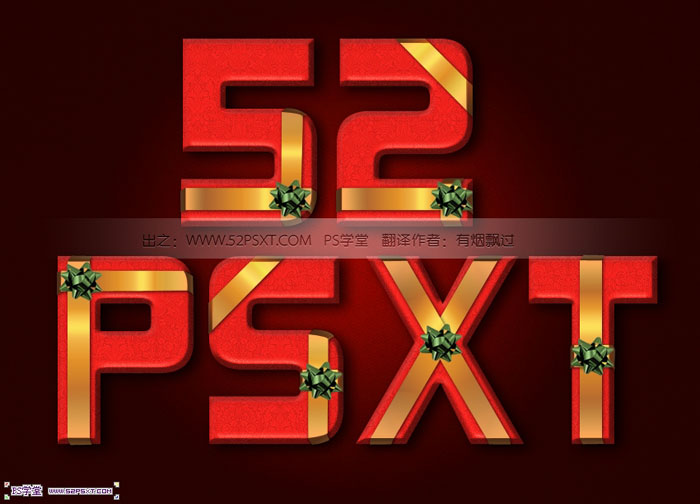
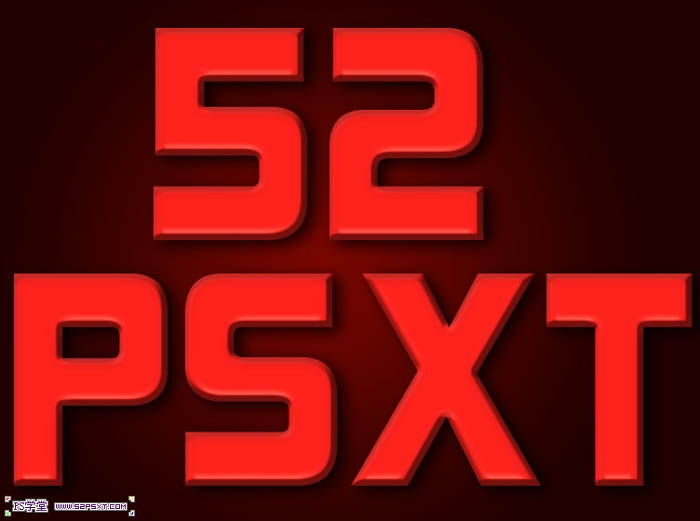
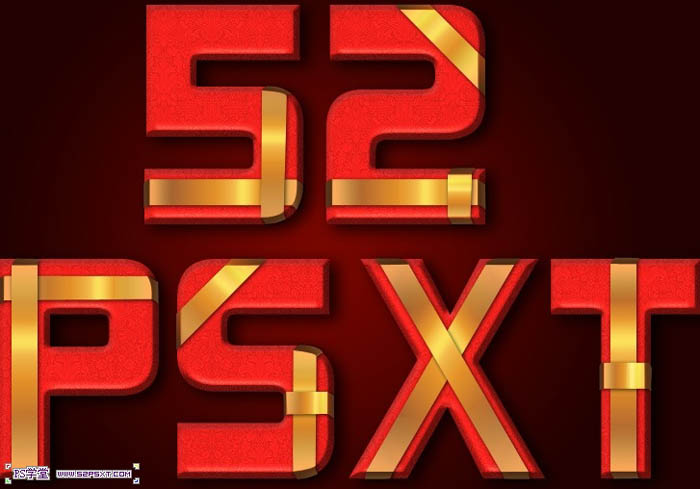
最终效果
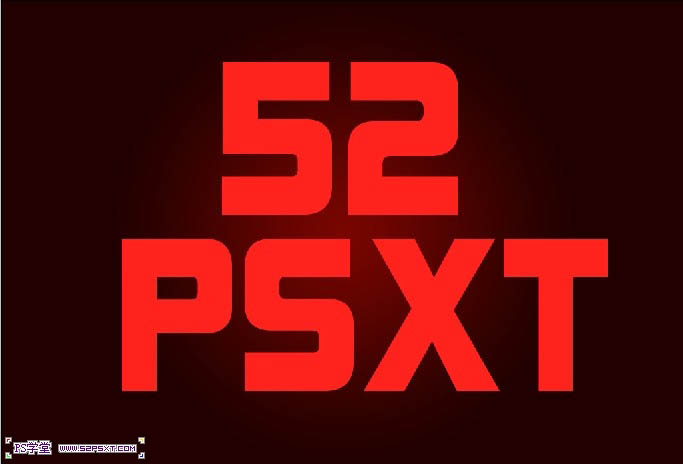
1、新建1024*786px大小文档,拉径向渐变,颜色#780500到#210100。

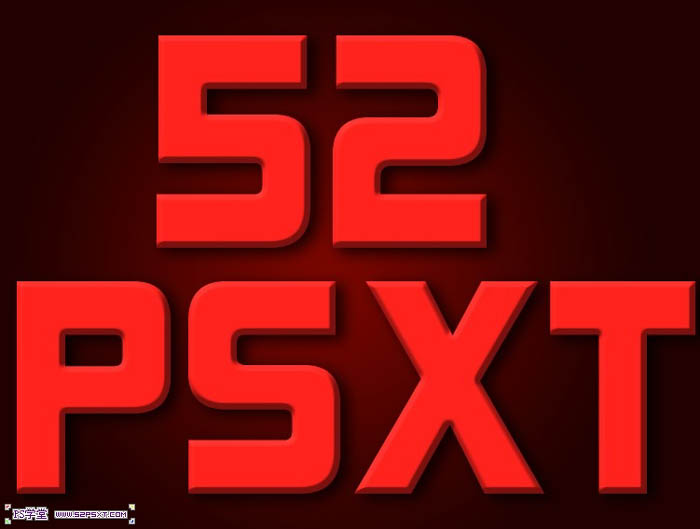
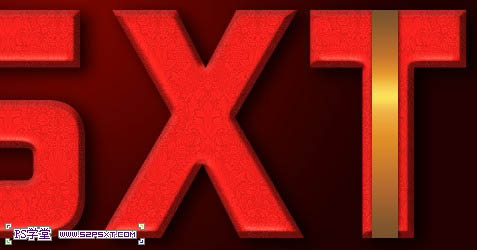
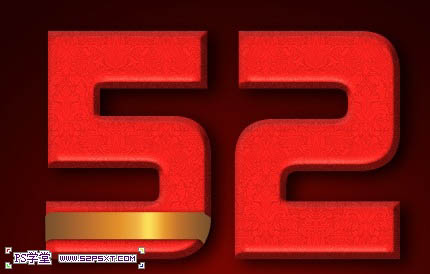
2、这里我选择的字体是Kimberley(颜色#ff221d,打上字体“52psxt”,字体大小看效果而定。

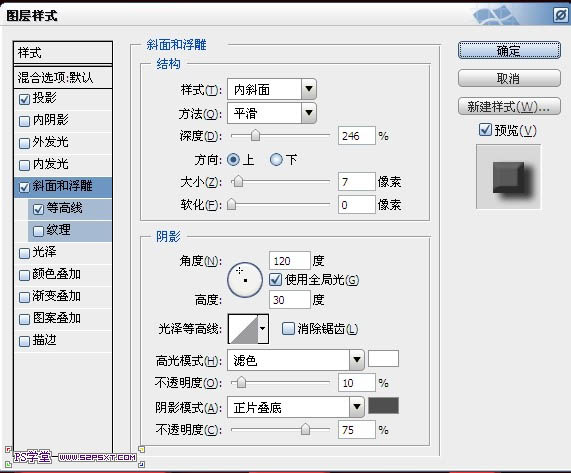
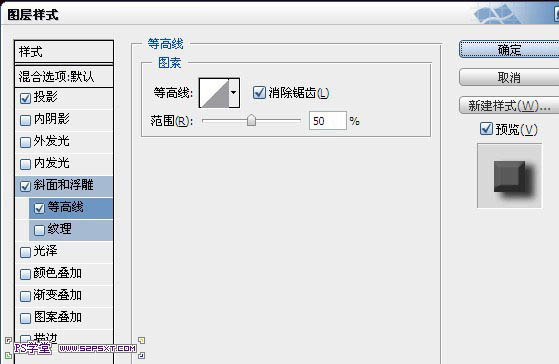
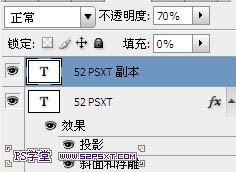
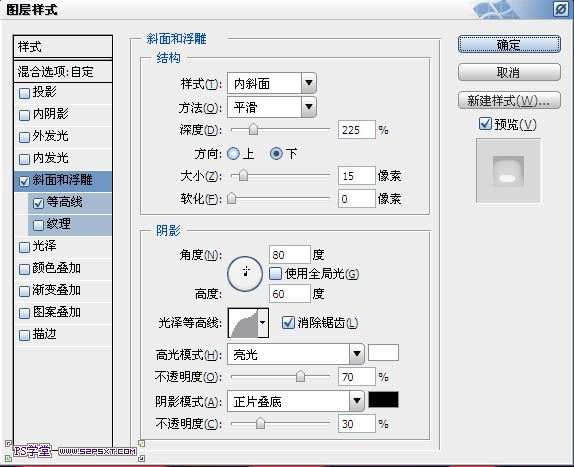
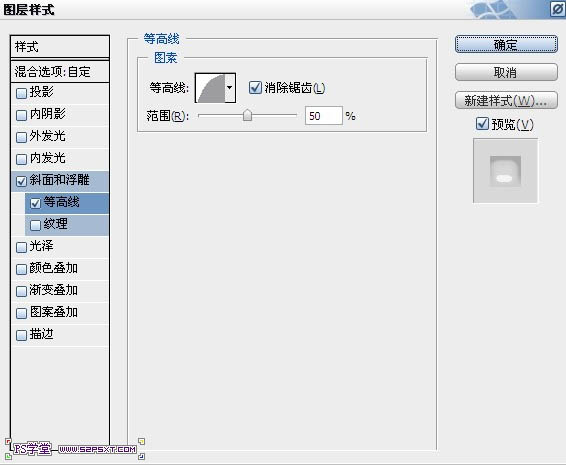
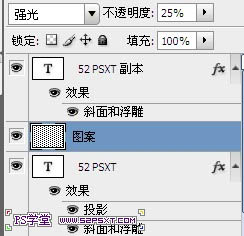
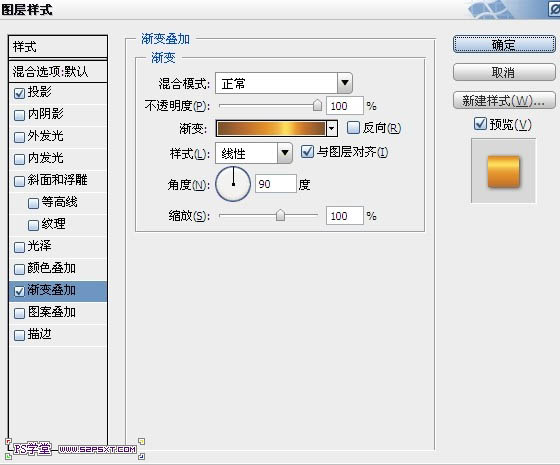
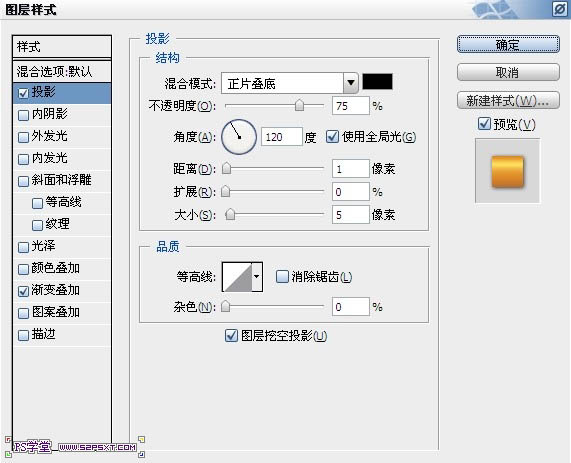
4、将字体图层副本填充改为0%,不透明度70%,双击设置字体图层如下。
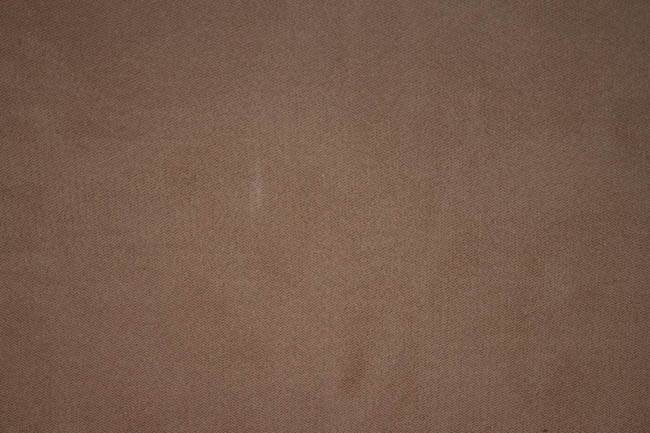
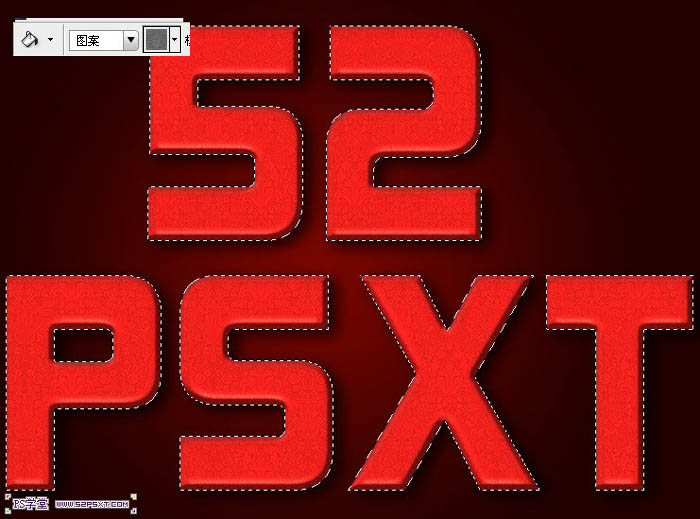
5、在两个字体图层中间新建图层“图案1”,按住ctrl键点击字体图层,得到字体选区。选择油漆桶工具,在上面选择填充图案1,在“图案1”图层上进行填充,将图案1图层模式改为强光,不透明度25%。
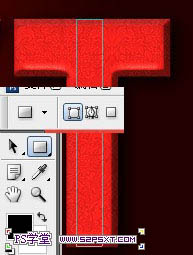
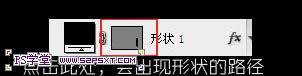
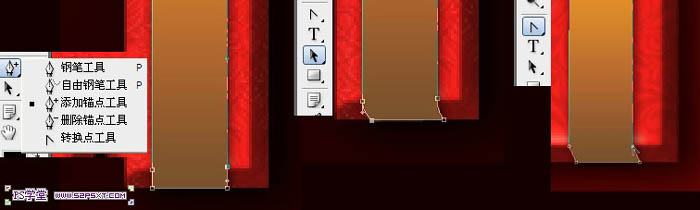
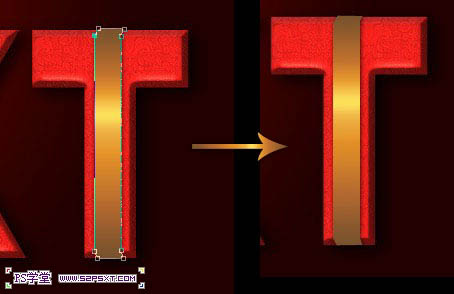
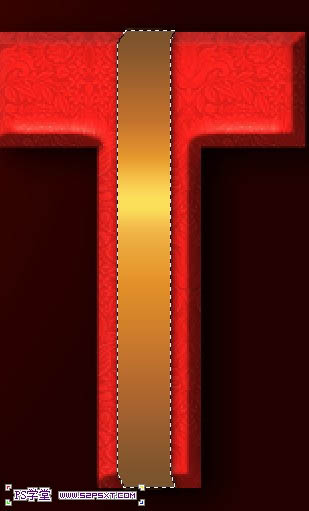
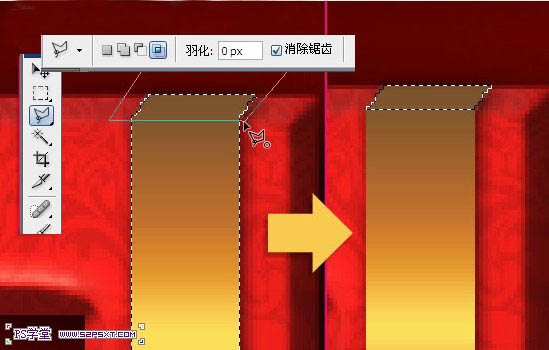
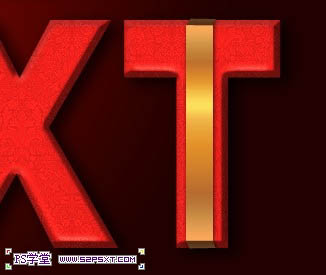
7、将文档放大,我们现在要做细节方面的处理。选择钢笔工具--添加描点,如下图一样在字体凸起的地方添加描点。再选择路径选择工具,按住ctrl键拉动最底下的描边,做出弯曲的效果。
选择转换点工具,点击添加的描边,将线条变直。同样的方法处理矩形上面。
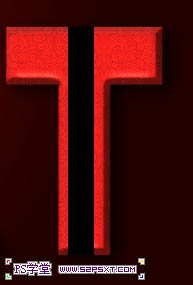
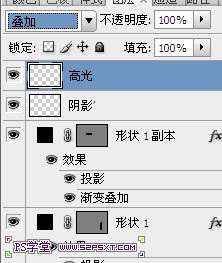
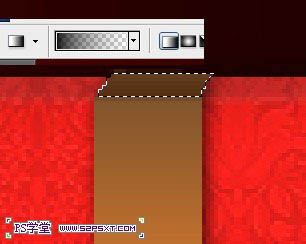
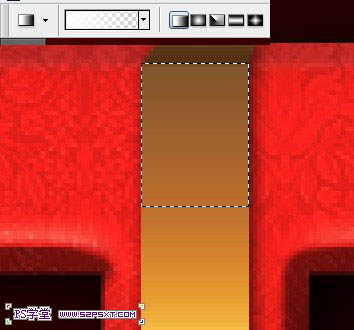
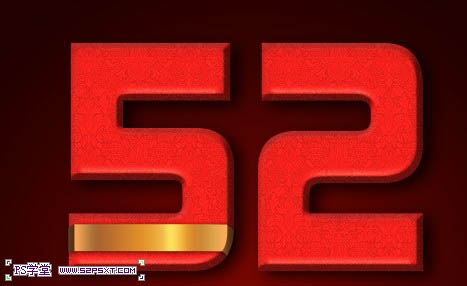
9、现在我们来处理包边问题。在所有形状上面新增图层“阴影”,设置图层样式为柔光,不透明度70%,再新增图层“高光”,图层模式叠加。

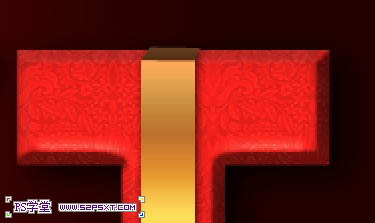
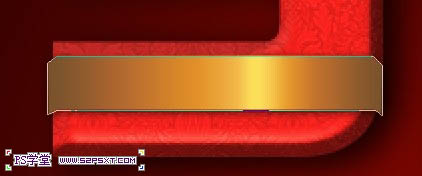
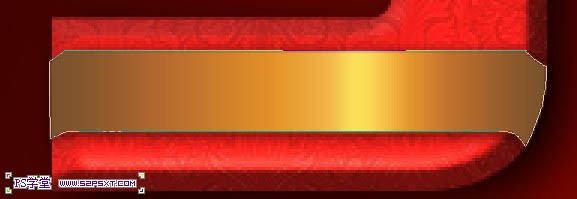
13、同样的方法,做好你想做的彩带。
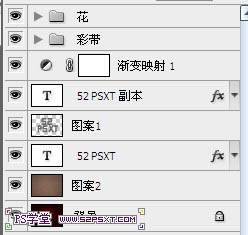
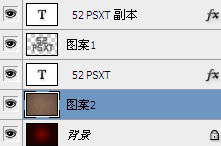
15、最后,我们做下最后的修饰,打开图案2,拉入文档中放在背景图层上面,改图层模式为颜色减淡,不透明度30%。

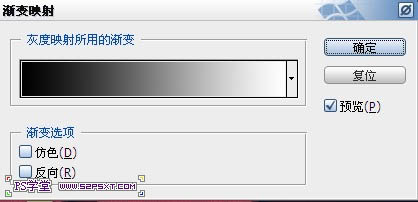
16、在字体图层上新增调整图层--渐变映射,图层样式点光,不透明度10%。