000000Tra
2016-01-31 15:52
今天给大家分享的是由图老师小编精心为您推荐的利用画笔描边及图层样式制作漂亮的发光字,喜欢的朋友可以分享一下,也算是给小编一份支持,大家都不容易啊!
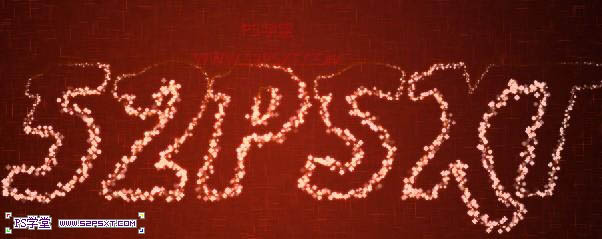
本教程文字效果制作方法比较独特,整体效果是用不同的笔刷描边路径,再分别加上一些发光样式来完成。制作中还可以修改描边图层的混合模式,叠加出更绚丽的效果。 最终效果
1、新建1000*700大小文档,新添图层“渐变”,将前景色设为#724242,背景色设为#3c1a1a,在画布中拉径向渐变。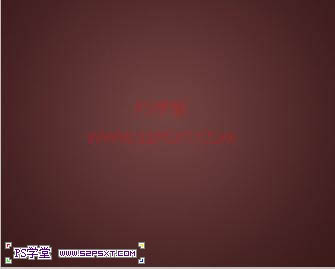
2、双击渐变图层,设置图层样式如下。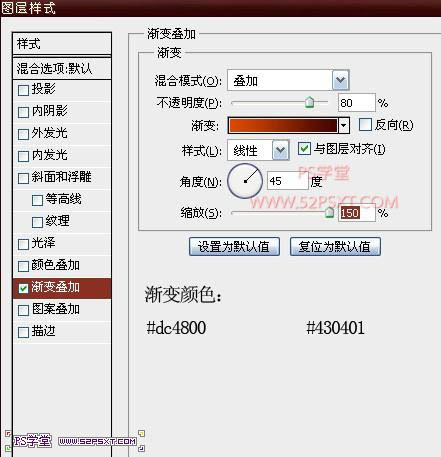
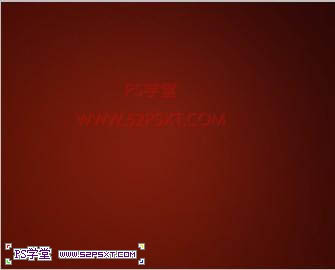
3、执行滤镜--素描--水彩画笔,设置如下。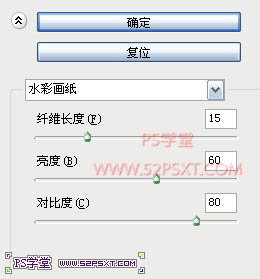

4、在画布上用Aardvark字体打上“52psxt”,字体大小颜色随意。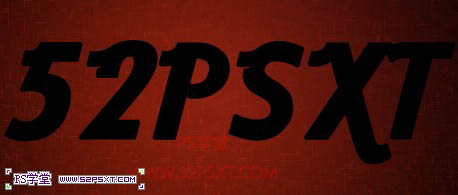
5、改字体图层填充为0%,双击字体图层,设置图层样式如下。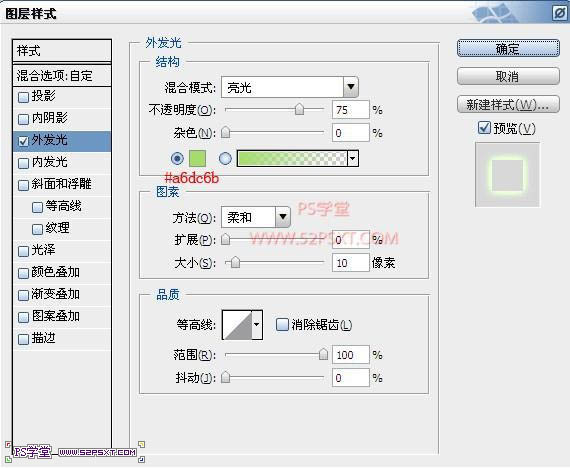
6、按住ctrl键点击字体图层,得到字体选区,右击建立工作路径。
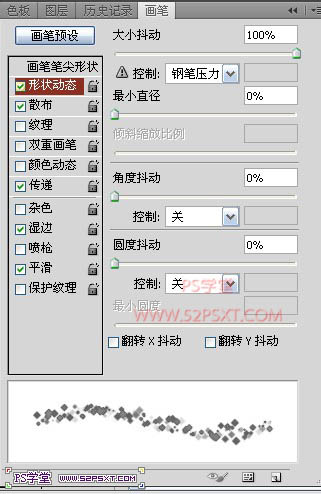
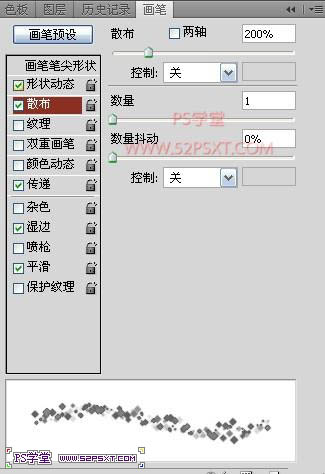
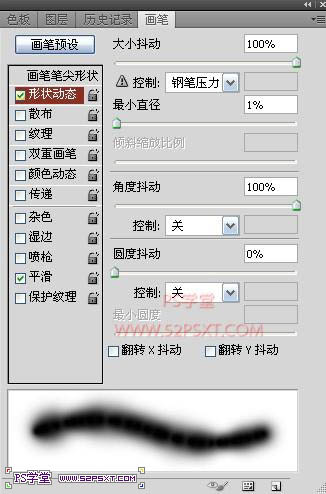
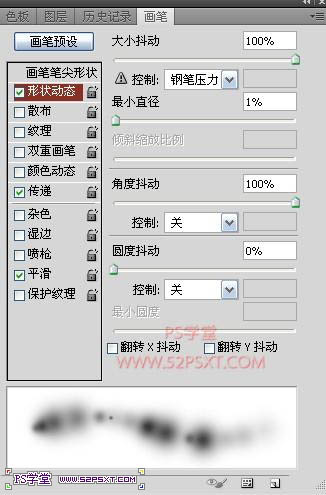
7、设置画笔如下。
(本文来源于图老师网站,更多请访问http://m.tulaoshi.com/psxg/)
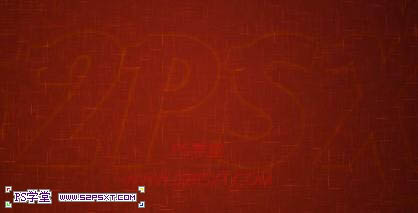
8、选择钢笔工具,新建图层“描边”,右击路径,描边路径,不要忘记点模拟压力。

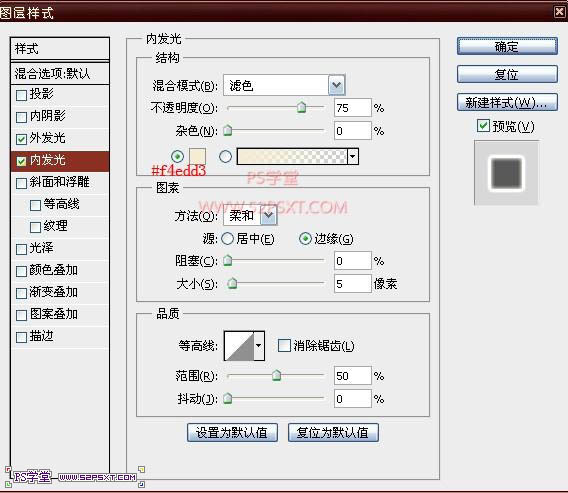
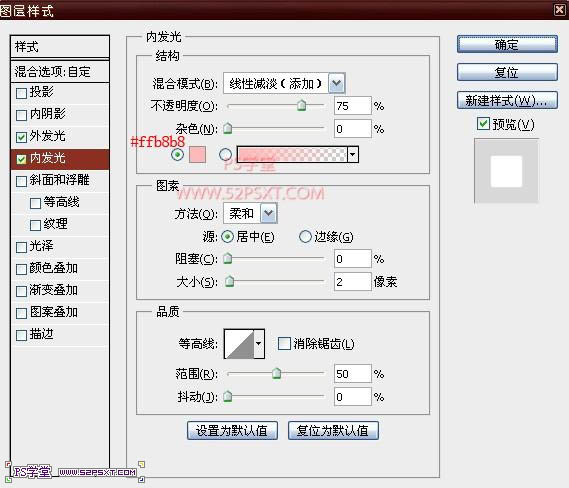
9、双击描边图层,设置图层样式如下。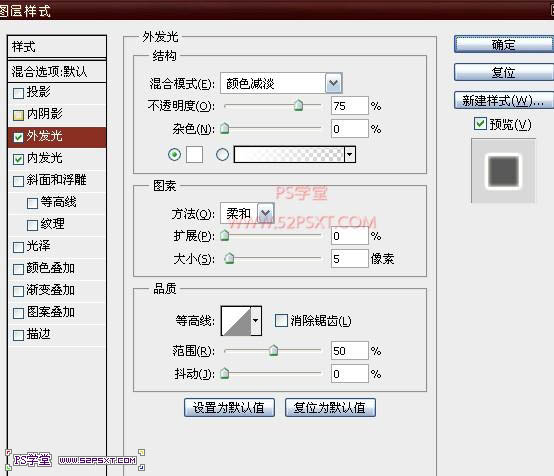
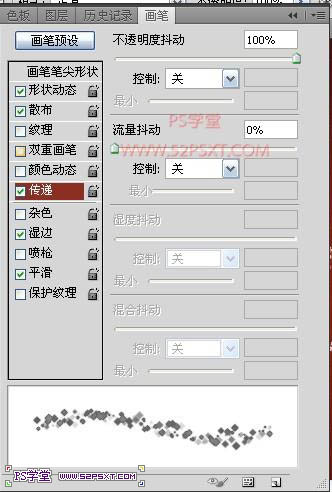
10、继续设置画笔如下。
11、新建图层“高光”,同样的方法,得到选区建立路径,描边路径。
12、双击“高光”图层,设置图层样式如下。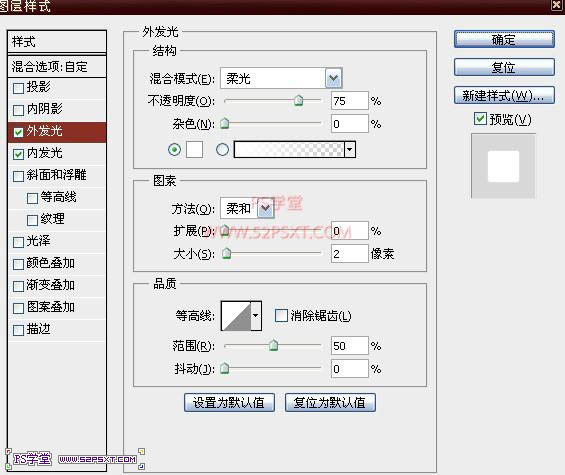
13、将“高光”图层混合模式改为叠加。
14、再继续设置画笔如下。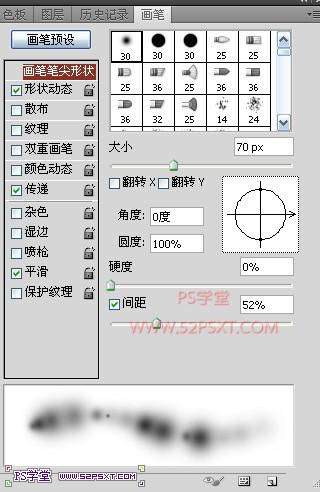
(本文来源于图老师网站,更多请访问http://m.tulaoshi.com/psxg/)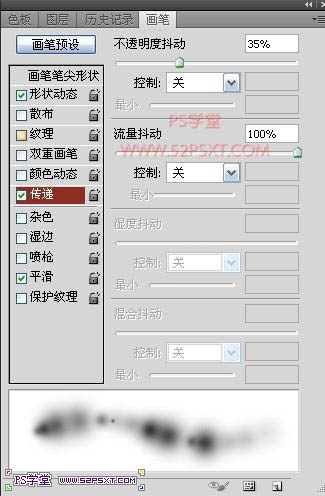
15、建立图层“颜色”,同样方法得到选区建立路径,描边路径,改图层模式为颜色。
16、到这里基本上差不多了。最后我们再做个整体的修饰。来到渐变图层,将背景处理得更完美,执行滤镜--画笔描边--喷色描边,设置如下。

17、新建图层“高光2”,设置图层样式如下。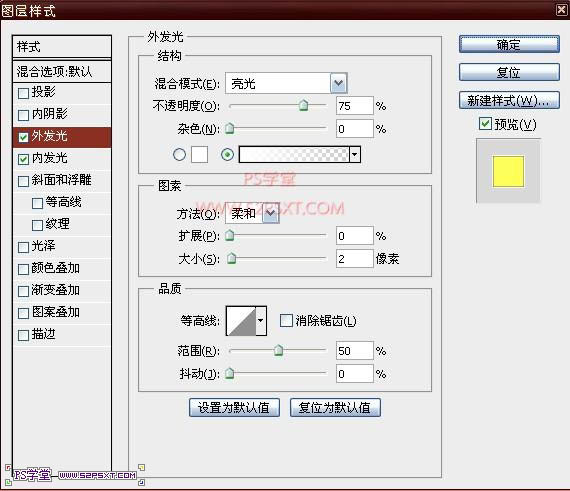

18、用我们第十四步设置的画笔,白色,在字体上擦一点高光。完成最终效果。


