fangqiziwo
2016-01-31 14:41
get新技能是需要付出行动的,即使看得再多也还是要动手试一试。今天图老师小编跟大家分享的是Photoshop打造细腻光滑的黄金字,一起来学习了解下吧!
用图层样式制作金属字,最重要的就是要有耐心,因为图层样式设置参数并不太多,不过数值控制非常重要,不同大小的文字或图形用到的数值不同,设置的时候需要慢慢去尝试。
最终效果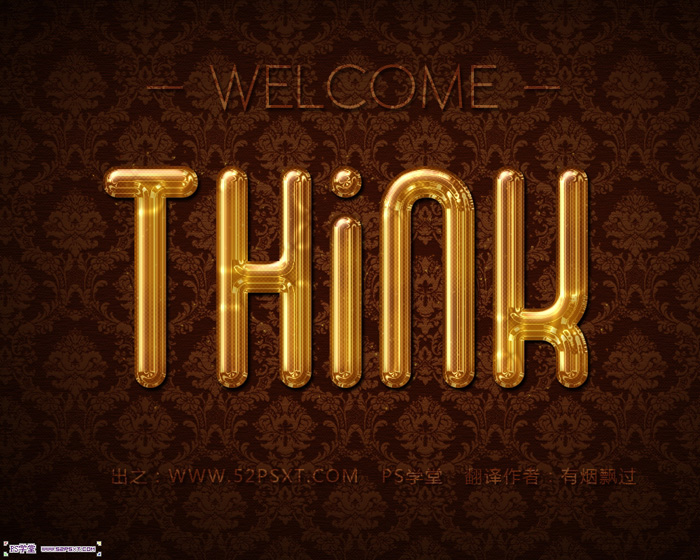
1、新建1000*800px大小的文档,我们复制背景图层,给“背景副本”图层油漆桶填充颜色#452c16。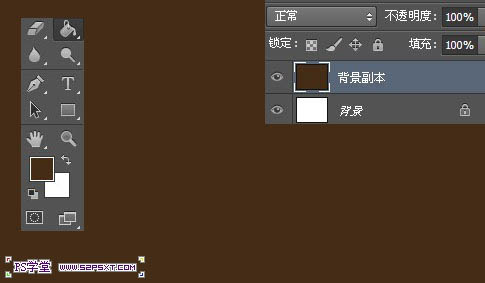
2、PS打开图案素材,编辑--定义图案即可。

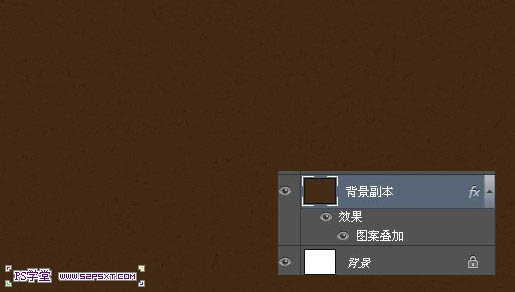
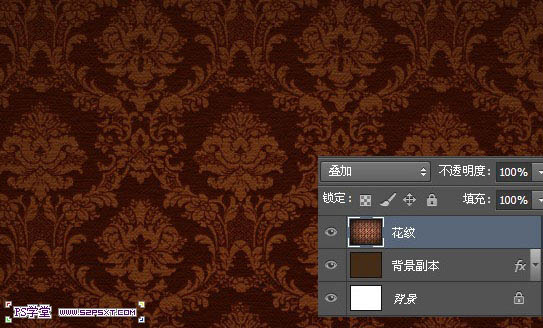
3、我们给“背景副本”图层添加图层样式--图案叠加。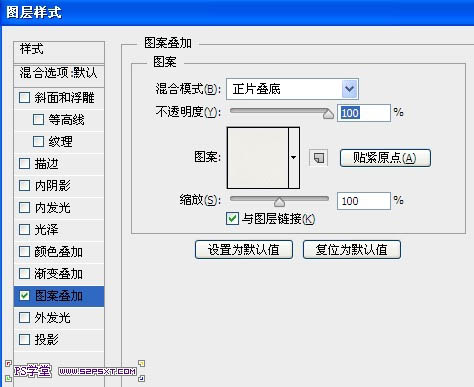
4、我们打开“花纹”素材,摆放好位置,改图层模式为叠加。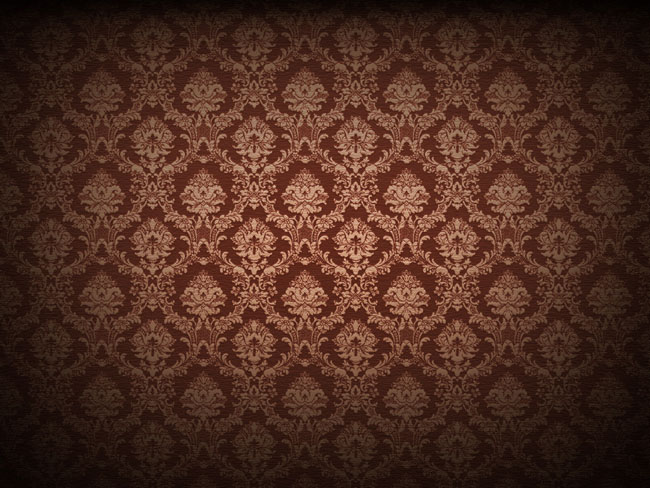
5、打上字体“THink”,这里字体选择的是“False Positive BRK”,颜色#b37a37,大小430pt。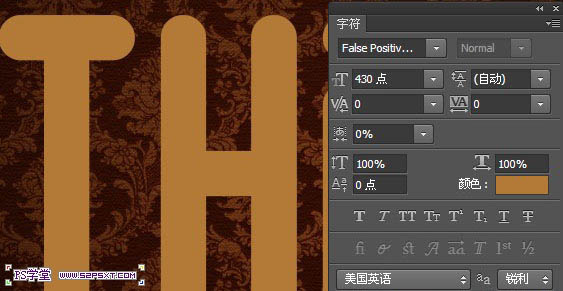
6、复制字体图层,得到“字体副本”图层,改图层填充0%。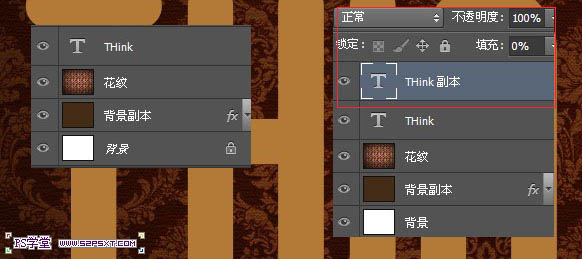
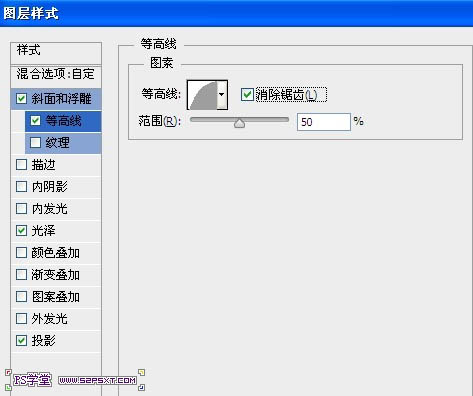
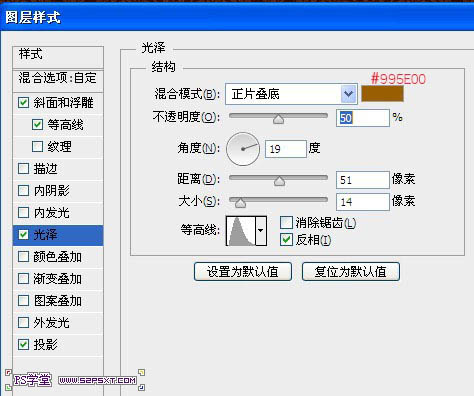
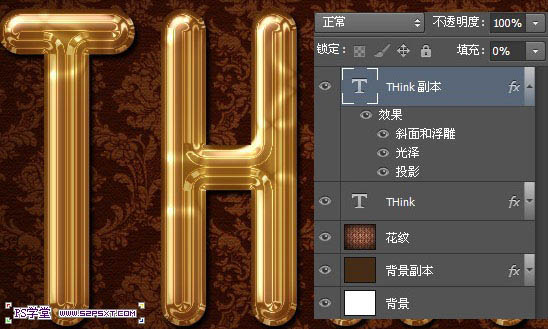
(本文来源于图老师网站,更多请访问http://m.tulaoshi.com/psxg/)7、给“THink”图层添加图层样式如下。
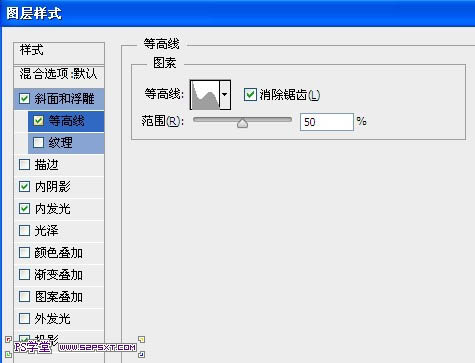
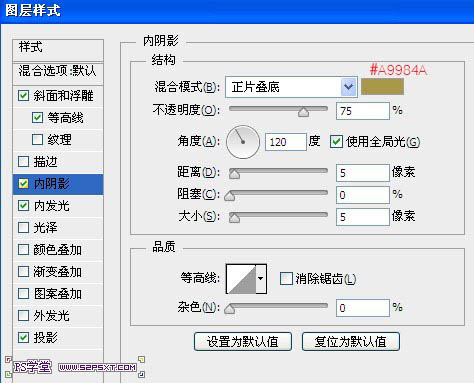
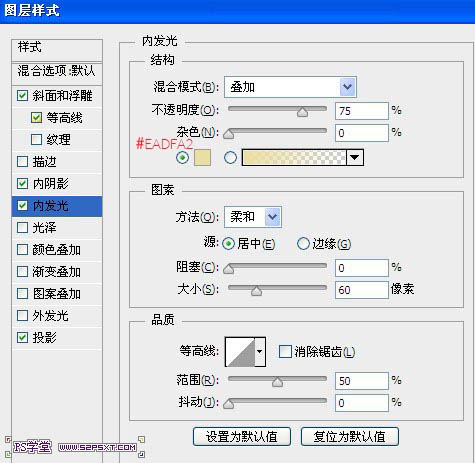
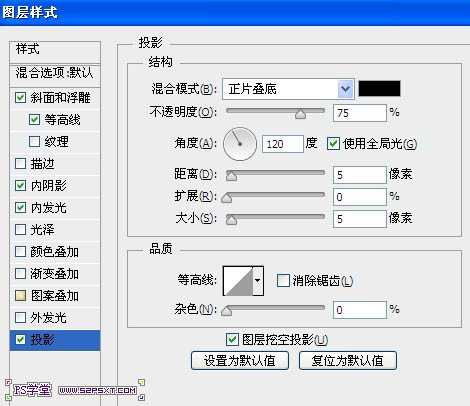
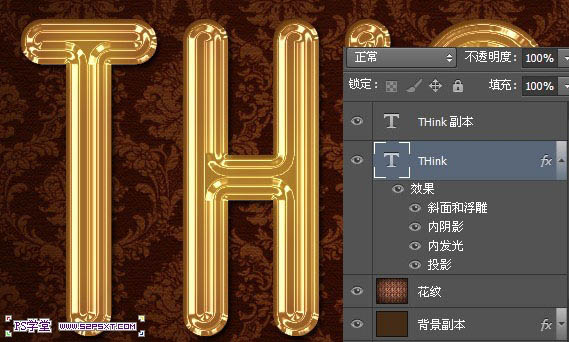
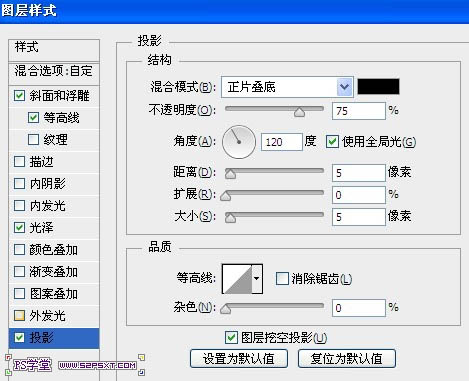
8、给“THink副本”图层添加图层样式如下。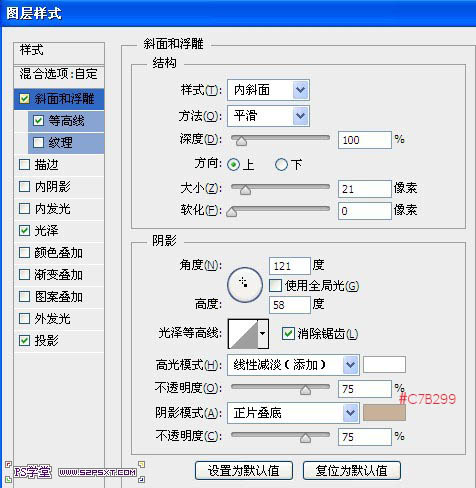
9、我们在两个字体图层中间新建图层“样式”,按住ctrl键点击字体图层,得到字体选区。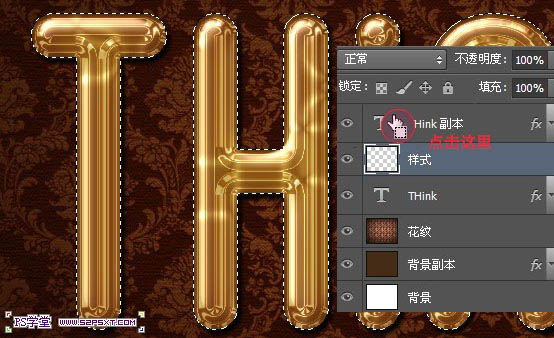
10、设置前景色为#ffac19,背景色为#432c17,在“样式”图层上执行滤镜--渲染--云彩。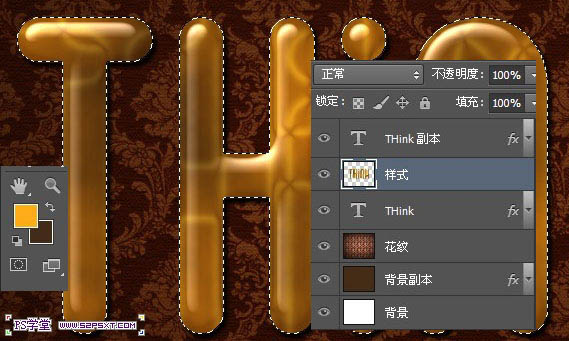
11、ctrl+D取消选区,继续执行滤镜--素描--半调图案,设置如下。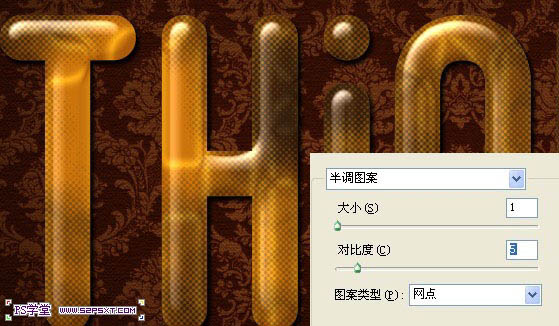
12、我们将“样式”图层模式改为柔光,不透明度90%。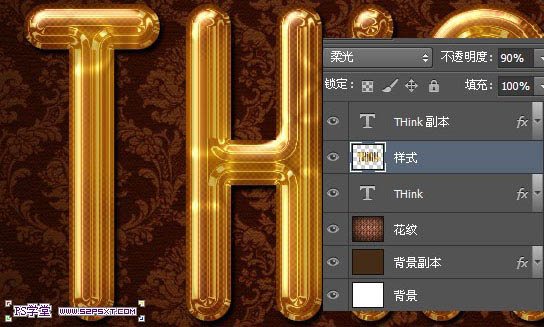
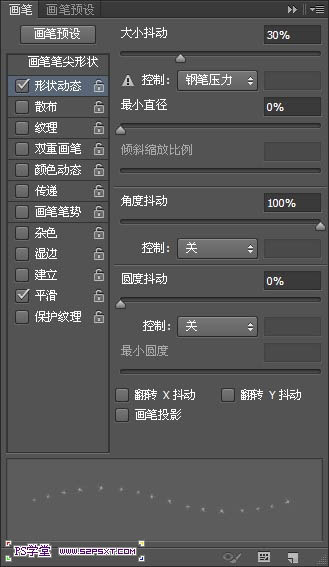
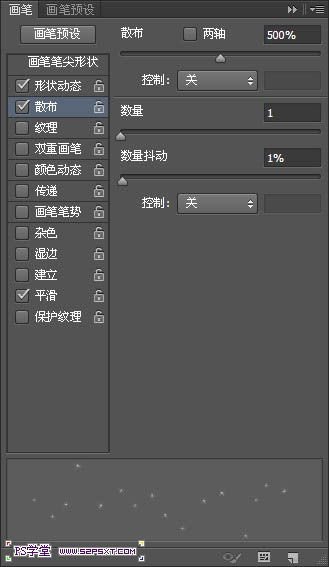
(本文来源于图老师网站,更多请访问http://m.tulaoshi.com/psxg/)13、选择画笔工具,设置画笔如下。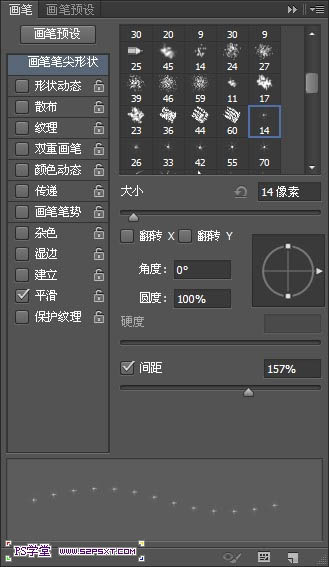
14、在“THink”图层上新建图层“星光”,右击字体图层,选择创建工作路径。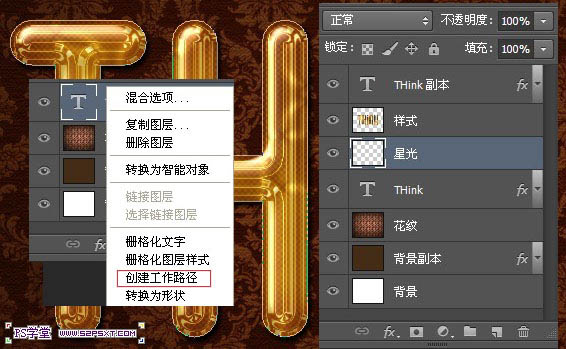
15、设置前景色为#fff1d8,右击描边路径,确保你在“星光”图层上操作,改图层模式为亮光。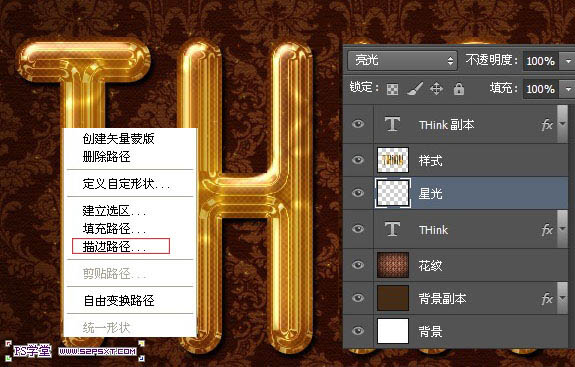
16、到这基本完成了,最后我加上一些小字,字体颜色#ffe9e1,模式柔光,样式投影。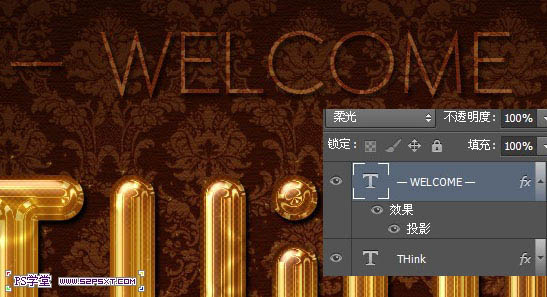
最终效果:


