602253752
2016-01-31 13:50
岁数大了,QQ也不闪了,微信也不响了,电话也不来了,但是图老师依旧坚持为大家推荐最精彩的内容,下面为大家精心准备的Photoshop快速制作带裂纹的霜冻字,希望大家看完后能赶快学习起来。
霜冻字最快的制作方法就是直接使用冰冻纹理素材,只需给文字增加一点浮雕效果,把冰冻纹理直接加到文字里面,初步的效果就出来了。后期用蒙版等增加裂纹及雪花细节等即可。
最终效果
1、新建一个文件,大小为1400*900px,背景为蓝黑色,具体数据如下图。
2、将先前下载好的图片“ice texture”置入,适当调整其大小。

3、将其混合模式改为柔光。
4、打开曲线调整,对ice texture图层进行调整,数据如下。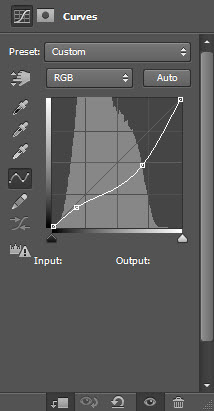
5、新建一个图层,混合模式调整为柔光,用一个半径较大、软的白色的笔刷涂抹图层中间部分,效果如下。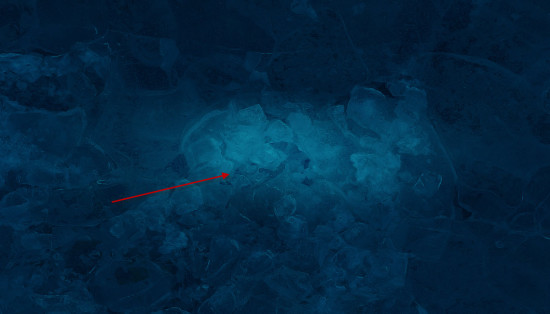
6、选择一个你喜欢的字体,输入一些文字。
7、打开文字图层的混合模式,调整如下: 斜面和浮雕:

内发光: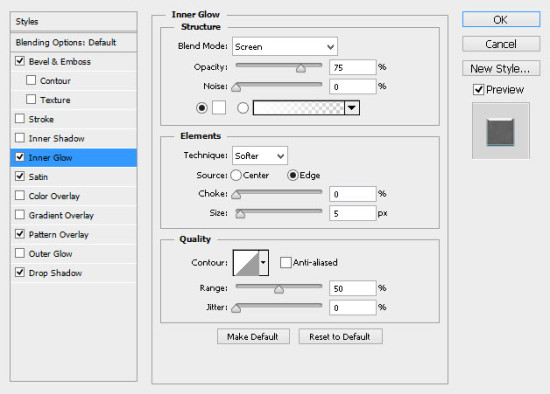
光泽: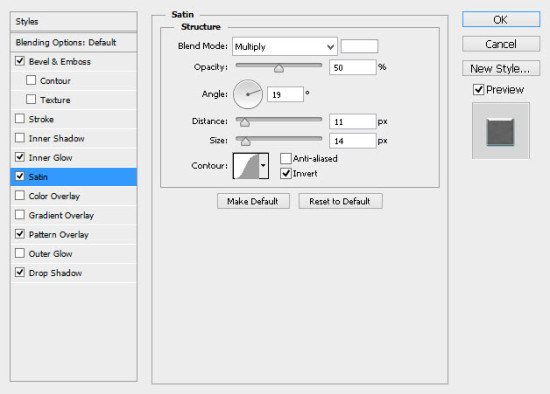
图案叠加:
投影:
8、给文字图层添加图层蒙版,使用你先前下载的那个像橡皮一样的裂纹刷,刷掉一部分文字。可直接在PS中打开下图所示的裂纹图片,定义成画笔即可使用。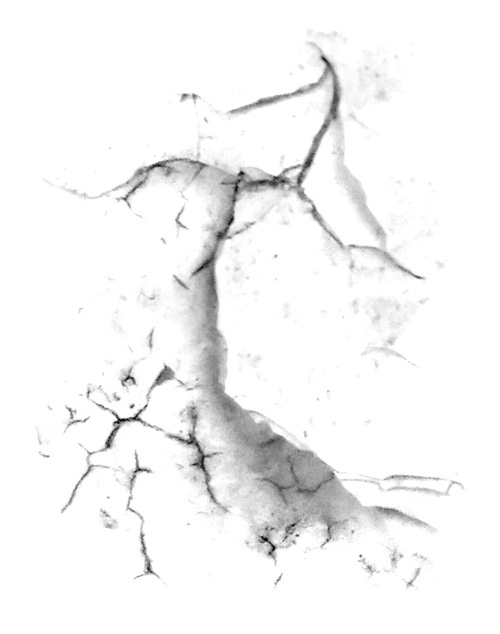
(本文来源于图老师网站,更多请访问http://m.tulaoshi.com/psxg/)


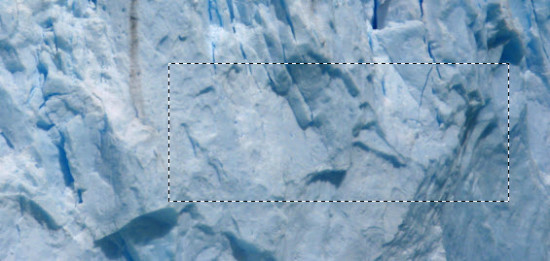
9、打开”ice texture 2″,用选择工具选一部分。
10、复制选区并将其粘贴到我们要做的图中,覆盖文字。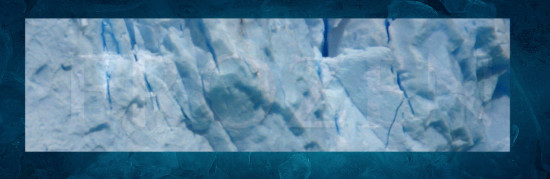
11、点击鼠标右键选择“创建剪贴蒙版”,效果如下。
12、我们要加上一些雪花,选择一个粉刷。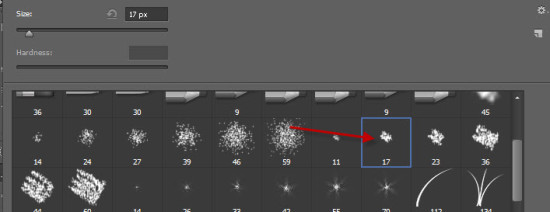
13、在文字的边缘涂抹,适当调整笔刷的大小。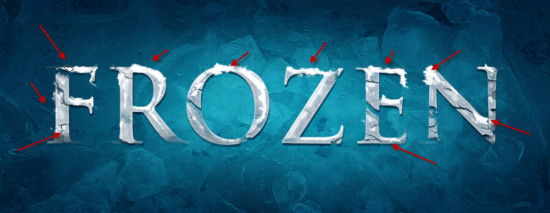
14、我们还可以添加一些额外的纹理,比如说用快速选择工具选择冰山顶峰图像,如下。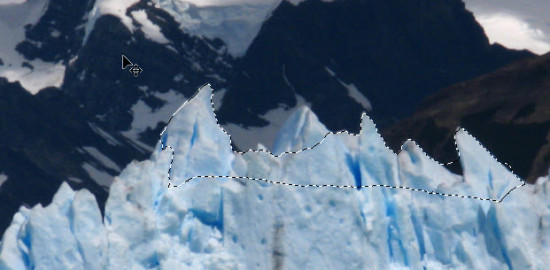
15、复制选区粘贴到图的下方。
16、你可以用粒子刷在图片中随意的画一些雪花。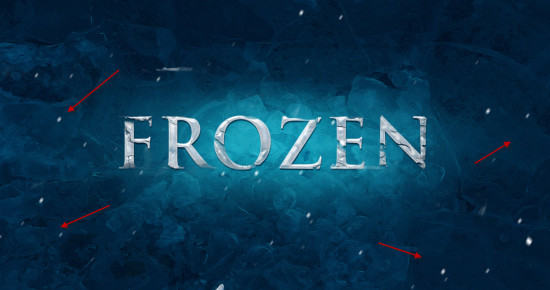
17、复制背景图层,为其添加强化边缘滤镜,如下。
(本文来源于图老师网站,更多请访问http://m.tulaoshi.com/psxg/)18、为复制的图层添加蒙版。
最终效果:


