今天图老师小编给大家精心推荐个Photoshop制作带有朦胧感的彩色小光斑字教程,一起来看看过程究竟如何进行吧!喜欢还请点个赞哦~
光斑文字用画笔描边是最快的。首先选好想要的文字,并把文字转为路径;选择想要的笔刷,在画笔预设中设置好想要的效果,然后用画笔描边路径即可得到不错的效果,后期再增加一些发光样式会更漂亮。
最终效果
(本文来源于图老师网站,更多请访问http://m.tulaoshi.com/psxg/)1、新建1000 * 600像素文档。前景色设置为#271c2d,背景色设置为#141416。选择渐变工具,设置从前景色到背景色的径向渐变。
打开素材图片,放到背景图层上,混合模式设置为“叠加”。
(本文来源于图老师网站,更多请访问http://m.tulaoshi.com/psxg/)

2、选择文字工具,字体大小设置为310,字间距设置为70,字体颜色设置为白色,然后输入文字。
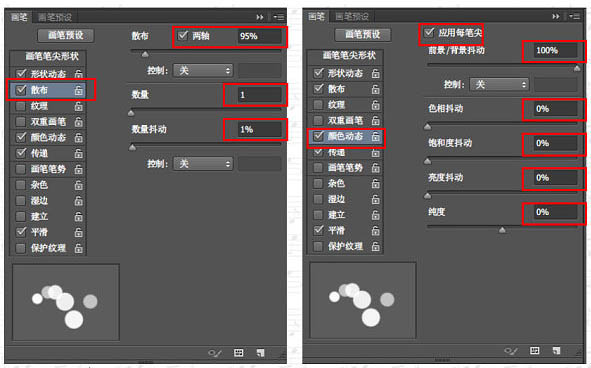
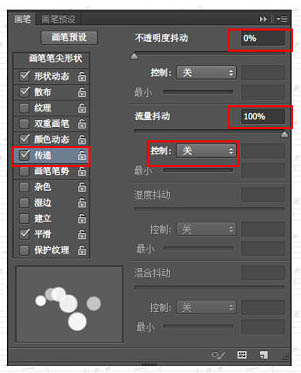
3、选择画笔工具,打开画笔面板,选择一个硬度圆笔刷,如图逐一设置笔刷的参数。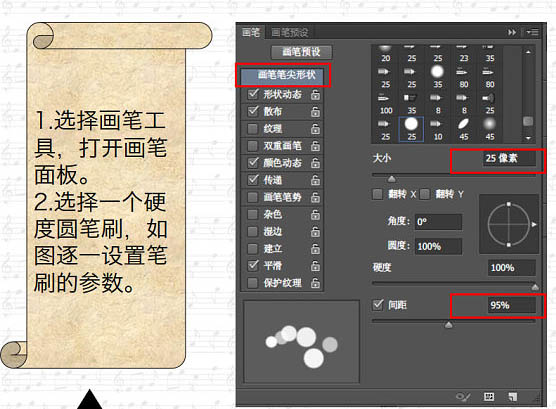

4、右键单击文字图层,在弹出的菜单选择“创建工作路径”。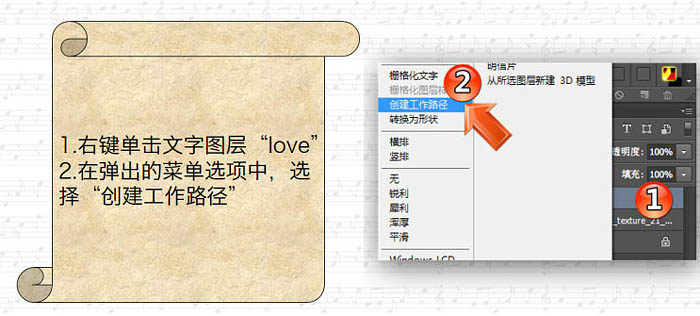
5、新建透明图层,并命名为“Bokeh”,隐藏文字图层,前景色设置为#f06eaa,背景色设置为#6dcff6。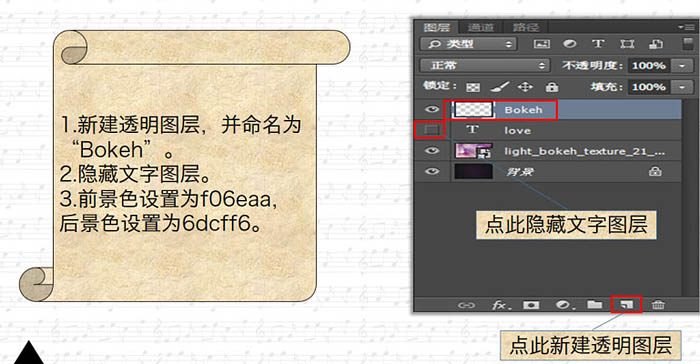
6、选择“直接选择工具”,右键单击文字的工作路径,选择“描边路径”,在弹出的对话框将工具设置成“画笔”,务必保证“模拟压力”没有被选中。设置完毕,点击确定。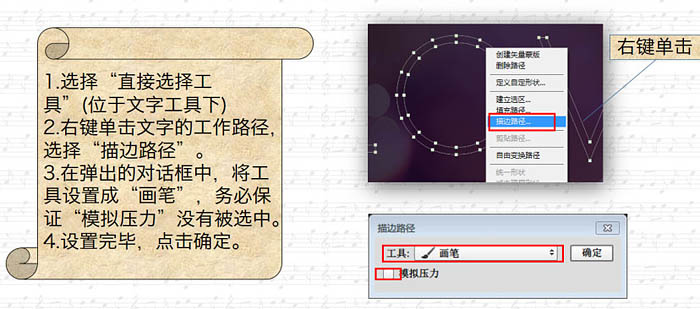
7、有图所示为“Bokeh”效果。可以根据自己需要的效果强度,多执行几次“描边路径”,对效果满意后点击回车键即可。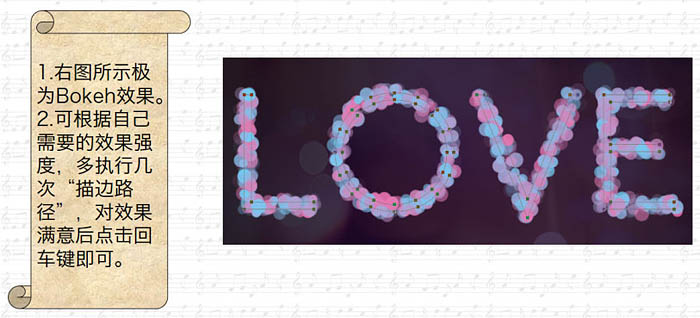
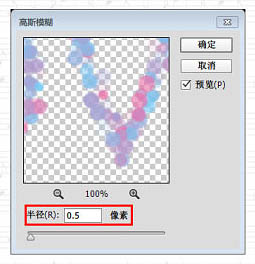
8、双击“Bokeh”图层,添加内发光,图素的源改为“居中”。选择:滤镜 模糊 高斯模糊,半径设置为0.5。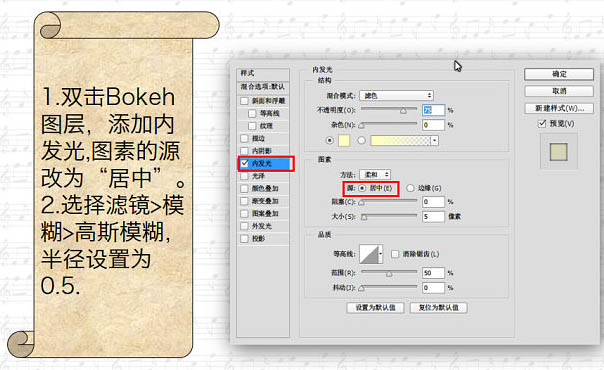
最终效果:
(本文来源于图老师网站,更多请访问http://m.tulaoshi.com/psxg/)