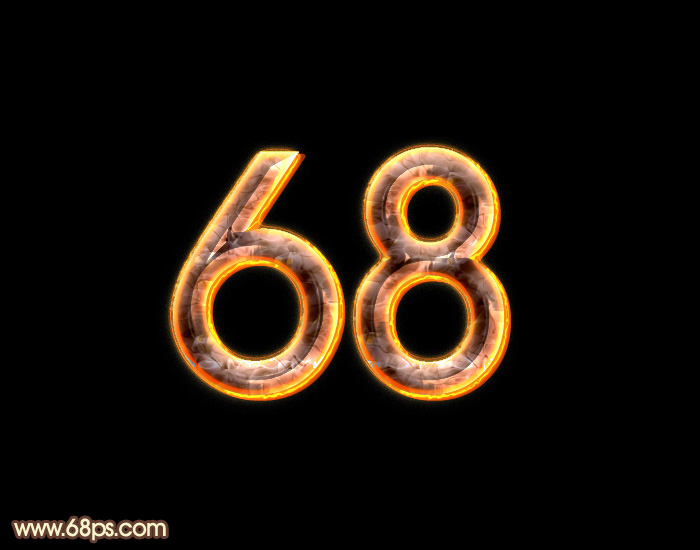

图1
2、选择菜单:图层 图层样式 内发光,设置好后再设置:颜色叠加、渐变叠加,图案叠加,参数及效果如下图。
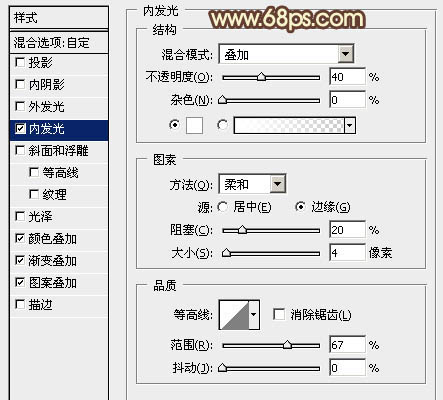
图2
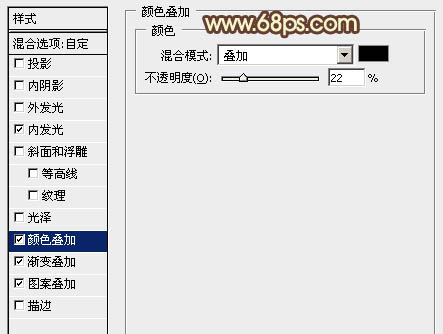
图3
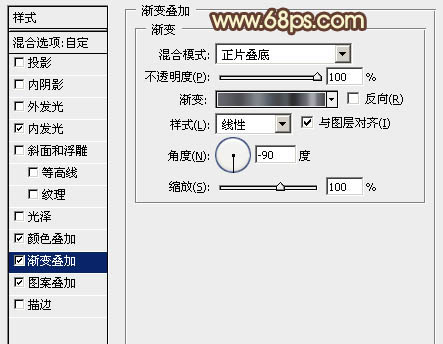
图4
图5 图案为PS自带的图案,如果没有,需要复位一下。
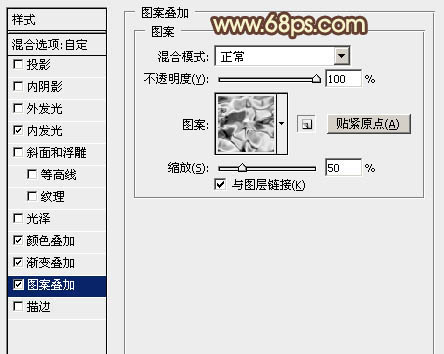
图6
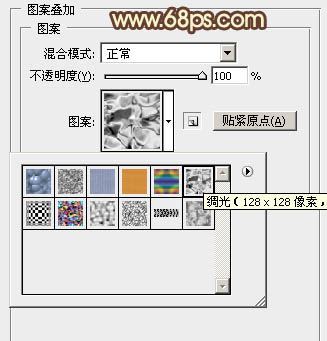
图7
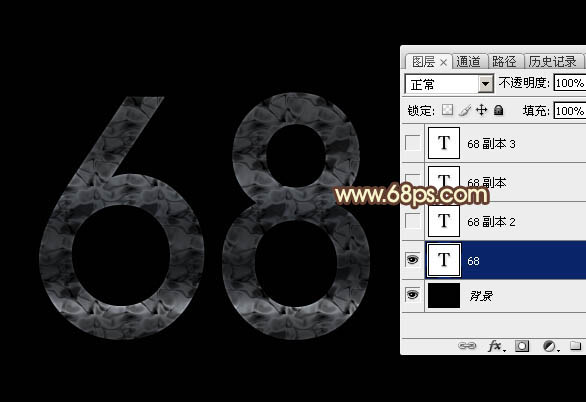
图8
3、按Ctrl + J 把文字图层复制一层,在副本图层缩略图蓝色区域右键,在弹出的菜单选择“清除图层样式”。

图9 4、创建文字副本缩略图调出图层样式,设置内发光,参数设置如图10,确定后把填充度改为:0%,效果如图11。
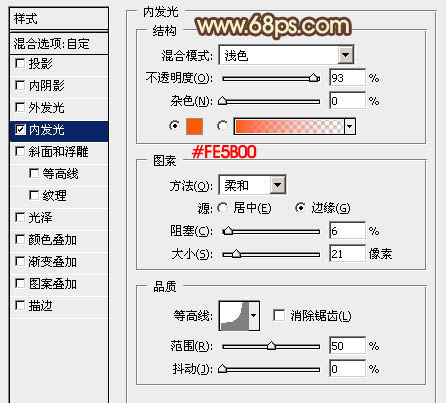
图10
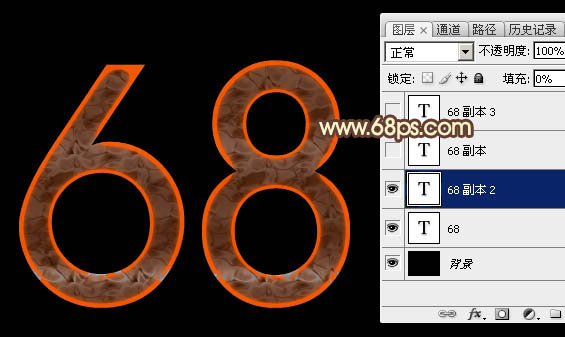
图11
5、按Ctrl + J 把文字副本复制一层,然后在缩略图蓝色区域右键选择“清除图层样式”。
创建文字副本2缩略图载入图层样式,设置:投影、内阴影、外发光、内发光、斜面和浮雕、等高线,图案叠加,具体的数值要根据自己的文字大小稍作调整。确定后把填充改为:0%,效果如图20。
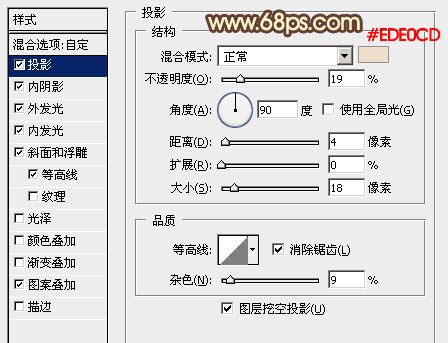
图12
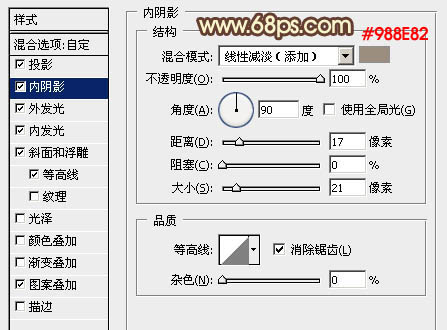
图13

图14
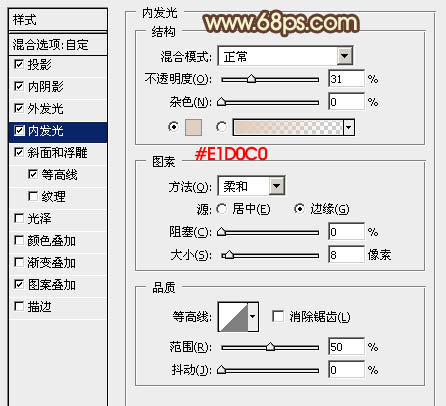
图15
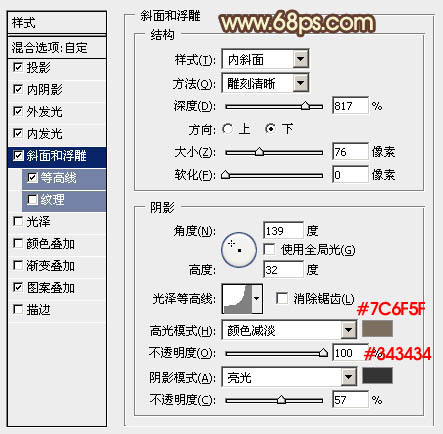
图16
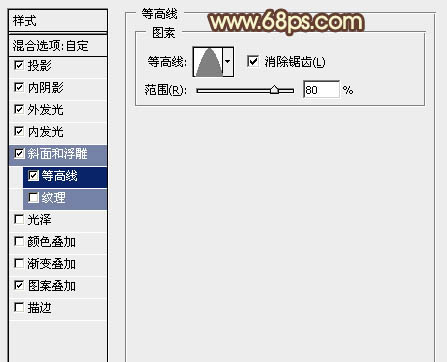
图17
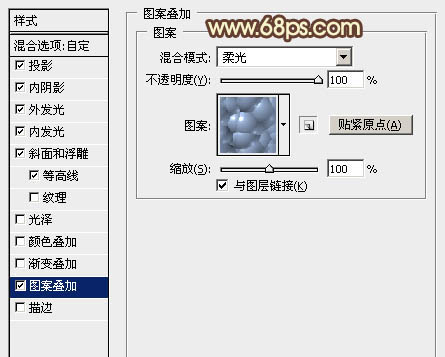
图18
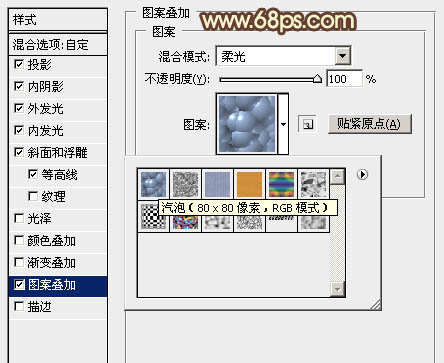
图19
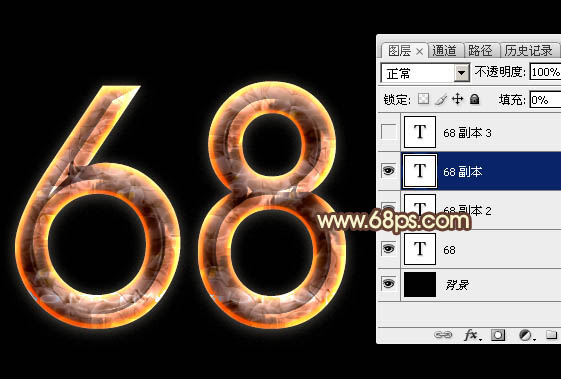
图20
6、按Ctrl + J 把文字副本2图层复制一层,然后在缩略图上右键选择“清除图层样式”。
双击文字副本3缩略图调出图层样式,设置:投影、外发光、斜面和浮雕,纹理,参数设置如图21 - 25,确定后把填充改为:0%,效果如图26。
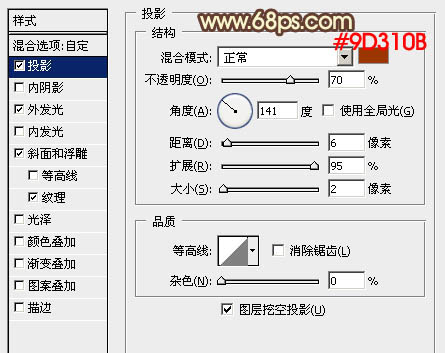
图21
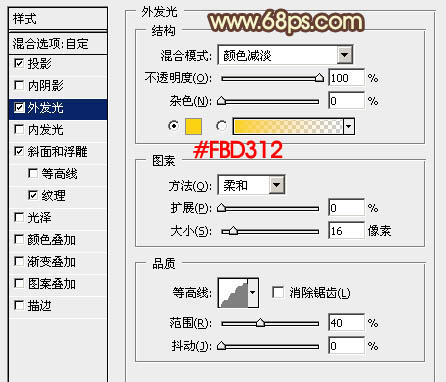
图22
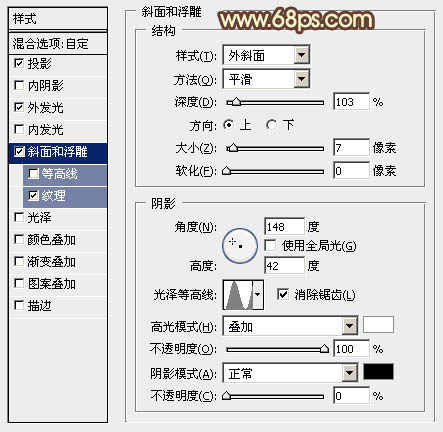
图23
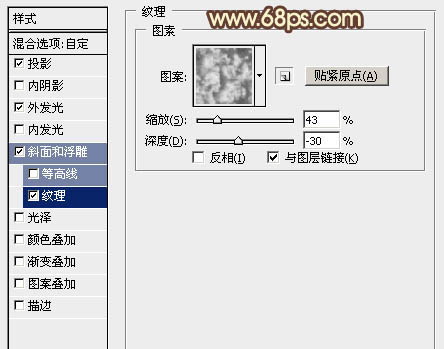
图24
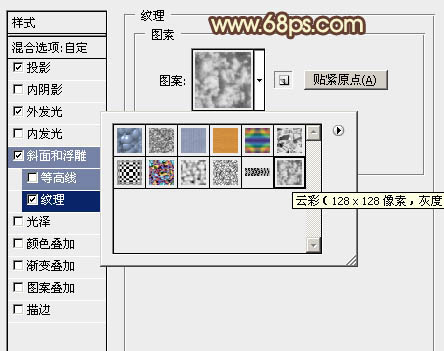
图25
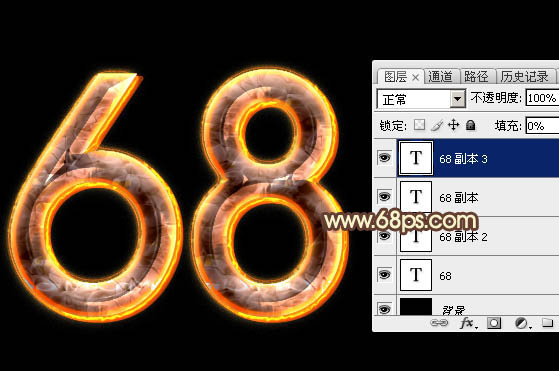
图26 最后微调一下图层样式的参数,自己满意为止。
图27


