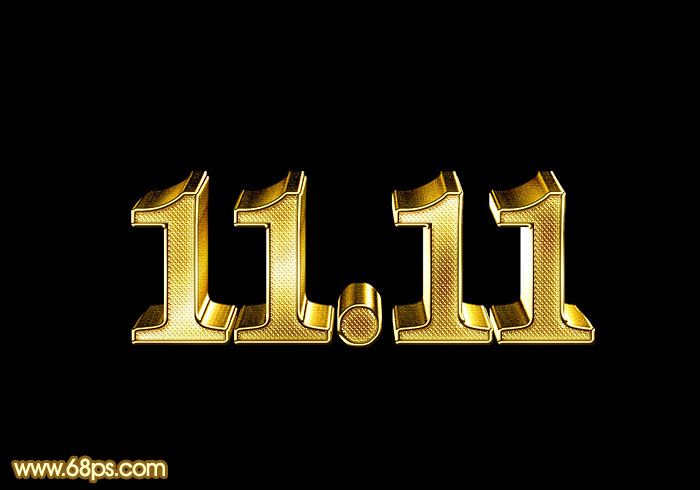
最终效果
1、新建一个1000 * 800像素,分辨率为72的画布,背景填充黑色。
选择文字工具,然后选择菜单:窗口 字符,设置好里面的参数如下图。

图12、现在来制作钻石字效果,方法跟其它方法一样,局部稍做了一些改动,高手可以直接跳过。
输入想要的文字,字体可以暂时用白色,如下图。

图2
3、现在来给文字添加图层样式,选择菜单:图层 图层样式 内阴影,这里颜色为:#8f5c25。
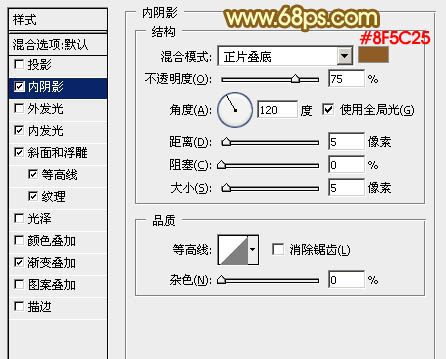
图3 内发光:颜色为:#ffffbe。
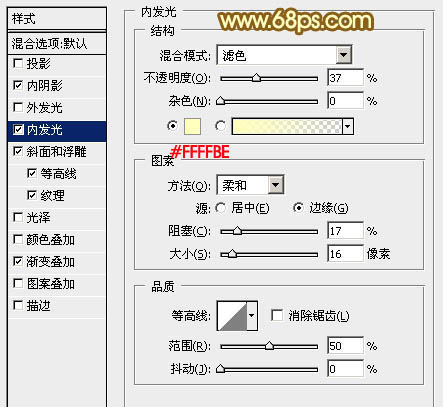
图4 斜面和浮雕:
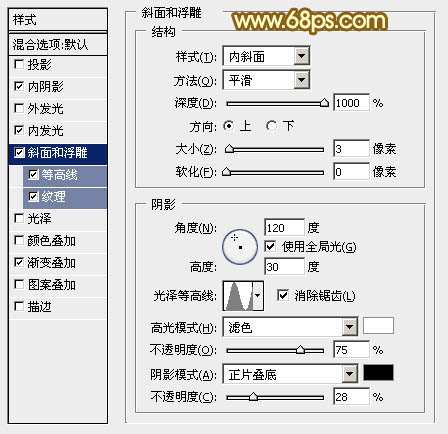
图5 等高线:
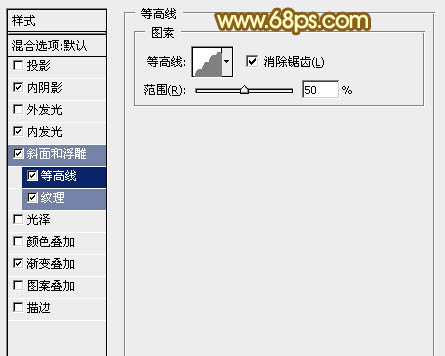
图6 纹理:先下载图案,解压后按住图8所示的方法载入或替换图案,载入素材。然后设置如图7。

图7
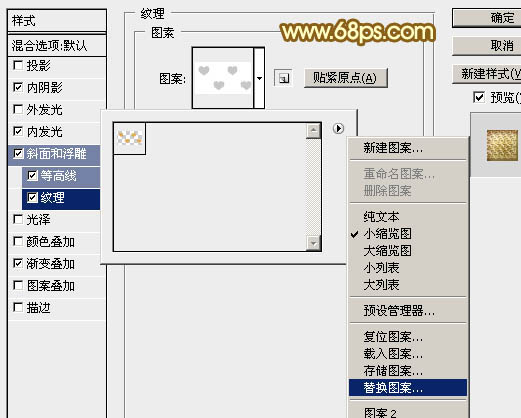
图8
渐变叠加:设置一下渐变色。
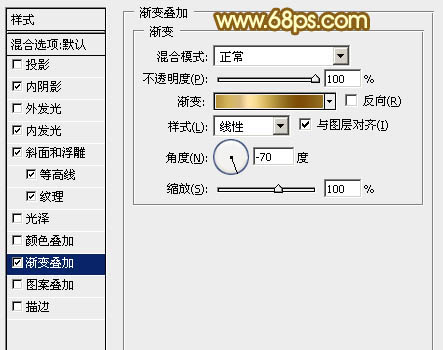
图9

图10 设置好图层样式后确定,得到下图所示的初步效果。

图11 4、按住Ctrl + 鼠标左击文字缩略图载入文字选区。
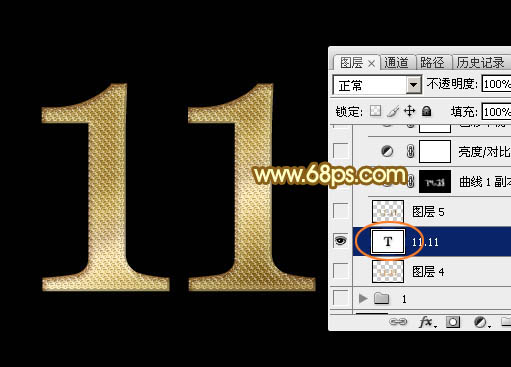
图12 5、选择菜单:选择 修改 扩展,数值为6,得到图15所示的选区。
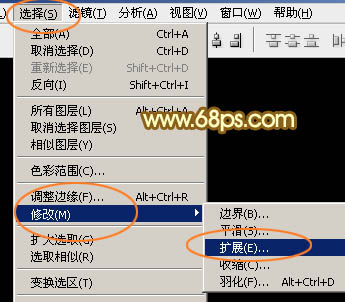
图13
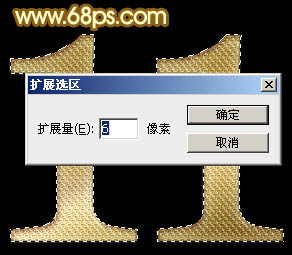
图14
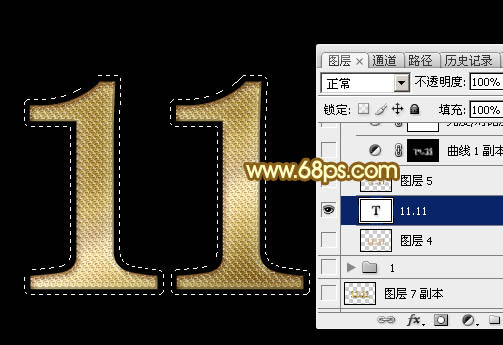
图15
6、保持选区,按住Ctrl + 鼠标左键新建图层图标,在当前图层下面新建一个图层。

图16 7、用油漆桶工具把选区填充橙黄色:#D4AD74,取消选区后效果如下图。
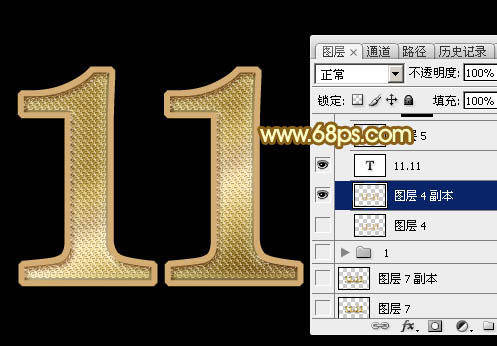
图17 8、再给当前图层添加图层样式,分别设置:斜面和浮雕,渐变叠加,参数及效果如下图。
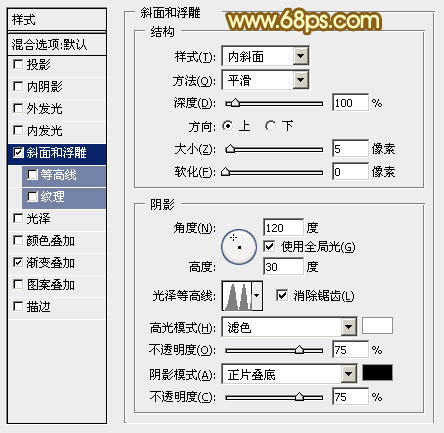
图18
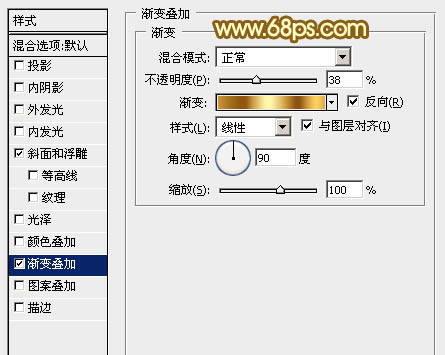
图19
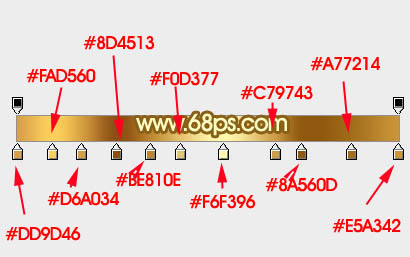
图20
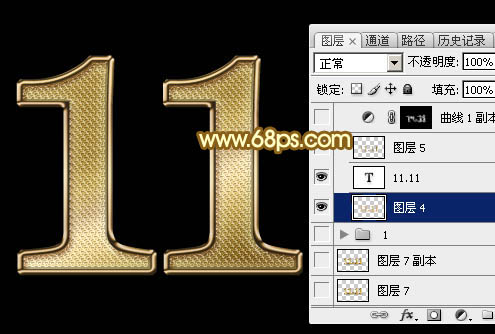
图21 9、回到原文字图层,创建曲线调整图层,参数设置如图22,确定后把蒙版填充黑色,然后用白色画笔把需要变亮的部分擦出来,如图23。
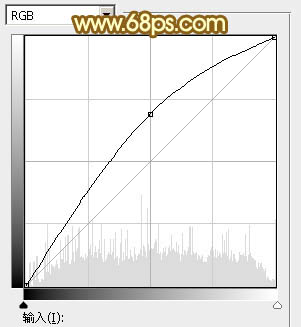
图22
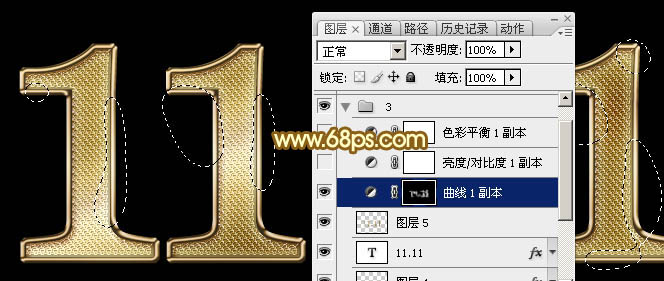
图23
10、创建亮度/对比度调整图层,参数及效果如下图。
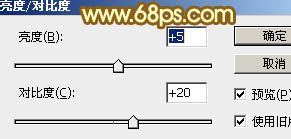
图24
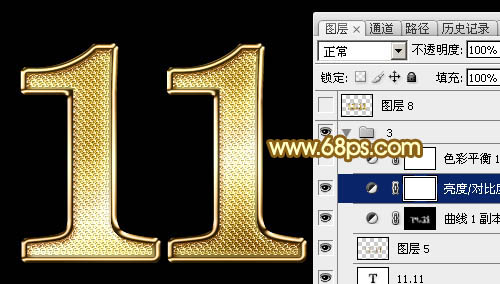
图25 11、创建色彩平衡调整图层,对阴影、中间调,高光进行调整,参数及效果如下图。

图26
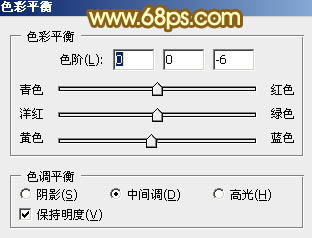
图27
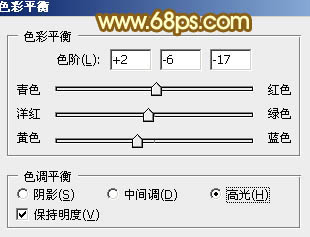
图28
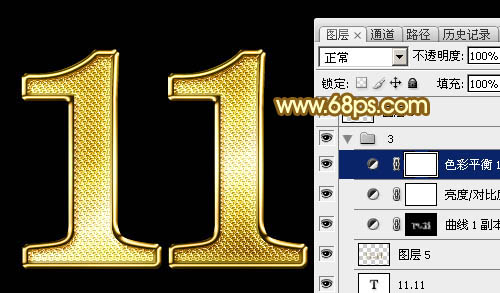
图29 12、在背景图层上面新建一个图层,把背景图层隐藏,按Ctrl + Alt + Shift + E 盖印图层,如下图。
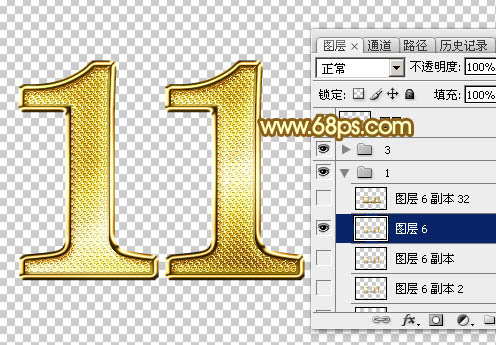
图30 13、现在来制作立体面。按Ctrl + J 把当前盖印图层复制一层,按Ctrl + T 变形,在属性栏设置变形幅度如下图,然后按向上的方向键向上移1个像素,回车确定。
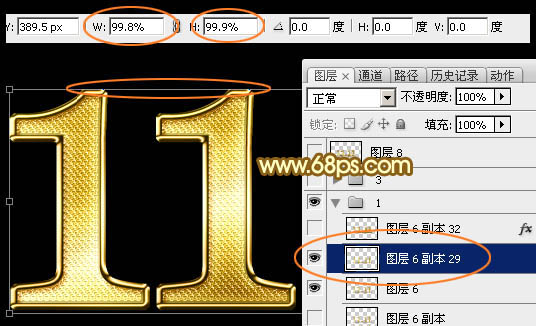
图31
14、按Ctrl + ] 把图层往下移动一层。
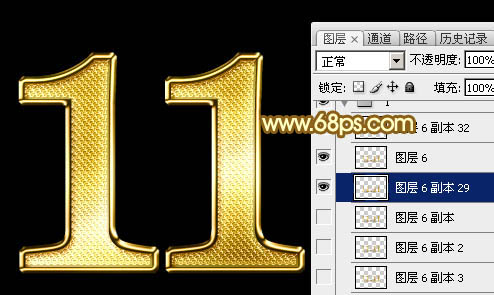
图32 15、重复快捷键:Ctrl + Alt + Shift + T 复制一层,再按Ctrl + ] 向下移动一层。然后重复操作复制,直到自己满意。
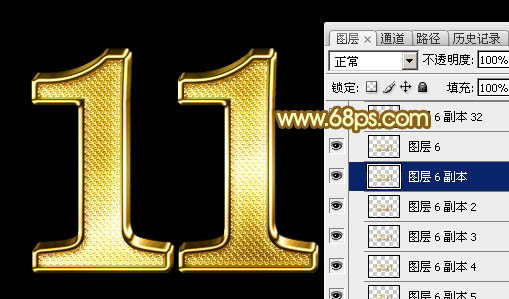
图33
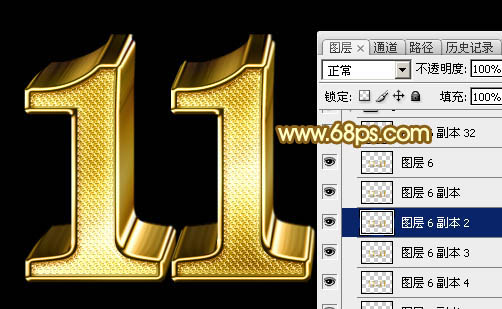
图34 16、把这些立体面图层合并为一个图层,如下图。
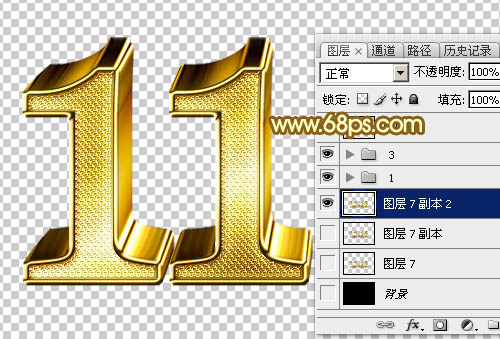
图35 17、把背景图层显示出来,初步的立体效果出来了。
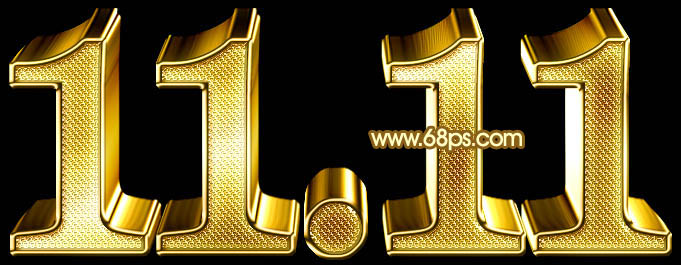
图36 18、按Ctrl + J 把立体面图层复制一层,回到原文字图层,在缩略图区域右键选择“拷贝图层样式”。
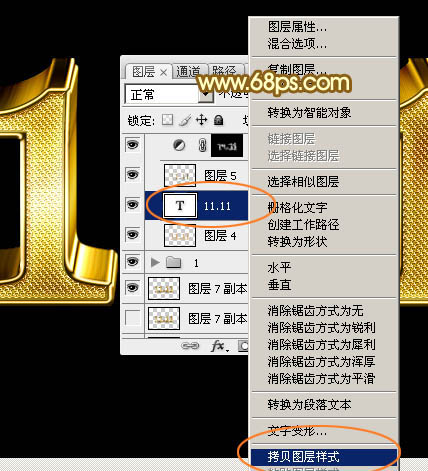
图3719、回到立体面副本图层,在缩略图区域右键选择“粘贴图层样式”。
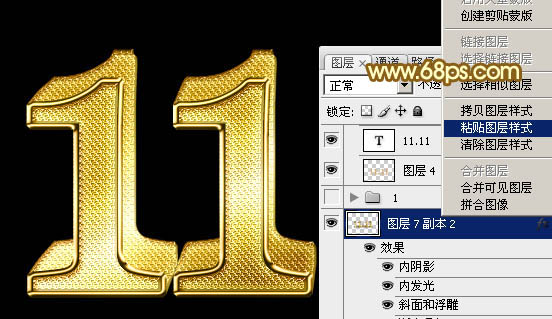
图38
20、去掉一些不要的图层样式,只保留:斜面和浮雕、等高线,纹理,然后重新设置一下,参数设置如下图,其中的纹理为自带的纹理,没有话可以按图41所示的方法载入自带的一些图案。
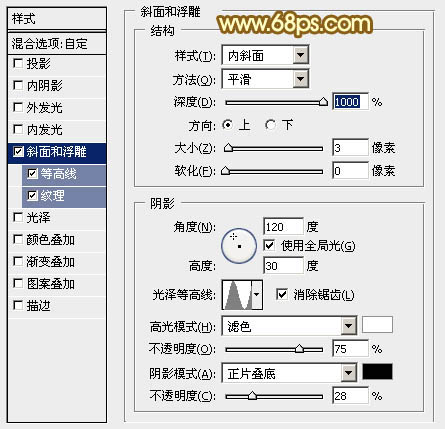
图39
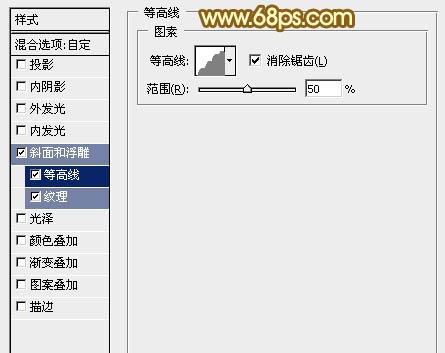
图40
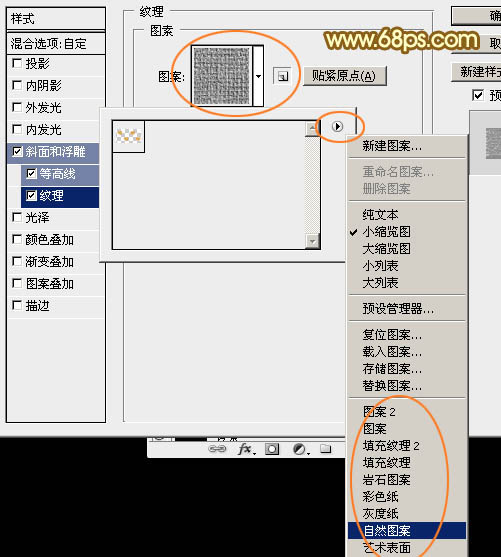
图41 21、把图层不透明度改为:50%,效果如下图。
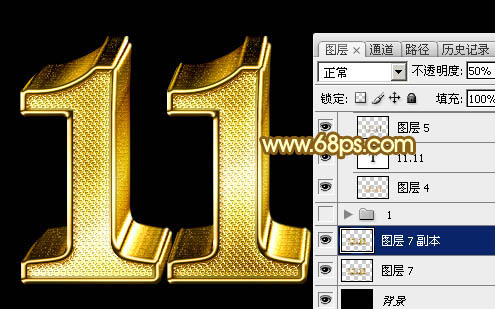
图42最后调整一下细节和局部颜色,完成最终效果。