生活已是百般艰难,为何不努力一点。下面图老师就给大家分享利用滤镜快速制作逼真的颓废老照片,希望可以让热爱学习的朋友们体会到PS的小小的乐趣。
本教程制作旧照片的方法非常实用。大致过程:先把图片调成单色图片,局部可以调整明暗。然后多次用滤镜制作一些纹理及划痕叠加到图片上面即可。
原图
最终效果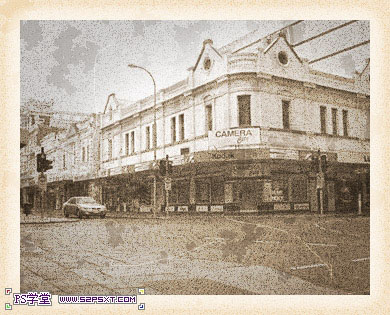
1、打开素材,双击图片解锁,得图层0,然后图像--画布大小,设置如下。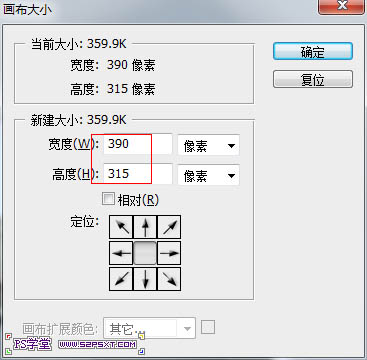
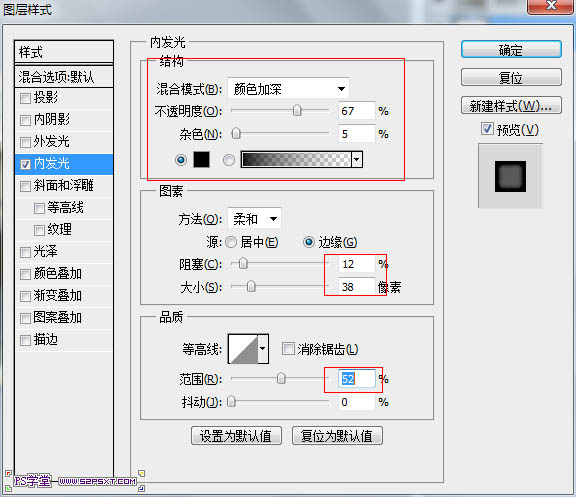
(本文来源于图老师网站,更多请访问http://m.tulaoshi.com/psxpcl/)2、新建一层,为图层1,然后把图层1拉到图层0下面,设置前景色为#F9F1E5,填充前景色。 3、双击图层1,添加图层样式。
4、回到图层0,滤镜--杂色--添加杂色。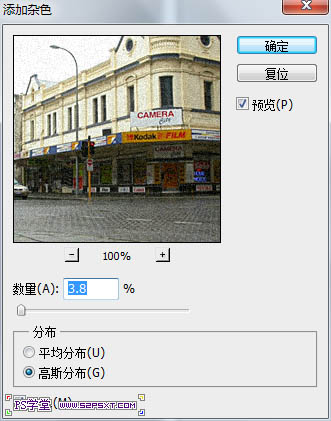
5、新建色相/饱和度调整层。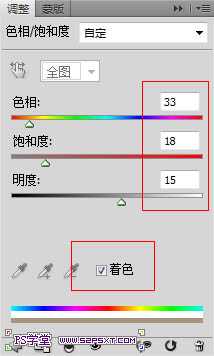
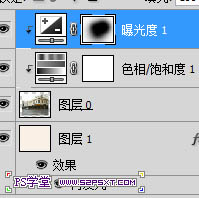
6、新建曝光度调整层。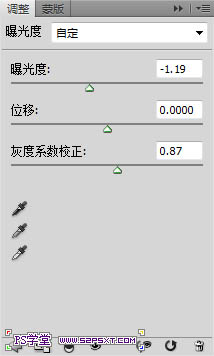
7、选择画笔工具,设置如下,在曝光度的图层蒙板上面将不需要曝光的涂掉。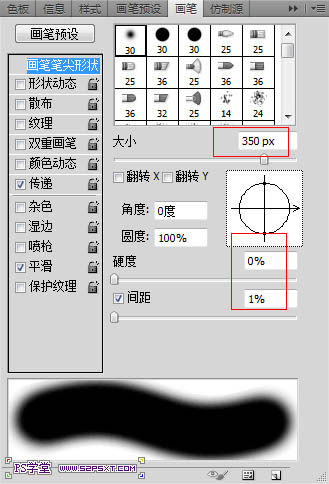
8、将前景色设置为白色,新建一层,填充前景色,然后滤镜--杂色--添加杂色。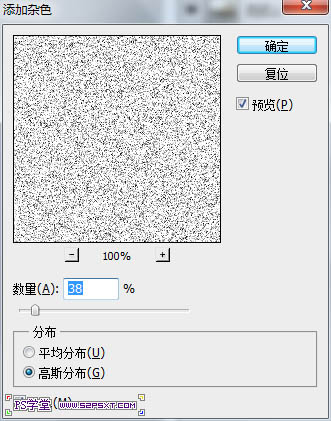
9、用魔棒扣掉自己不需要的,是图层变的像旧照片污点斑斑的效果。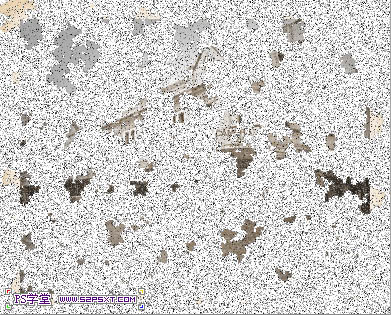
10、将图层模式改成叠加,不透明度设置为36%。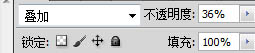
11、新建一层,将画笔的硬度调成100%,大小为1px,随便画几条,增加折痕,将图层设置为叠加,不透明度为50%。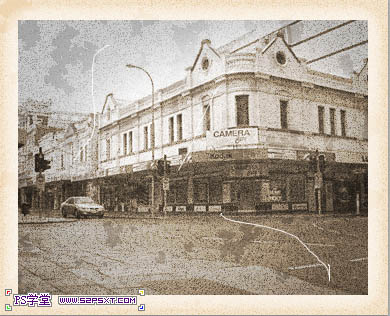

12、新建一层,填充#D9C3A9,滤镜--纹理--颗粒,设置如下。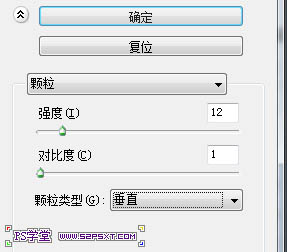
13、改变图层模式和不透明度。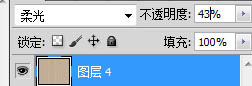
(本文来源于图老师网站,更多请访问http://m.tulaoshi.com/psxpcl/)最终效果:


