有了下面这个Photoshop打造完美的冬日彩妆人像教程,不懂Photoshop打造完美的冬日彩妆人像的也能装懂了,赶紧get起来装逼一下吧!
冬日人物处理还是有很多技巧的。首先选择的整体色调要比较冷,包括人物的彩妆也用冷调。用到的装饰元素也要是冬季独有的。其它细节的处理跟其它人像处理基本类似。
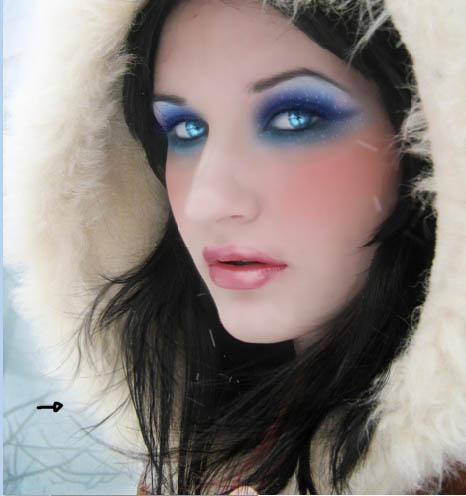
原图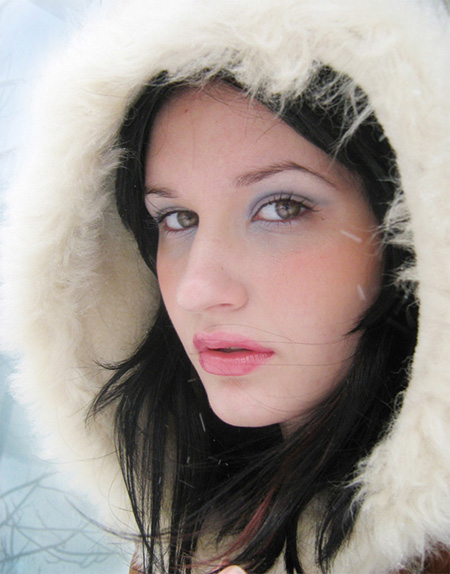
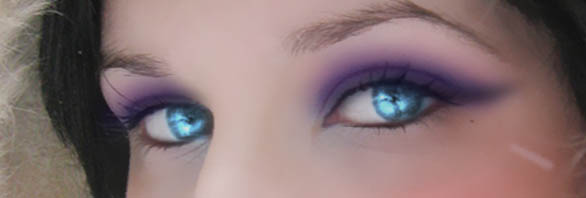
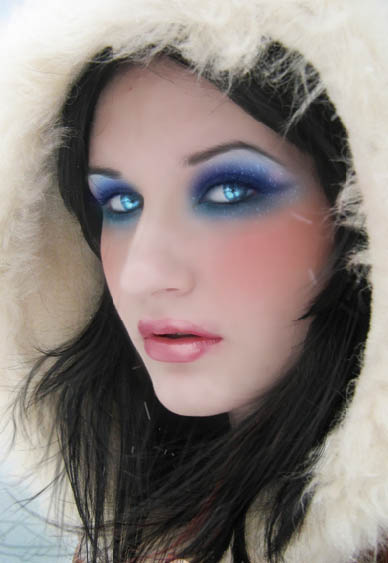
最终效果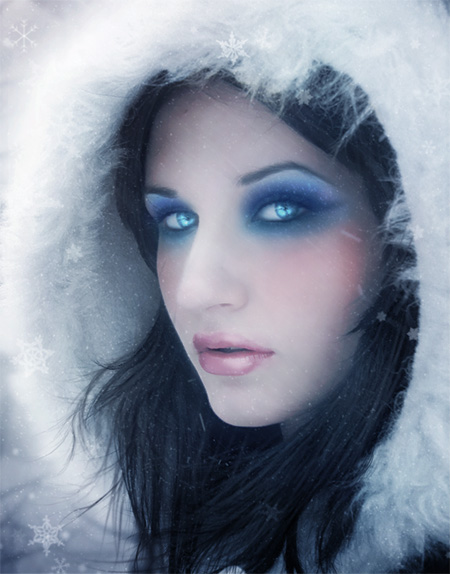
1、打开素材图片,用套索工具把人物脸部区域选取出来,如下图。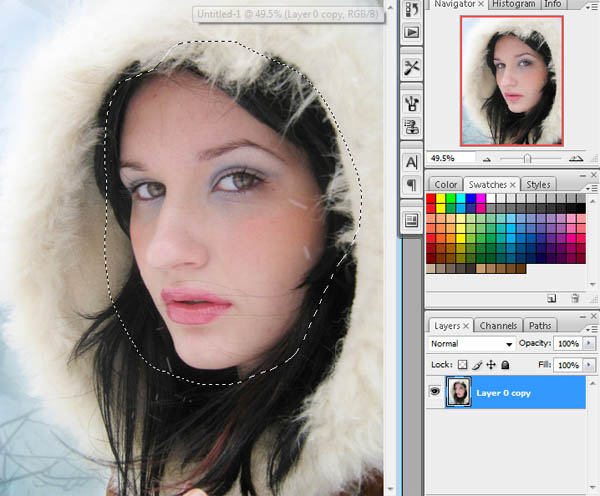
2、按Ctrl + J 把选区部分的图像复制到新的图层,如下图。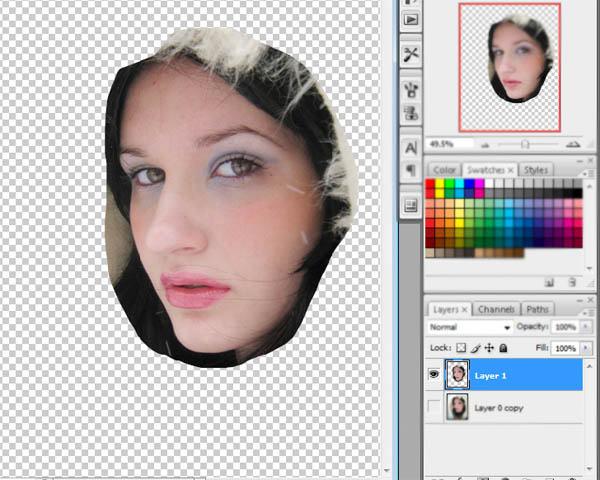
3、执行:滤镜 模糊 表面模糊,数值为8。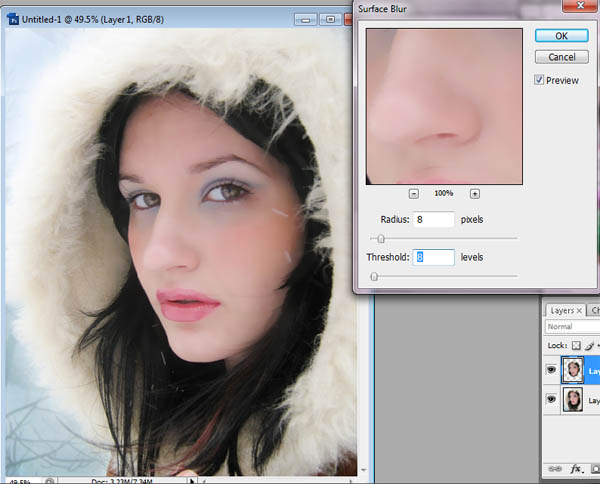
4、按Ctrl + U 调整色相/饱和度,适当降低图层的饱和度,数值如下图。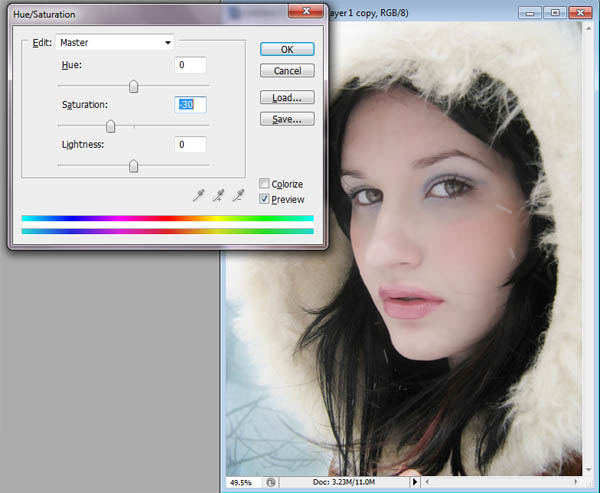
5、使用修补工具来修复人物嘴唇部分的头发。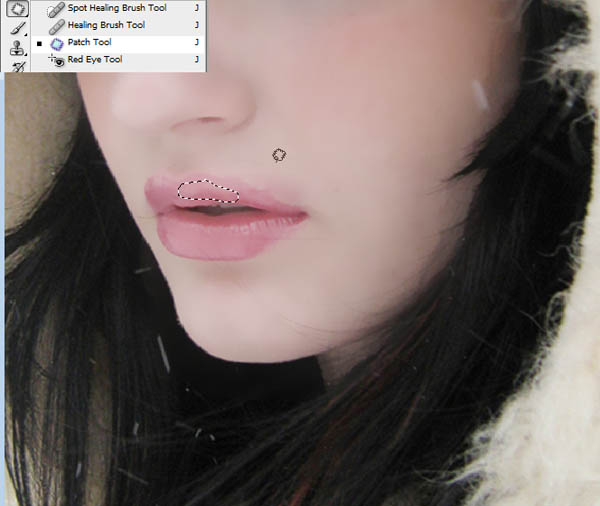
(本文来源于图老师网站,更多请访问http://m.tulaoshi.com/psxpcl/)
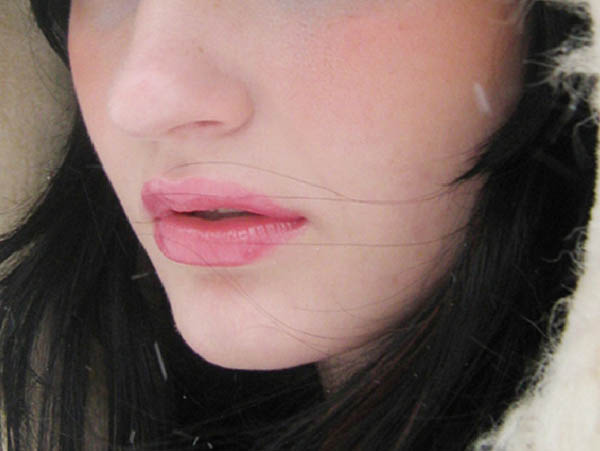
6、把脸部及嘴唇其它部分的发丝也去掉,然后用套索工具把嘴唇部分选取出来,适当羽化后,按Ctrl + J 复制到新的图层。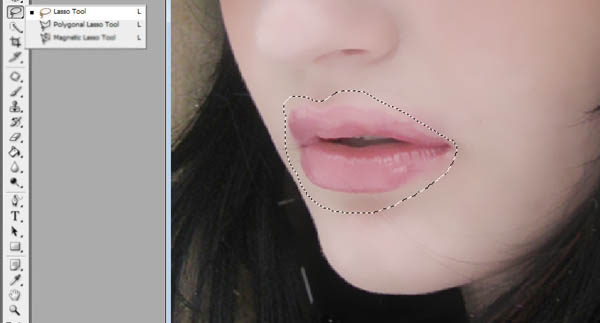
7、把嘴唇图层适当调暗一点。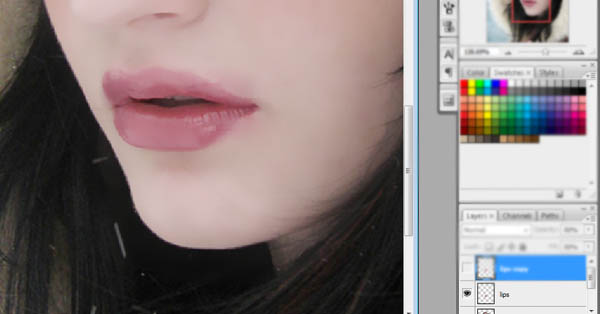
8、按Ctrl + J 把嘴唇图层复制一层,混合模式改为“柔光”,不透明度改为:60%。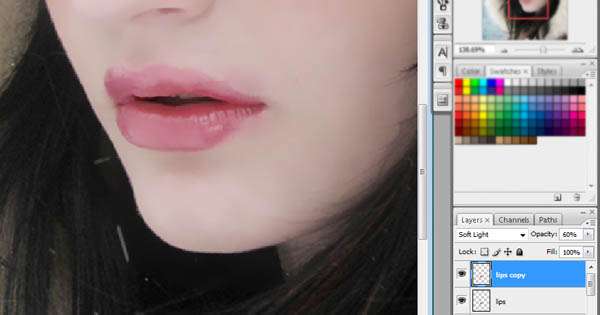
9、回到脸部图层,用套索工具把眼珠部分选取出来,适当羽化后按Ctrl + J 复制到新的图层。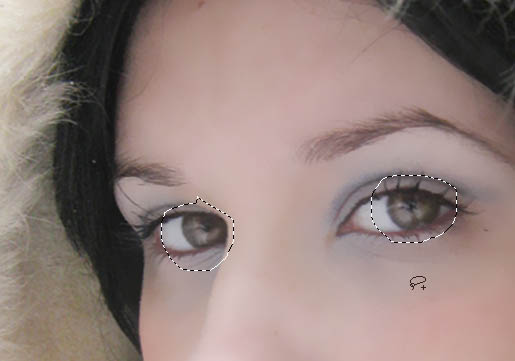
10、按ctrl + U 调整眼珠颜色,参数及效果如下图。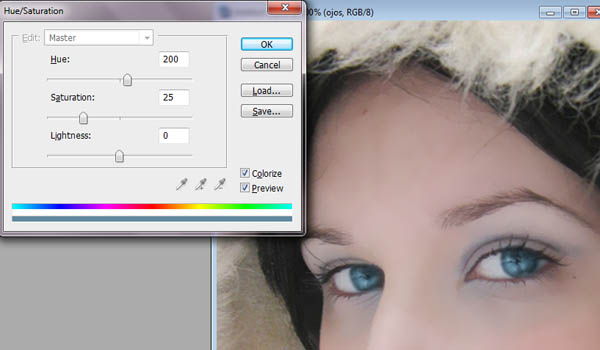
11、按ctrl + J复制眼睛图层,混合恶魔是改为“颜色减淡”,不透明度改为:70%,如下图。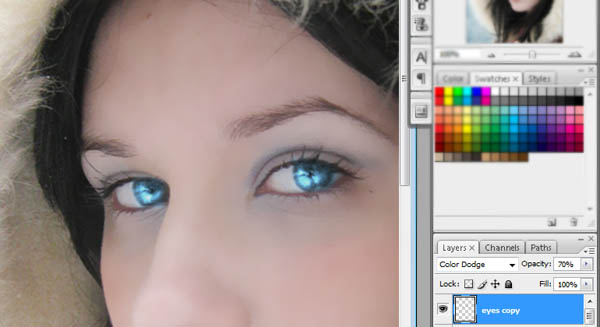
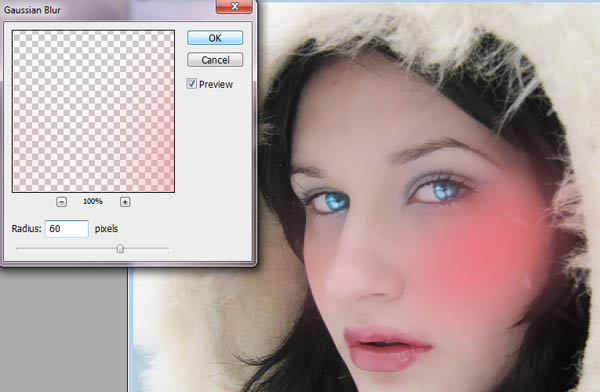
12、新建一个图层,用画笔把人物腮红部分涂红。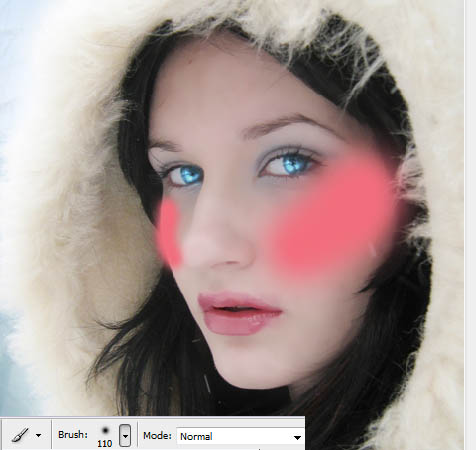
13、执行:滤镜 模糊 高斯模糊,数值为60,确定后把图层不透明度改为:40%。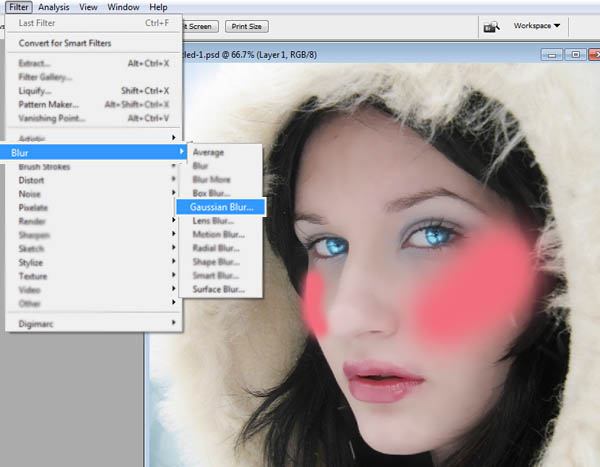
14、新建一个图层,把前景颜色设置为深蓝色,用画笔把人物眼影部分涂上蓝色。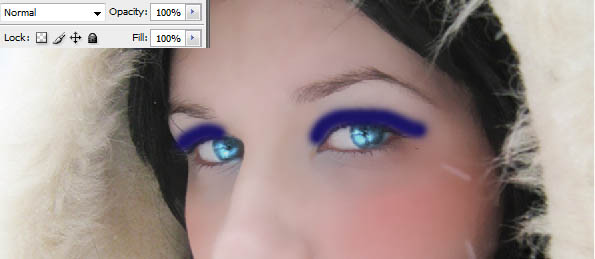
15、执行:滤镜 模糊 高斯模糊,数值为8,确定后适当降低图层不透明度。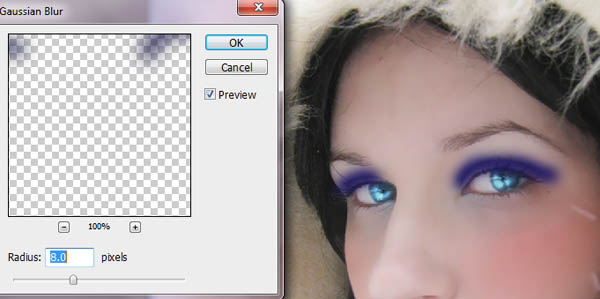

16、在眼影图层上面新建一个图层,用画笔涂上一些红色,然后把图层混合模式改为“柔光”。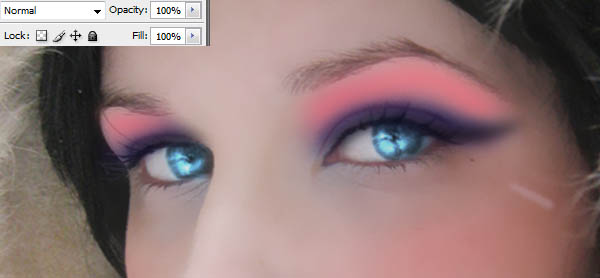
17、用钢笔勾出下眼睑的轮廓路径,然后新建图层,用画笔描边路径,颜色用黑色,画笔大小自定。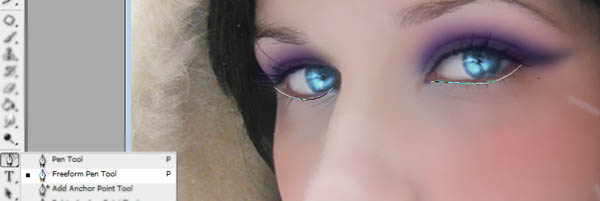


18、局部用涂抹工具涂抹一下,然后适当降低图层不透明度,效果如下图。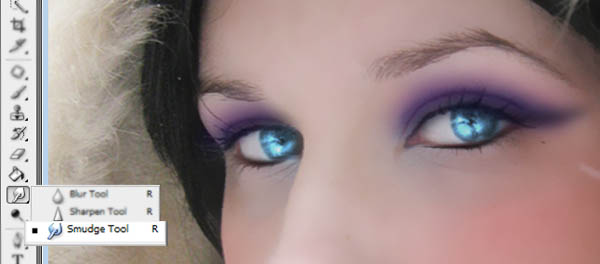
19、打开素材图片,用套索选区一块纹理,复制进来。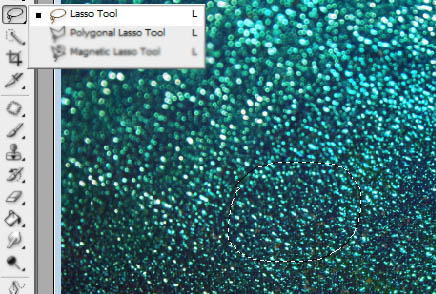
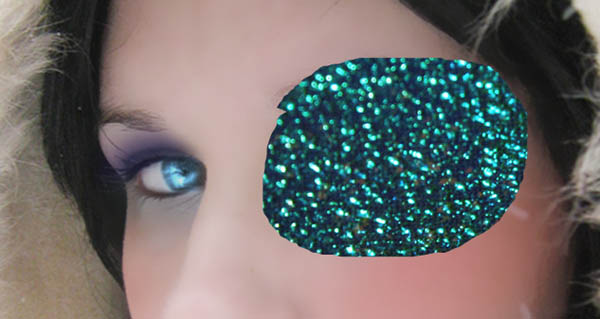
20、混合模式改为“柔光”,不透明度改为:70%,边缘部分可以用橡皮工具涂抹一下。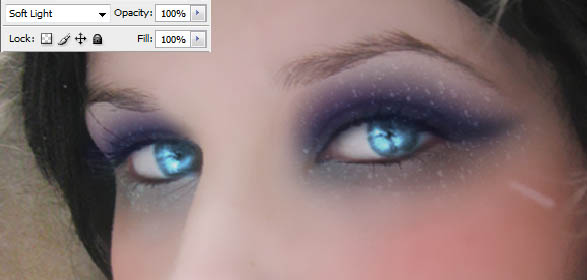
21、另一只眼睛处理方法相同。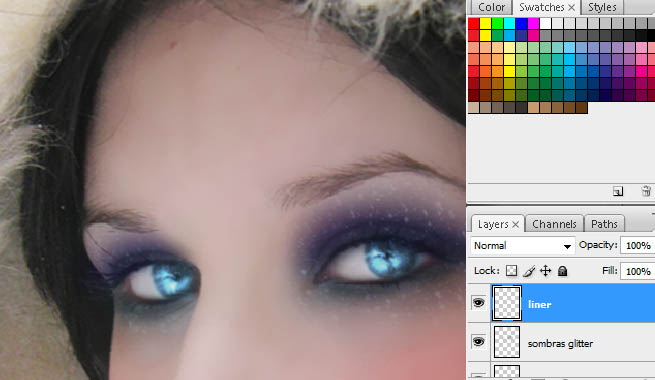
22、新建一个图层,用钢笔勾出眉毛底部轮廓路径,然后用白色画笔描边路径。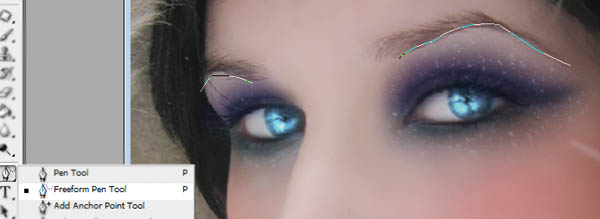
23、用涂抹工具稍微涂抹一下,再把图层不透明度改为:50%,效果如下图。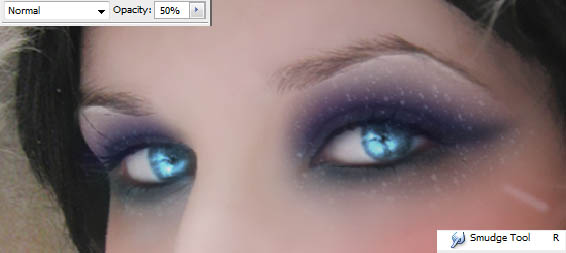
24、眉毛边缘部分再用涂抹工具稍微涂抹一下。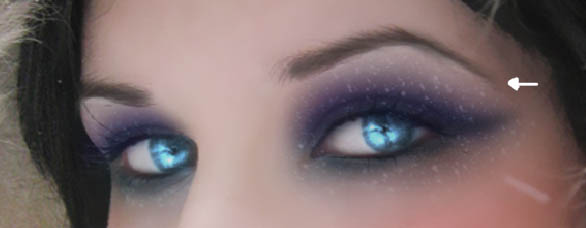
25、新建一个图层,用画笔在下图位置涂上青色和白色。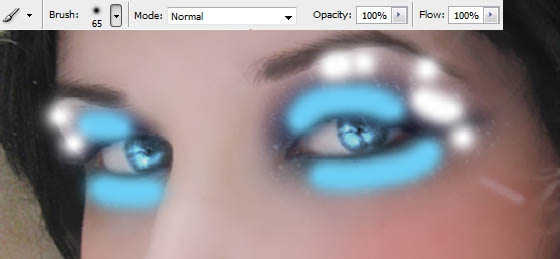
26、适当高斯模糊后把不透明度改为:70%,如下图。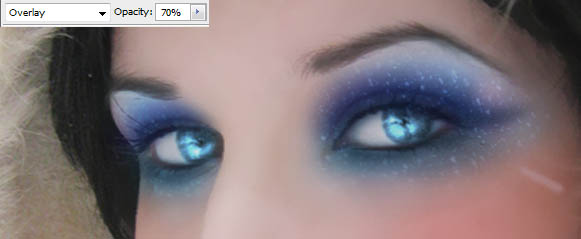
27、新建一个图层,用钢笔勾出下图所示的轮廓,然后用白色画笔描边。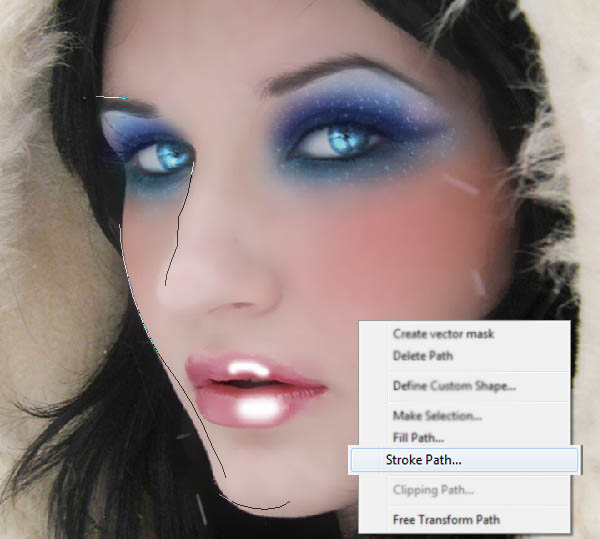
28、用涂抹工具稍微涂抹,再降低图层不透明度,效果如下图。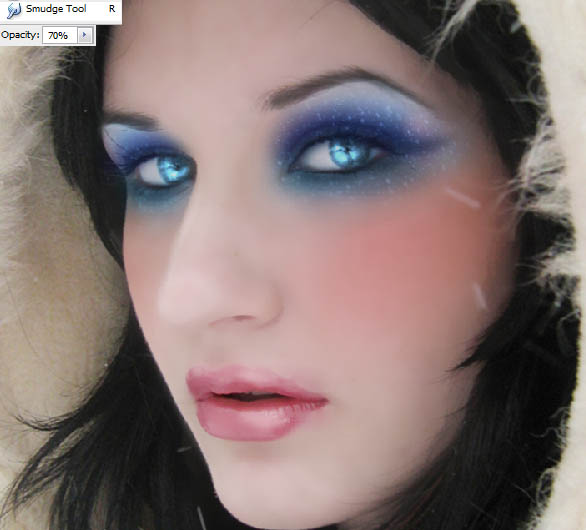
29、下载一些发丝或头发笔刷,给人物增加一些头发。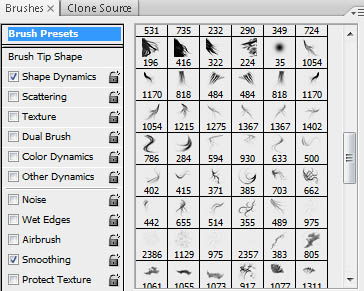
30、用钢笔再添加一些发丝。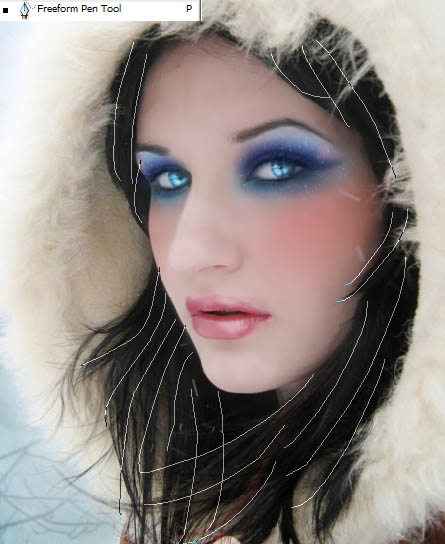
31、在图层的最上面新建一个图层,用画笔涂上一些蓝色,中间涂上白色,如下图。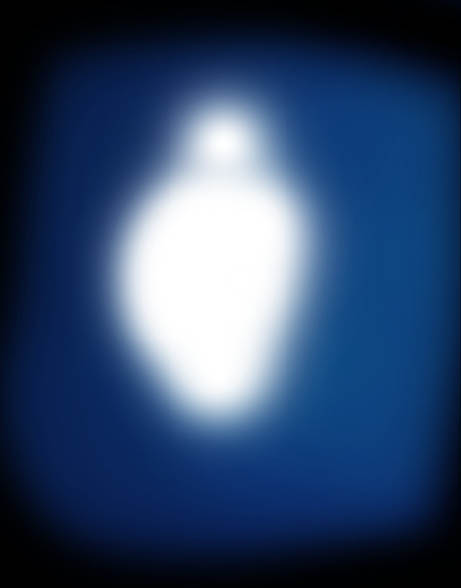
32、高斯模糊,数值尽量调大一点。
33、混合模式改为“柔光”,效果如下图。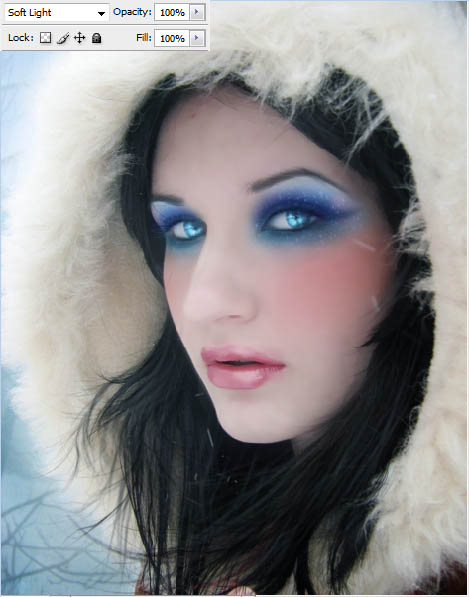
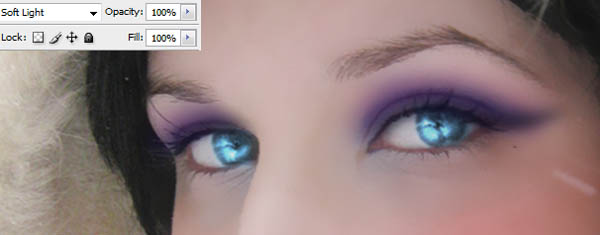
34、新建一个图层,拉上蓝色至红色渐变,然后高斯模糊,再把混合模式改为“柔光”。

35、新建一个图层,填充深蓝色,混合模式改为“柔光”,不透明度改为:70%,如下图。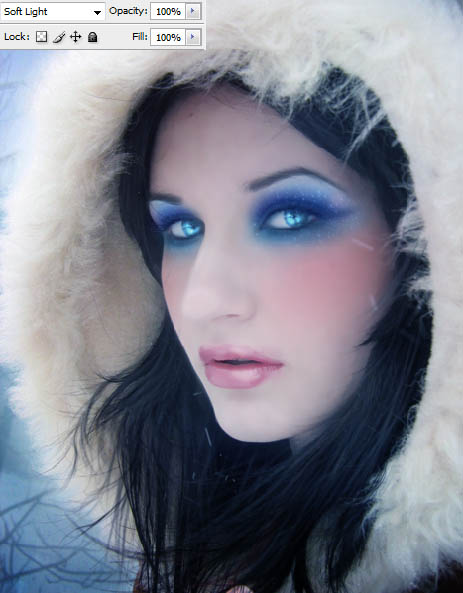
36、新建一个图层,用画笔把人物脸部区域涂上蓝色。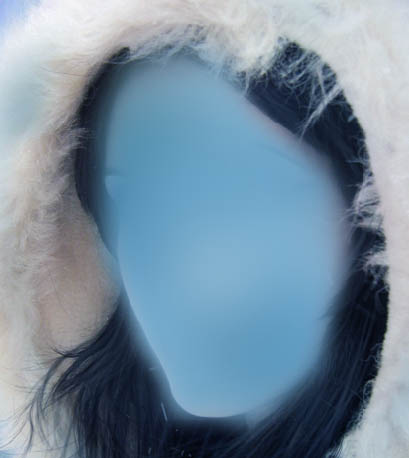
37、把混合模式改为“柔光”,适当降低图层的不透明度。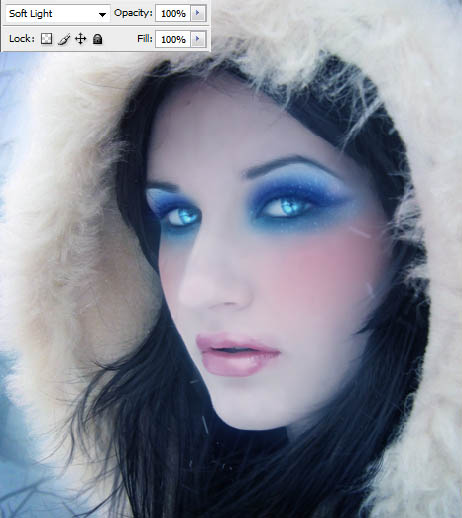
38、把背景图层复制一层,按Ctrl + U 调整颜色,如下图。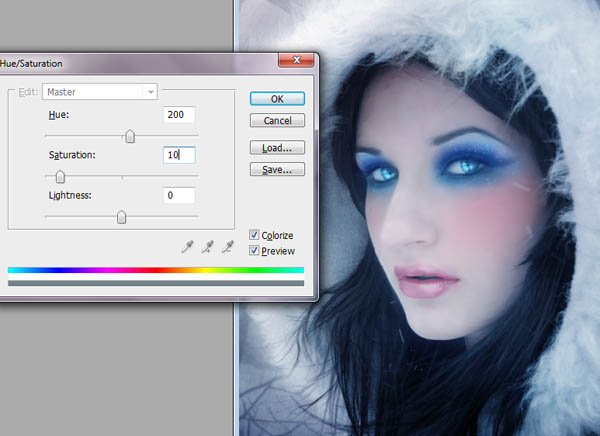
39、新建一个图层混合模式改为“柔光”,用白色画笔在高光区域涂上白色。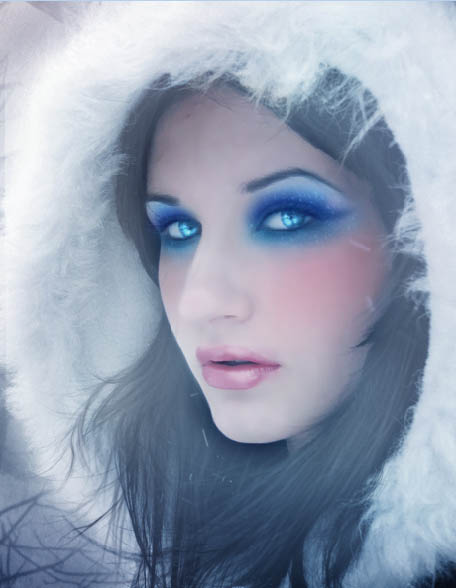

40、新建一个图层盖印图层,用减淡工具调整一下高光部分。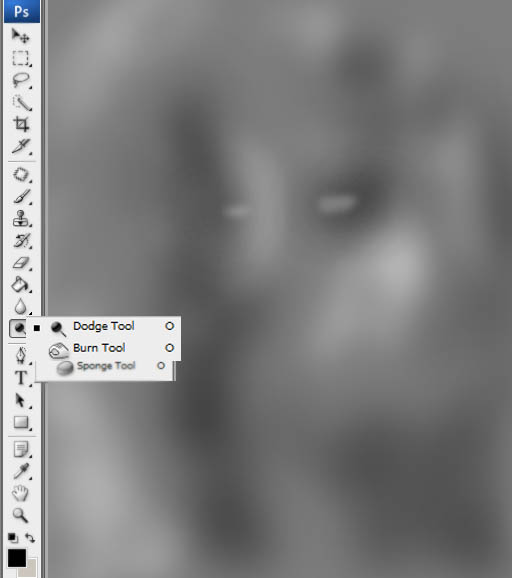

41、新建一个图,装饰一些雪花笔刷。
(本文来源于图老师网站,更多请访问http://m.tulaoshi.com/psxpcl/)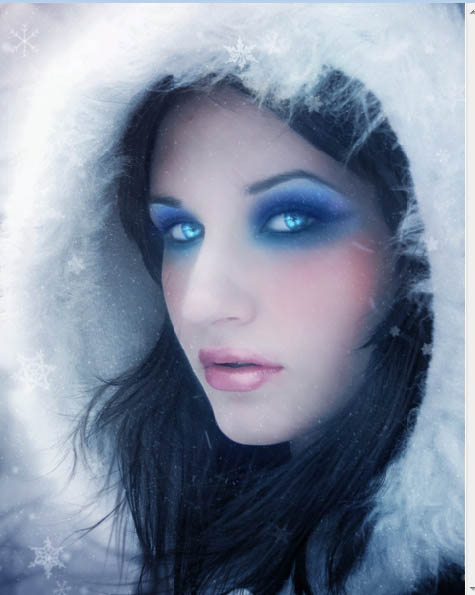
42、创建色相/饱和度调整图层,降低全图饱和度,数值为-20。
最终效果:


