给自己一点时间接受自己,爱自己,趁着下午茶的时间来学习图老师推荐的Photoshop快速给偏暗多斑的人像美白及去斑,过去的都会过去,迎接崭新的开始,释放更美好的自己。
美白虽然也是人像的调亮,不过有很多技术讲究的。如下面的教程,作者分两步来美白,先用滤色模式增加整体亮度,然后单独把暗部调亮,这样整体就比较柔和。
原图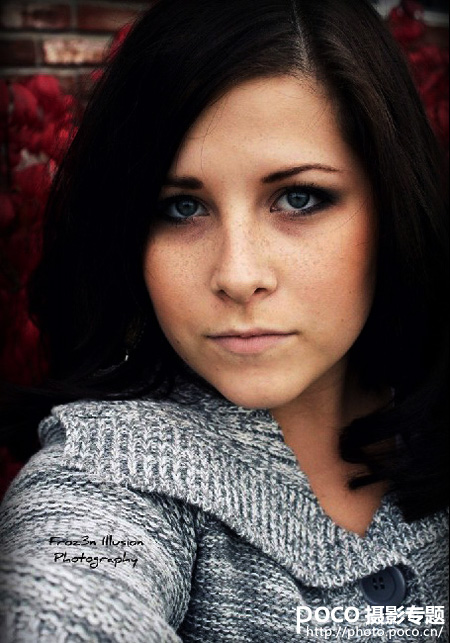
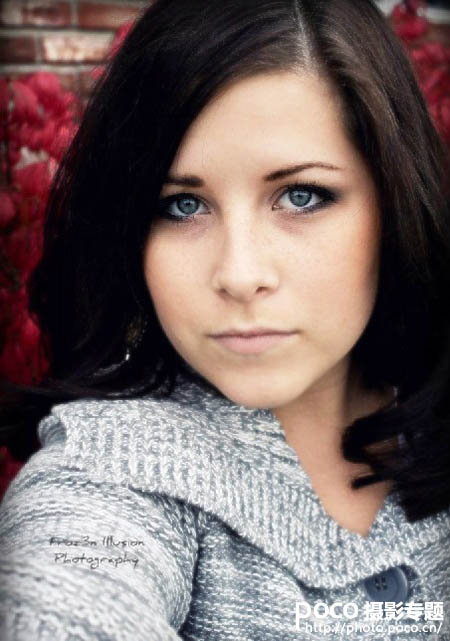
最终效果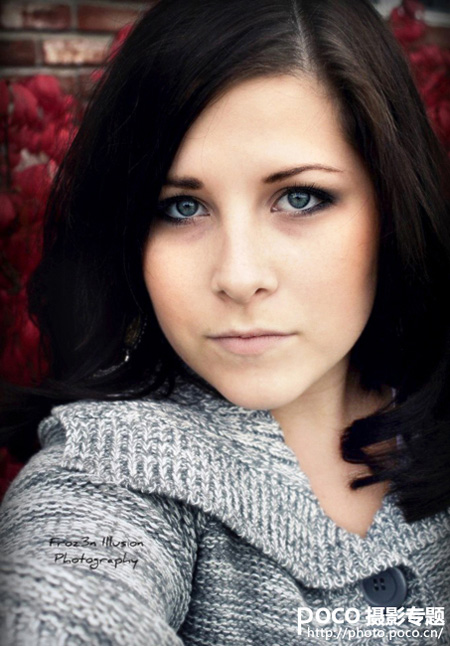
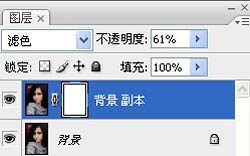
1、复制图层、添加蒙版。将图层混合模式设置为“滤色”,降低不透明度;设置混合模式,提高照片的整体亮度。为“背景副本”图层添加蒙版,选择画笔工具,降低不透明度和流量(这里设为不透明度30%,流量30%)。
(本文来源于图老师网站,更多请访问http://m.tulaoshi.com/psxpcl/)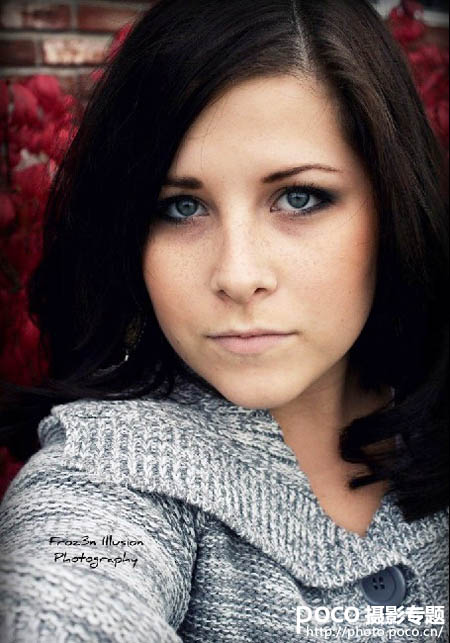

2、“选择—色彩范围”菜单命令,设置颜色容差为40,单击图象预览图,单击“确定”即可。返回图象窗口,得到高光选区。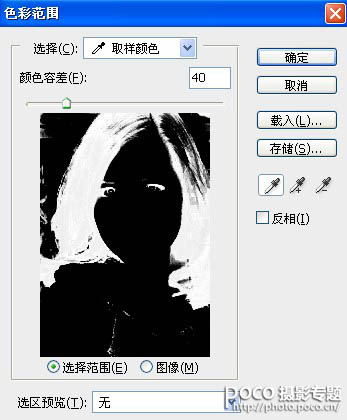

(本文来源于图老师网站,更多请访问http://m.tulaoshi.com/psxpcl/)
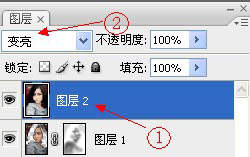
3、选择反相(Ctrl+Shift+I),Ctrl +J复制选区内的图像,得到“图层1”,为“图层1”添加蒙版。选择“画笔工具”,设置前景色为黑色,不透明度及流量设置如图所示。在人像脸部较亮的T形区涂抹,降低图像的亮度。Ctrl+Shift+Alt+E盖印“图层2”,该图层混合模式设置为“变亮”。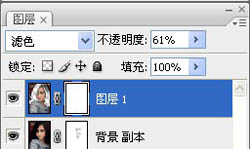


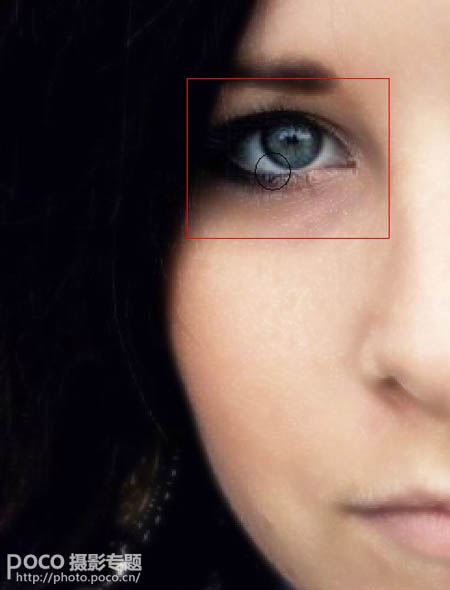
4、如图运用高斯模糊修饰脸上的小斑点,这里设置半径为“2”。用橡皮擦擦除被模糊的眼睛部分。橡皮擦工具的设置如图。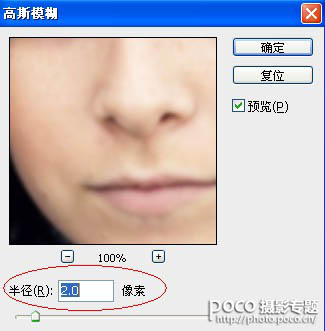

5、选择“图层2”,单击调整图层中的色阶图标,设置色阶参数,调亮图像。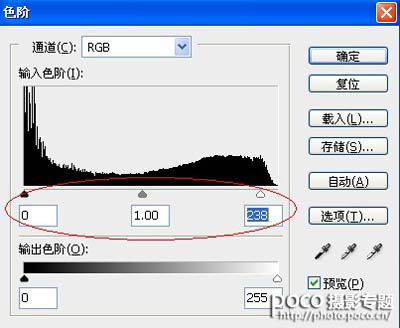
6、用画笔工具在色阶蒙板上涂抹,调整整个面部的明亮度。Ctrl+Shift+Alt+E盖印“图层3”,用修复画笔工具,在人像面部的斑点位置单击,修饰图象。至此图像美化完成。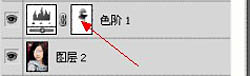
最终效果:


