给自己一点时间接受自己,爱自己,趁着下午茶的时间来学习图老师推荐的Photoshop打造古典韵味的花卉特写图片,过去的都会过去,迎接崭新的开始,释放更美好的自己。
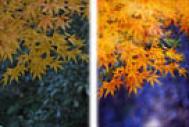
黄褐色是最常用的古典色调,可以应用与人物及静物图片,调色方法也有很多。下面介绍一种比较经典的方法,过程:先用调色工具把图片的颜色转为暖色,用渐变映射等转为所需的黄褐色,后期微调颜色,并用滤镜等加上纹理增强古典效果。
原图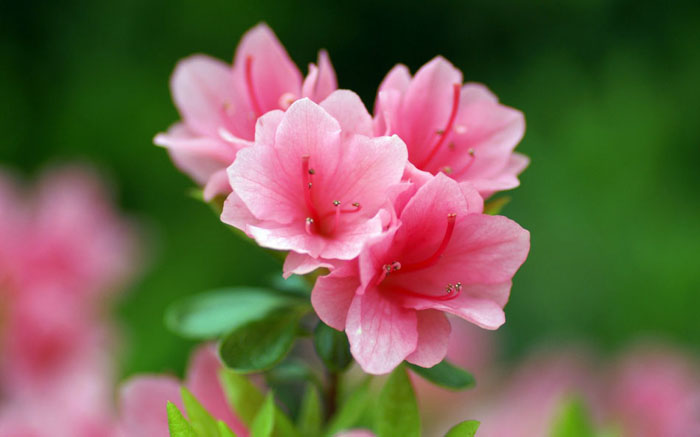
最终效果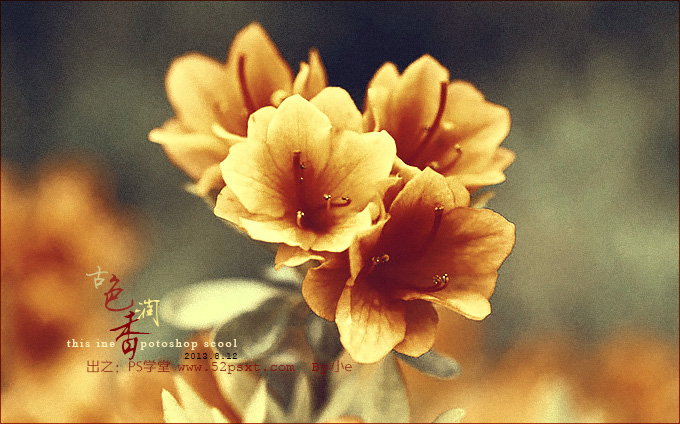
1、打开一张唯美的花朵图片,素材选有微距效果的。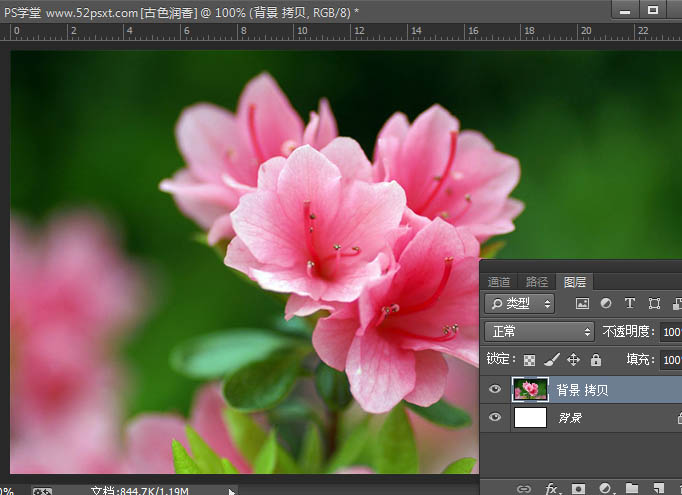
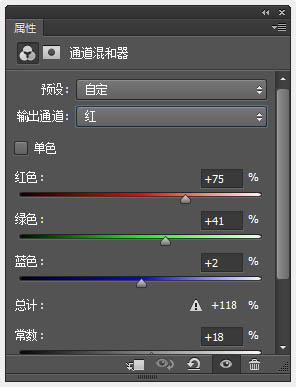
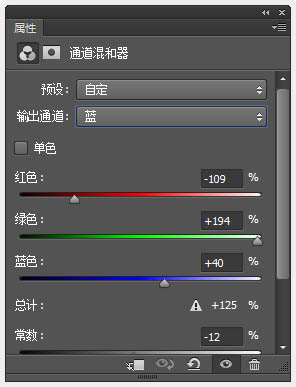
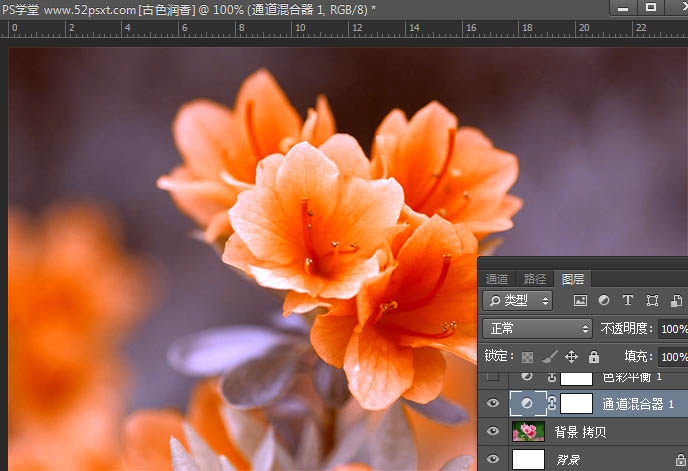
2、创建通道混和器调整图层,对红色和蓝色通道调色。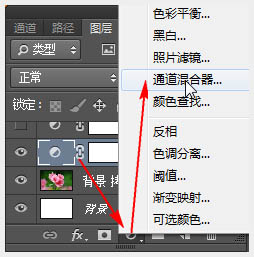
3、创建色彩平衡调整图层,将色调设置为:中间调,其它数值如下。
4、然后将图层混合模式设为:正片叠底,效果如下。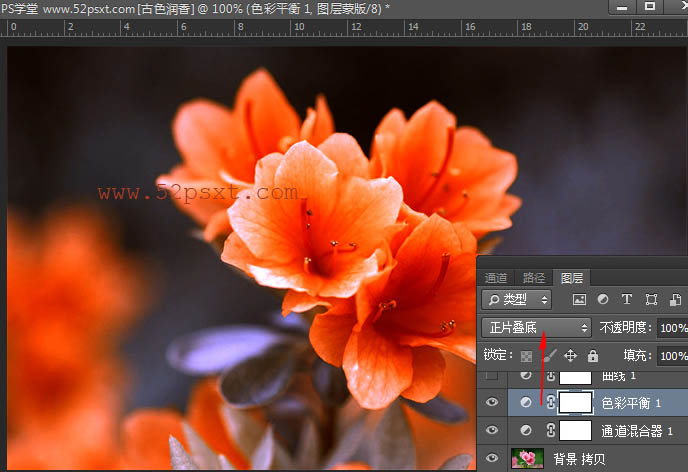
5、创建曲线调整图层,对RGB通道进行下如调整。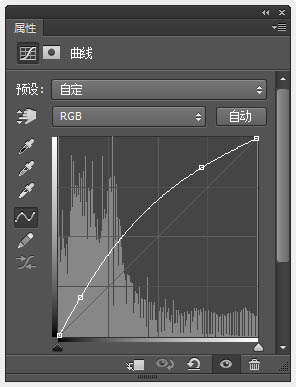
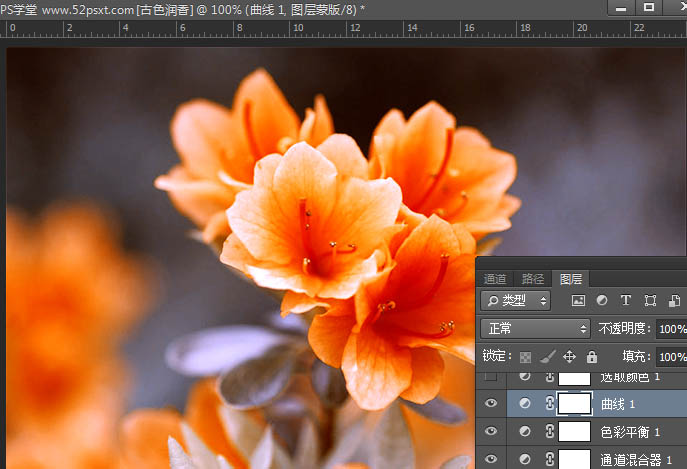
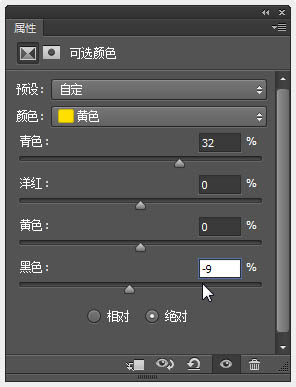
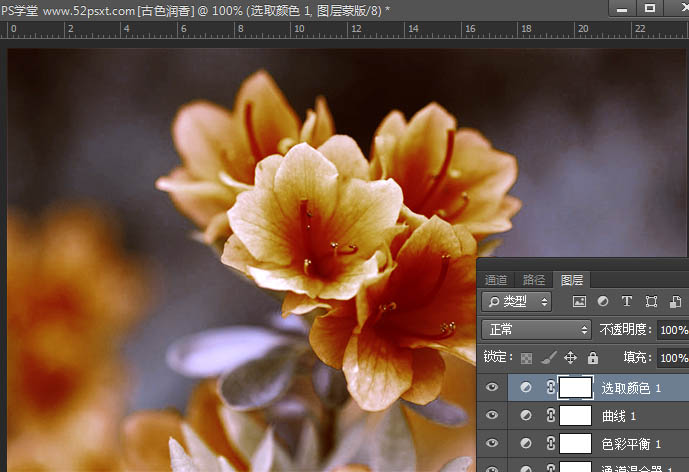
6、创建可选颜色调整图层,选择绝对的模式下,对红和黄色进行调整。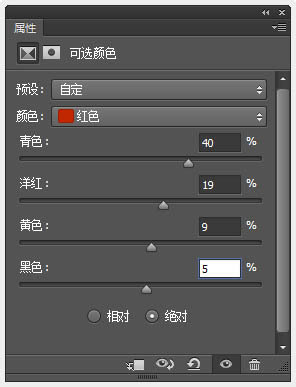
7、创建渐变映射调整图层,渐变的颜色标注如下。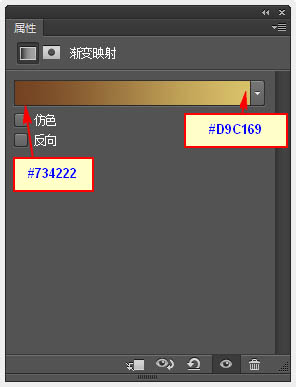
8、将图层混合模式设为:正片叠底,不透明度:80%,效果如下。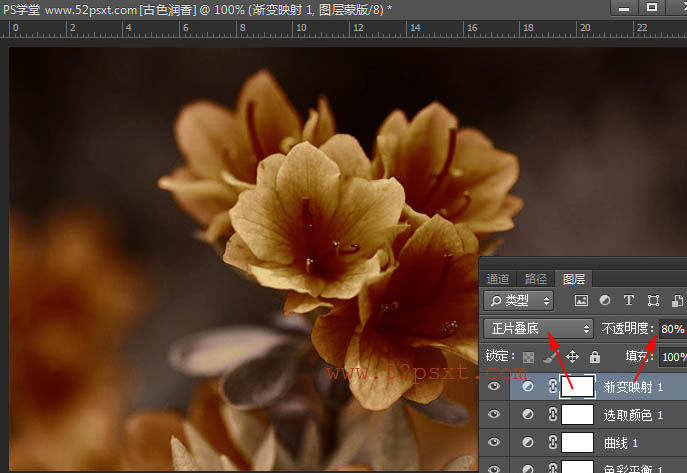
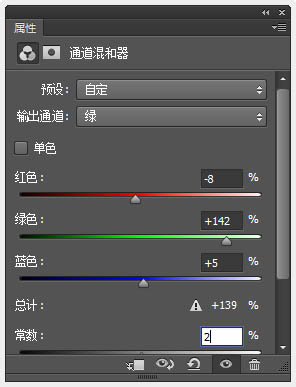
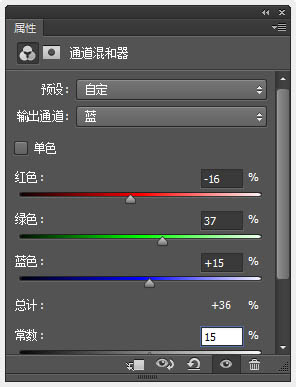
9、创建通道混合器调整图层,分别对红、绿、蓝进行调整,数值如下。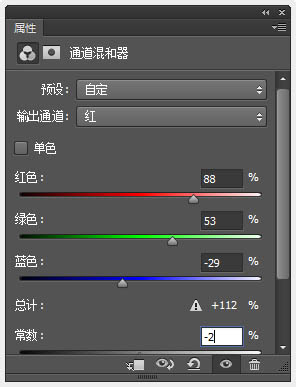
10、将图层混合模式设为:滤色,效果如下。
11、创建通道混合器调整图层,对绿色通道进行调整。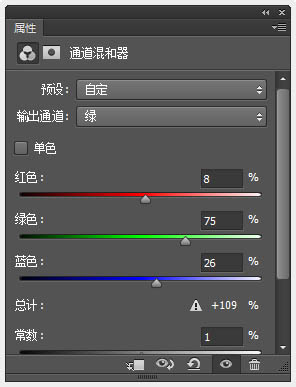
(本文来源于图老师网站,更多请访问http://m.tulaoshi.com/psxpcl/)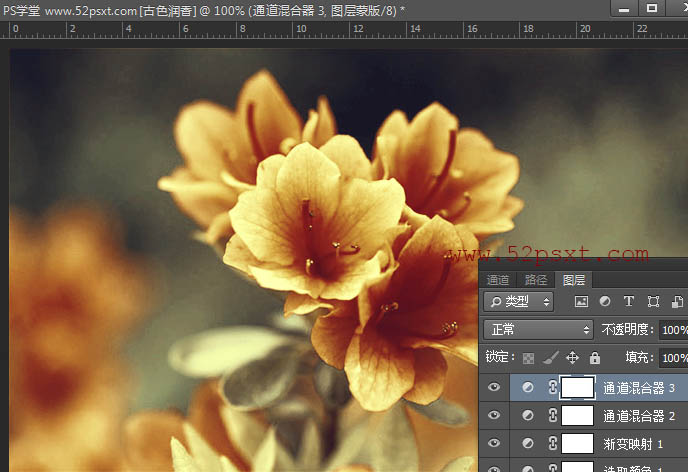
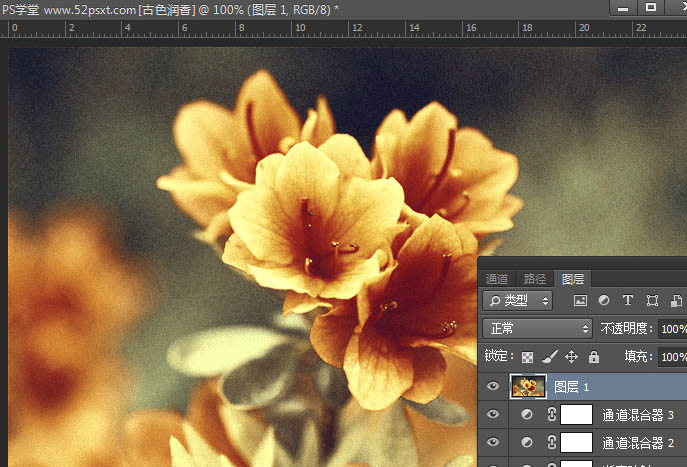
12、新建图层,按Ctrl+Shift+Alt+E快捷键盖印图层,执行‘滤镜-滤镜库-艺术效果-胶片颗粒’(提示,CS6版本是在滤镜库里),数值如下。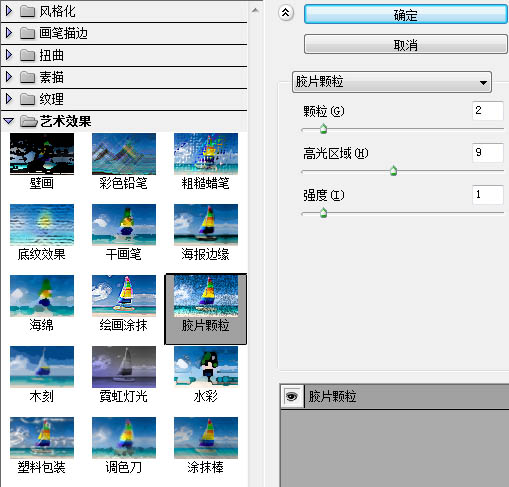
(本文来源于图老师网站,更多请访问http://m.tulaoshi.com/psxpcl/)
13、执行‘滤镜-锐化-智能锐化’,参数如下。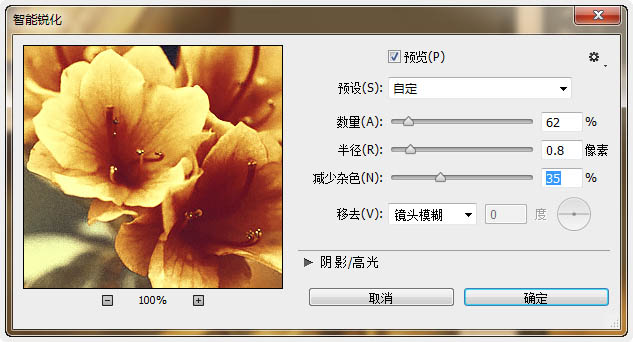

14、再添加些字体,添加字体的技巧:因色调是复古色,所以字体尽量选择细和有曲线效果的,文字不要太大,颜色尽量选择与背景相近的色。 完成最终效果。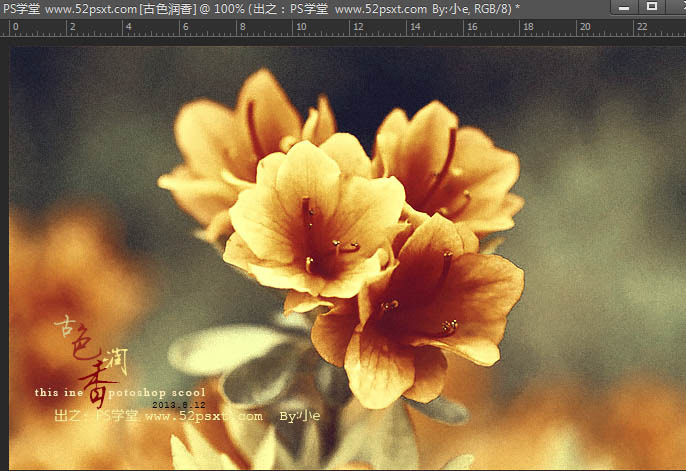
最终效果: