图老师电脑网络栏目是一个分享最好最实用的教程的社区,我们拥有最用心的各种教程,今天就给大家分享超详细介绍如何修复撕裂的旧照片的教程,热爱PS的朋友们快点看过来吧!
从素材图可以很清楚的看到,要修复照片需要两个过程:首先需要把撕裂的照片完整的拼合起来。然后就是把照片中的裂纹,瑕疵等修复好。过程虽然简单,不过要修复的东西比较多,需要花费一点的时间。
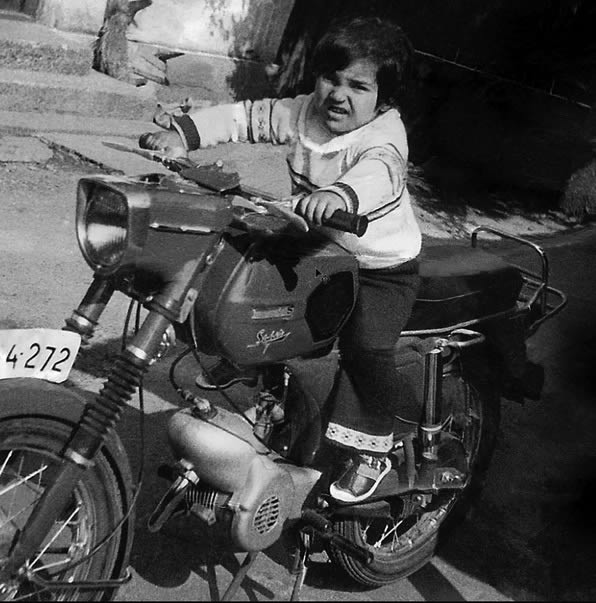
原图
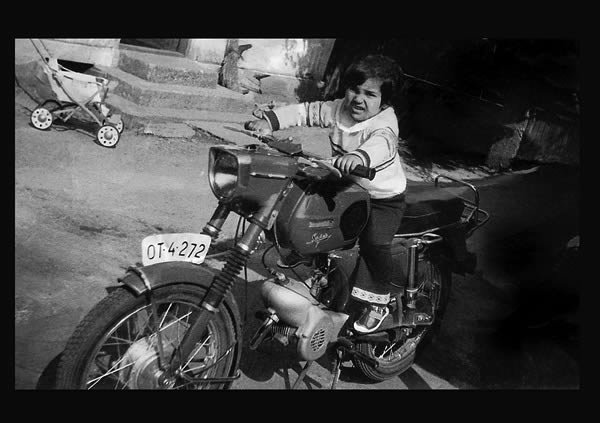
最终效果
1、这就是原图,我们可以看到图中缺失的部分比较多,被分成了四片。
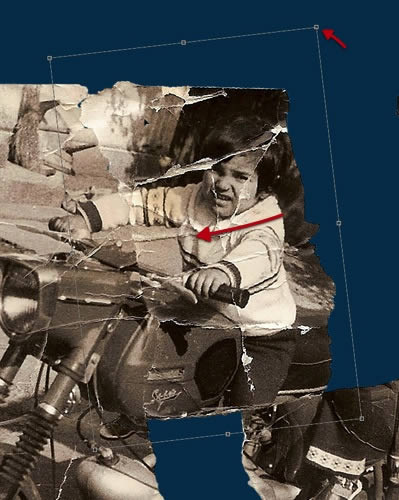
2、使用套索工具选定4块残片,然后分别建立图层,然后隐藏原图层(就是背景图层)。

3、然后给每个图层添加矢量蒙版,用23px粉笔笔刷覆盖各个”碎片”的周围。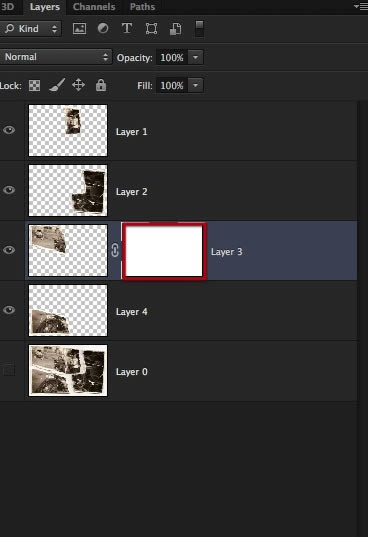

4、在开始用画笔之前,我们在所要操作的4个图层下方建立一个图层,填充深蓝色背景,这样我们就能知道该要怎样、要在哪里使用笔刷了。

5、沿着碎片边缘画,如下。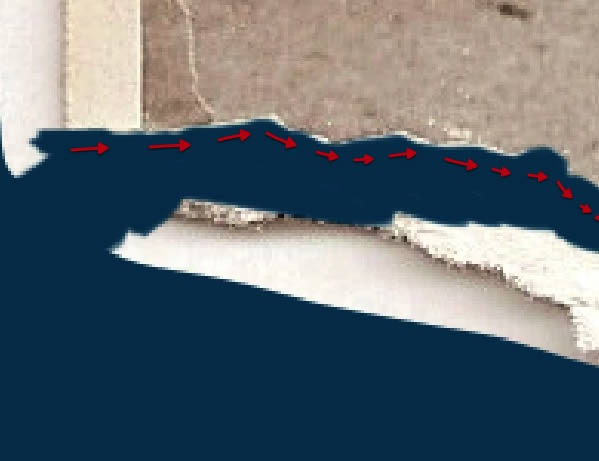

6、其他碎片重复上述步骤,结果如下。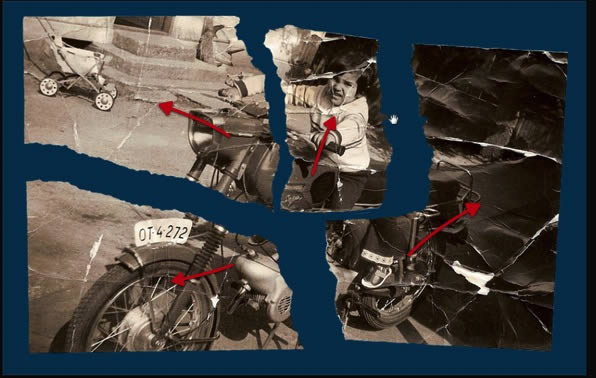
7、这算是最简单的一步了,把所有碎片拼接在一起,可适度选择。尽量不要调整大小比例。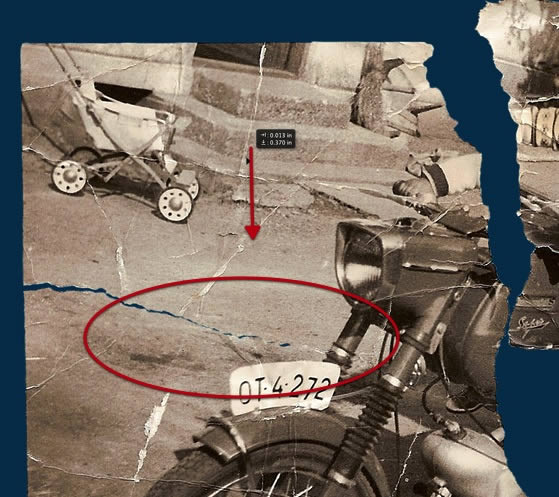
8、尽可能契合的拼接在一起,不要重叠。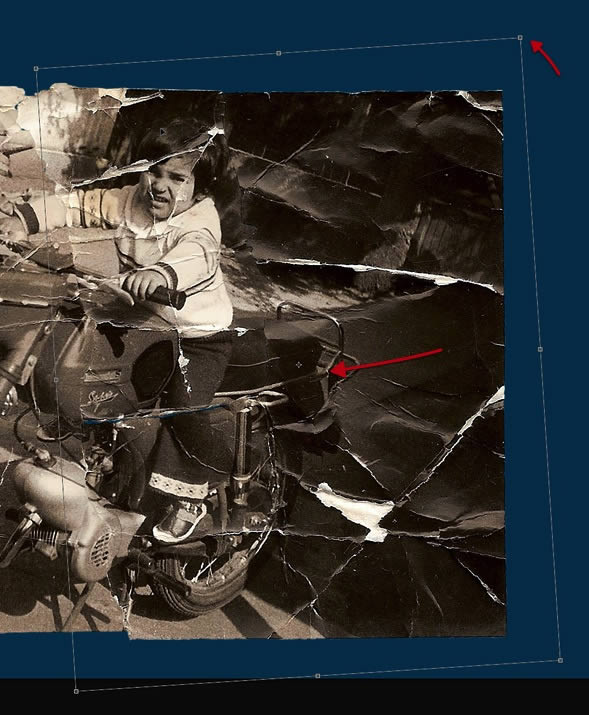
9、完成上述步骤后,将4个碎片图层复制一份,以做备份。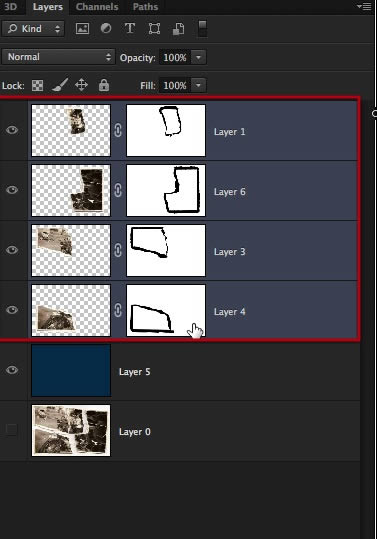
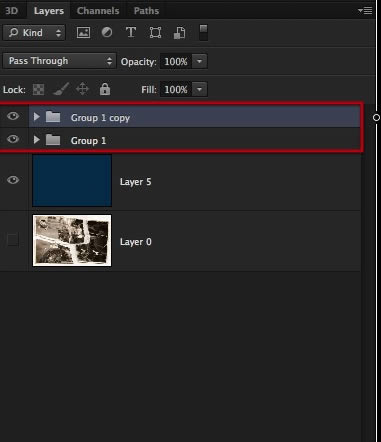
10、最后,将4个图层分成1组,4个副本也分成一组,然后选择副本图层组,右键-合并组。
11、进入修复阶段,我们要利用克隆工具(仿制图章工具)修复下面这些撕边。
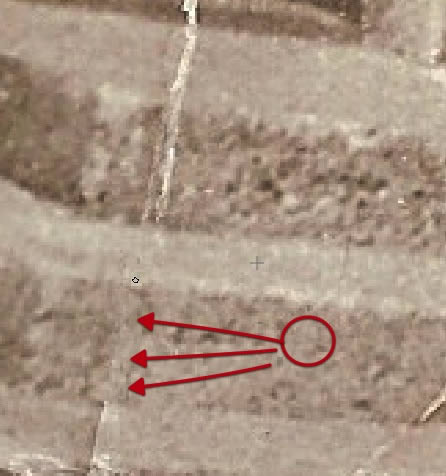
12、利用比较清晰的部分来修复破损的部分,注意不要留下缝隙。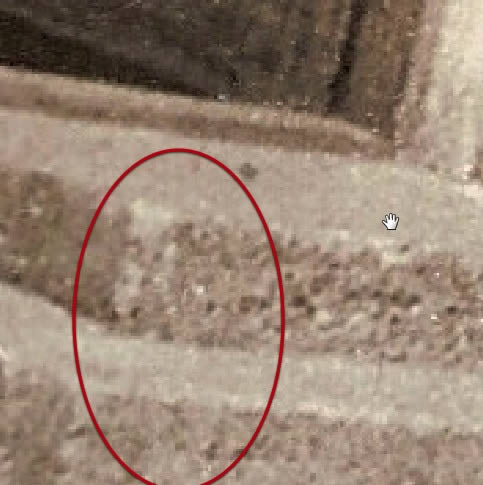
13、不要嫌费事,每个部分都要仔细的研磨,需要放大,需要改变画笔大小。
14、要耐心,尽可能减少褶皱和裂痕;建议放大来进行更精细的处理。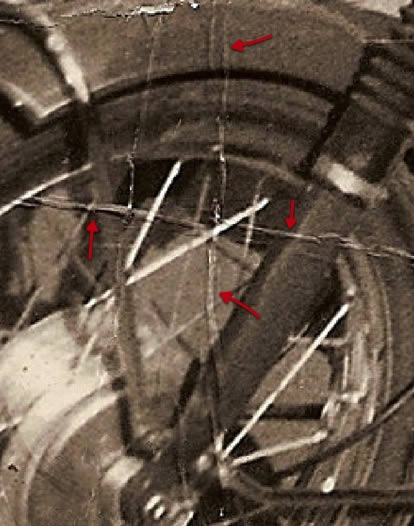
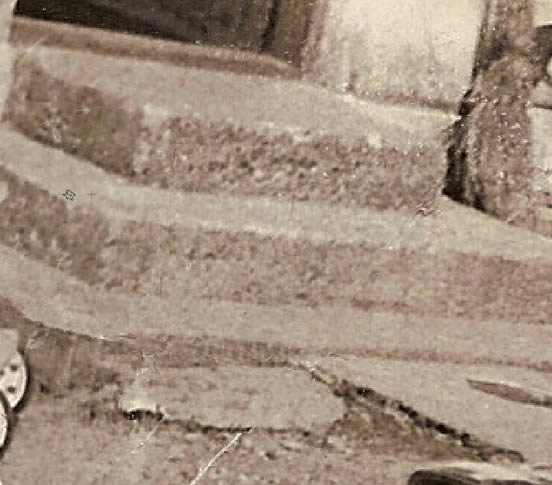
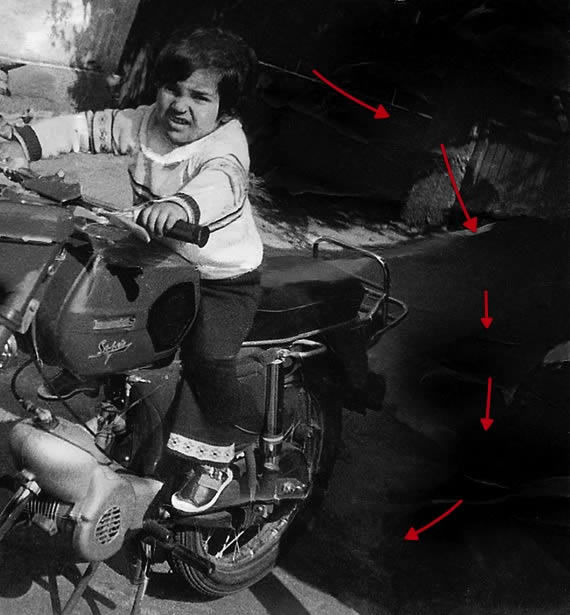
15、如果你发现有的地方需要更精细的细节,那么暂时不做处理,后面再进行处理。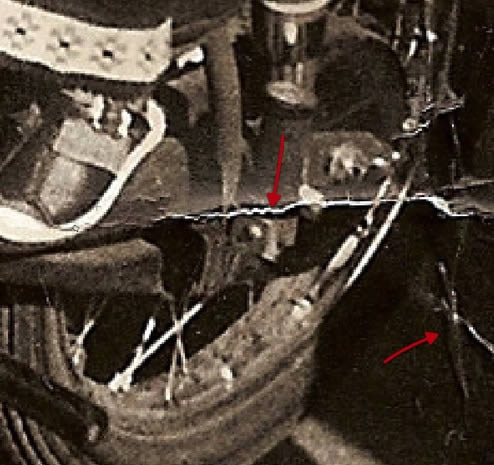

16、渐渐地,你会发现你的照片初具规模了。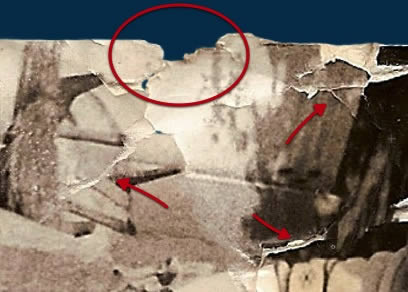
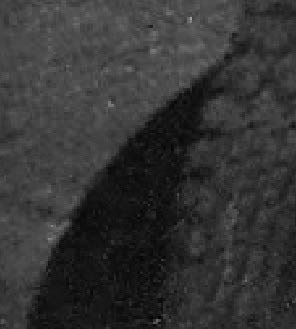
17、这个部分我就打算后期处理,因为孩子的脸孔部分破损了多处。我便先处理了周围的细节,后面我们再来解决这个问题。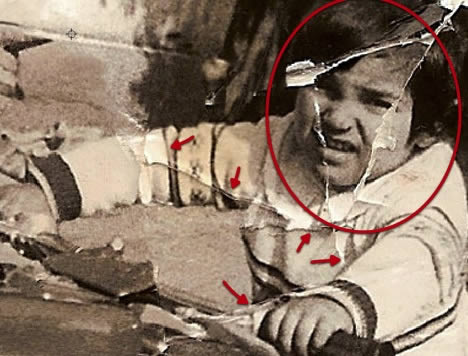
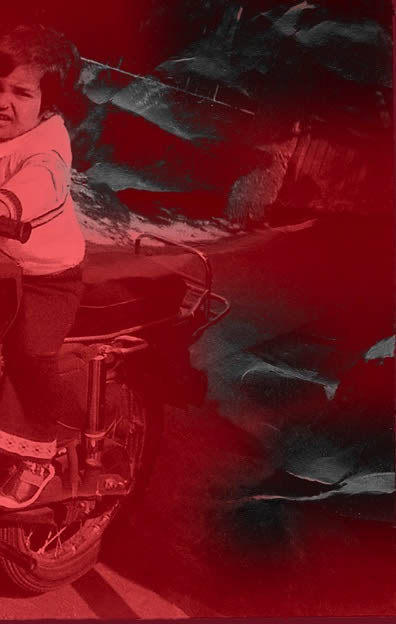
18、我们发现路上有一些隆块,这是纸张弯曲造成的,因为这不是扫描的照片,而是拍摄出来的,所以我们需要在纸面上打造一些光效/光反射来达到更逼真的效果,因此弯曲是一方面,光效又是另外一方面。还是那句话:要耐心。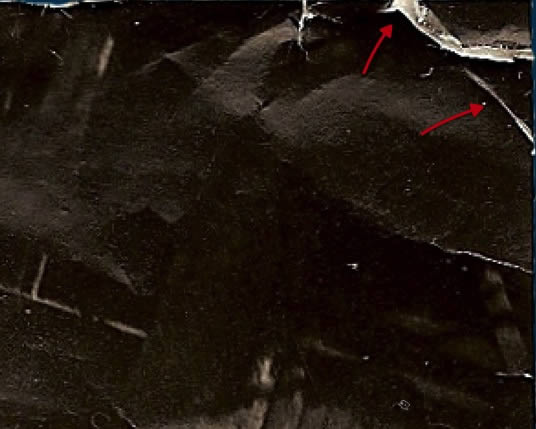

19、照片修复工作中,有时候客户会提供很多线索,而本次没有,所以我们只能靠直觉了,如下图。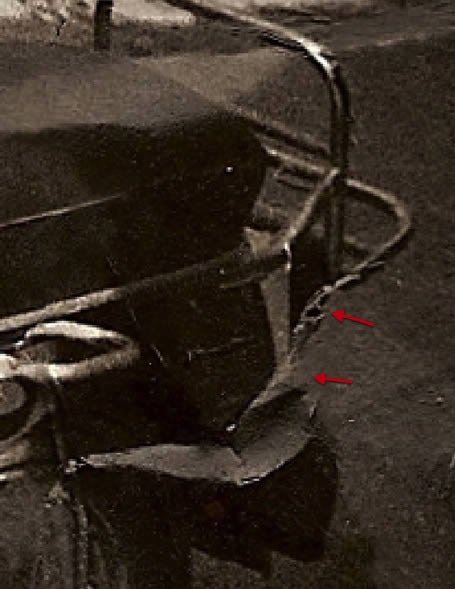
(本文来源于图老师网站,更多请访问http://m.tulaoshi.com/psxpcl/)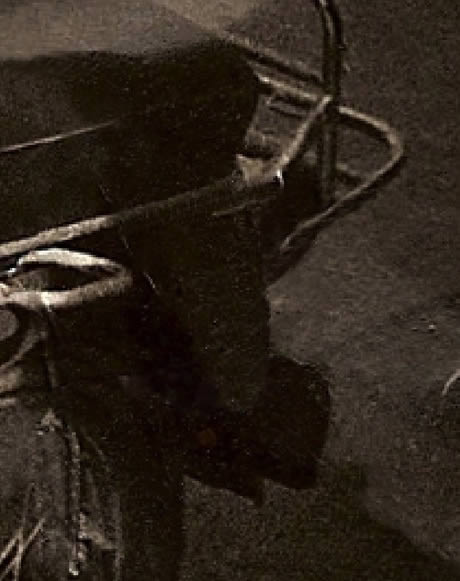
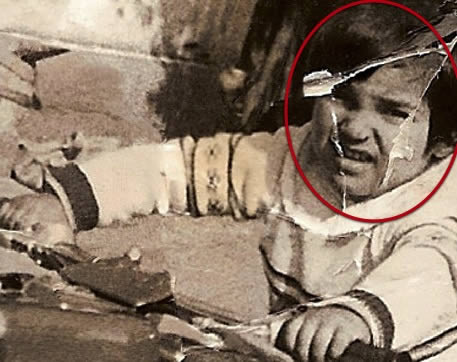
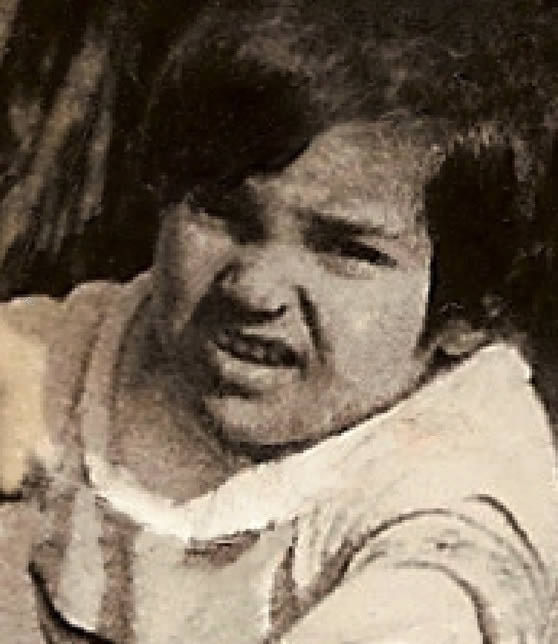
20、孩子的脸,这部分也很重要,不要破坏脸部的轮廓,因此要用非常小的笔刷来一个像素一个像素的调整,直到整个区域处理干净。修复完了暂且不管小细节,我们后面还要再磨一边这个区域的细节。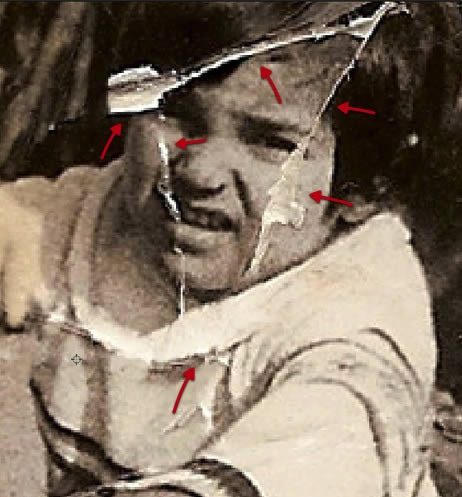
21、现在将我们的图像转换为黑白,如果客户想要原图这种深褐色,那么我们还是要先转换成黑白,整体处理完了再调成褐色。新建调整图层-黑白,如下图。

22、再一次复制图层,隐藏原图层,以作备份。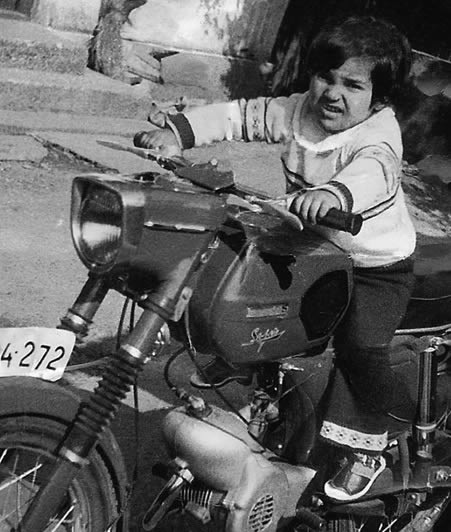

23、合并复制后的图层。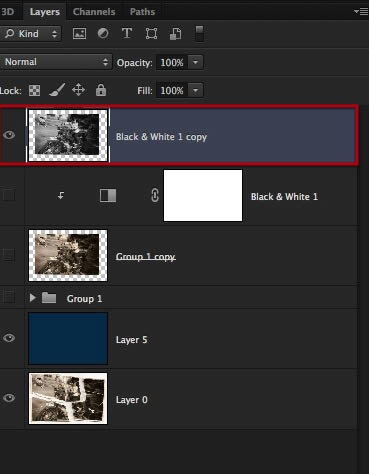
24、现在使用色彩范围工具(选择-色彩范围),选取图中由于环境光以及反射导致的黑色阴影区域。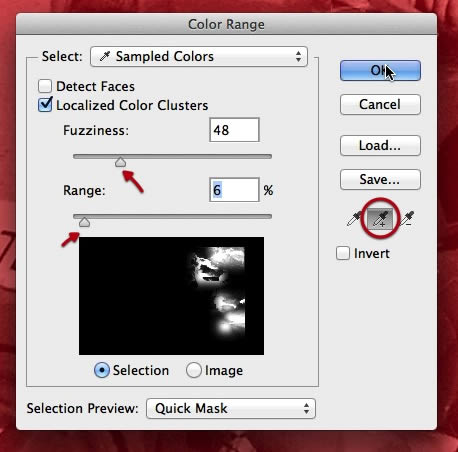
25、选择后,羽化,5像素。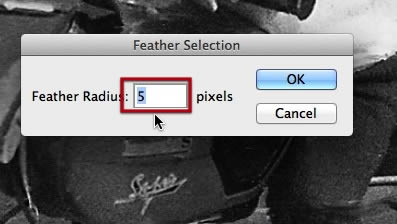
26、然后选择加深工具,按下图设置(中间调,曝光24%)。

27、然后加深,知道这些区域和图中其他阴影区域契合为止,使用较为柔和,大小较大的画笔。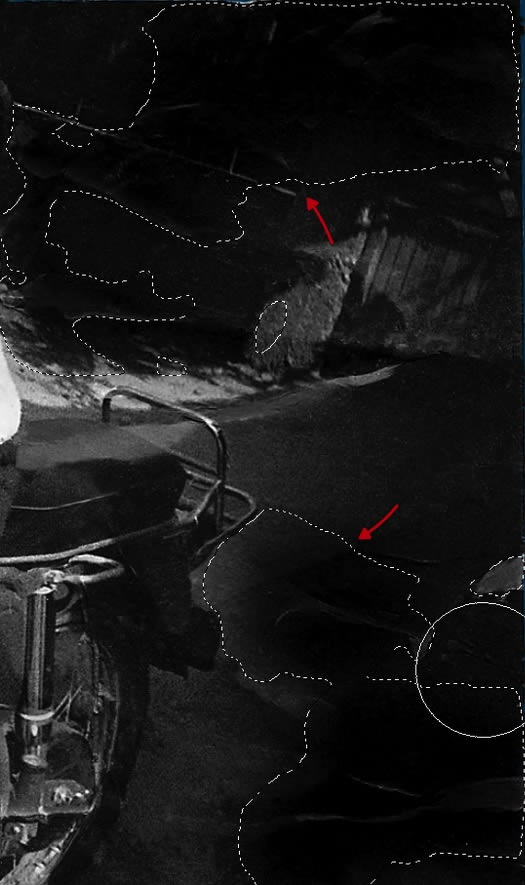
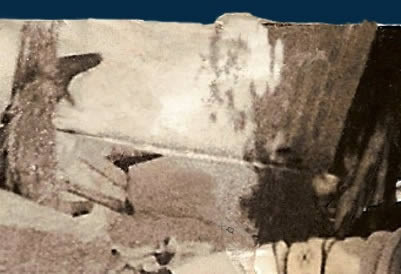
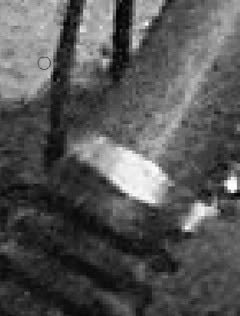
28、燃料箱的这个部分也需要处理,稍微克隆一下,使用加深工具来重建这个部分,让阴影更加自然。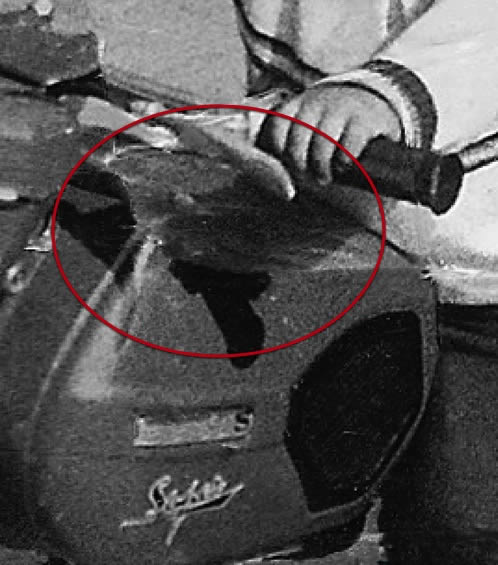

29、这步要如图裁剪图像,尽可能多的保留原内容。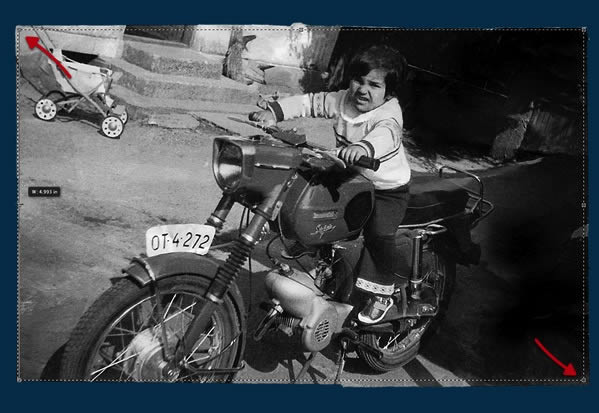
30、现在使用污点修复笔刷来去除污点,这个工具的使用需要耐心,慢慢处理细节。

31、我们要去掉因为照片损毁导致的污点,保留原图像中的细节,因此要分辨清楚。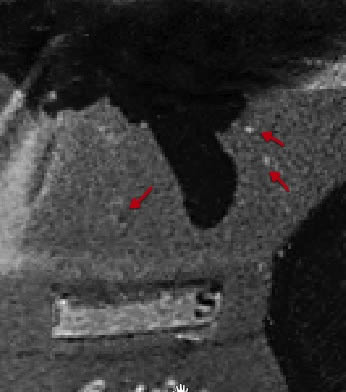
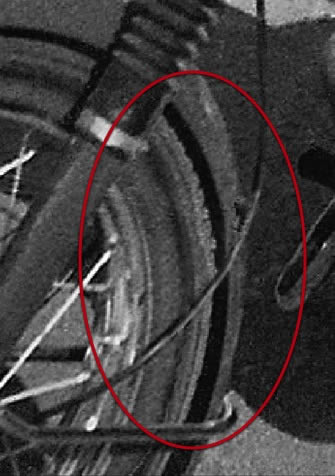
32、我们还发现这部分(前车轮后部)有点问题,可是克隆工具和污点修复笔刷都帮不上我们,因此我们别无选择,一点一点用手画吧。
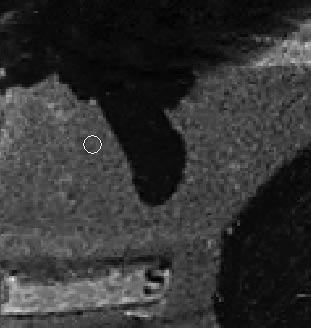
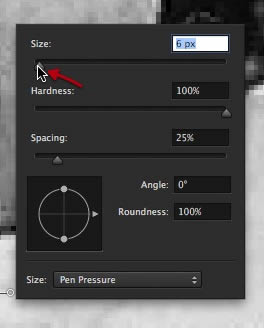
33、选择画笔工具,使用这款笔刷,大小1px。

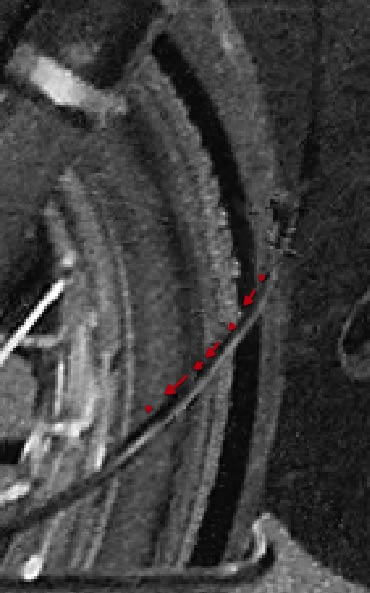
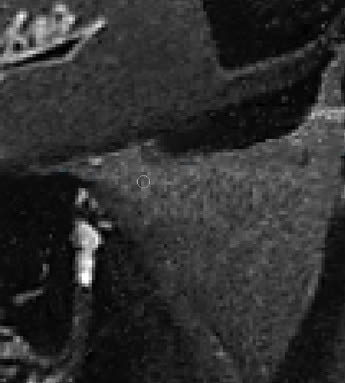
34、在这个地方采样,然后如第二张图那样慢慢构建这跟电缆。
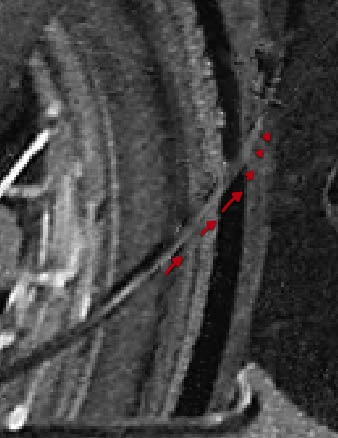
35、然后,按下图采样阴影颜色,,最终完成这根电缆的绘制。
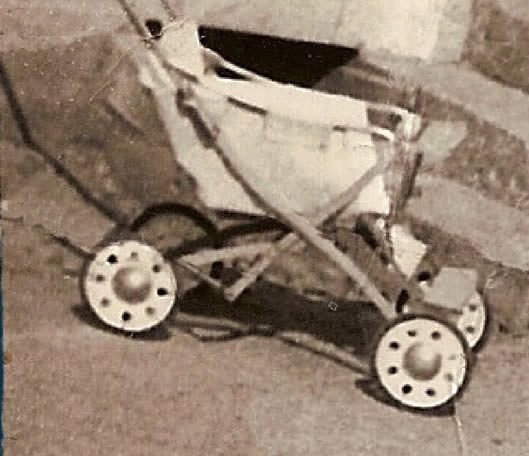
36、再看看这个部分,这个婴儿车似乎也需要修复一下,原图中的细节不太清晰,这不部分就不用画了,我们可以利用比较清晰的部分来修复。

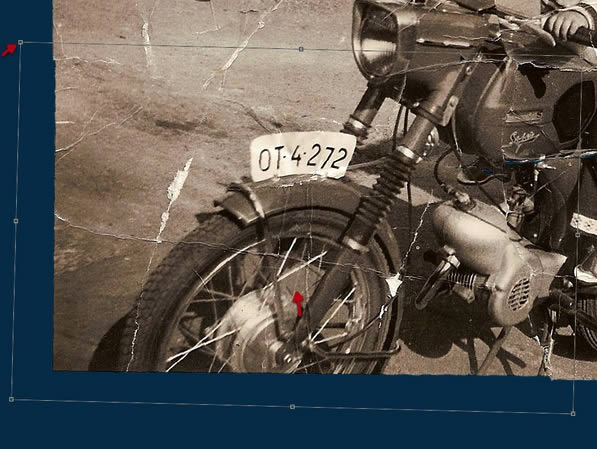
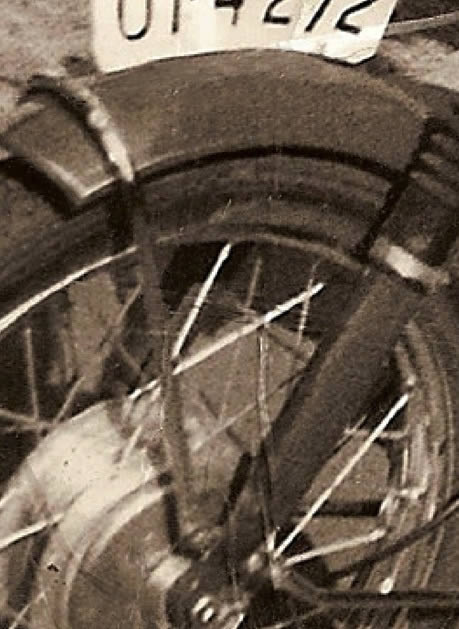
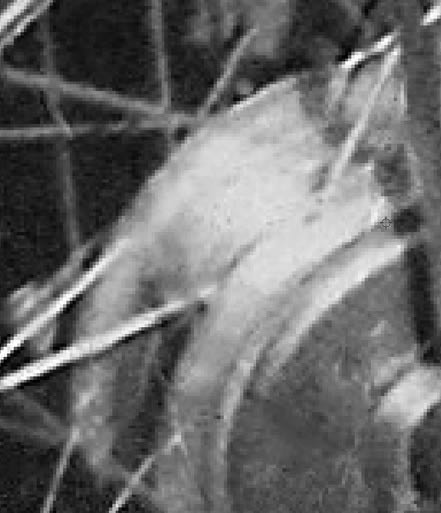
37、再来看看前轮,这个部分的褶皱要去掉。不过细节不局限于此,各种细节都要好好处理。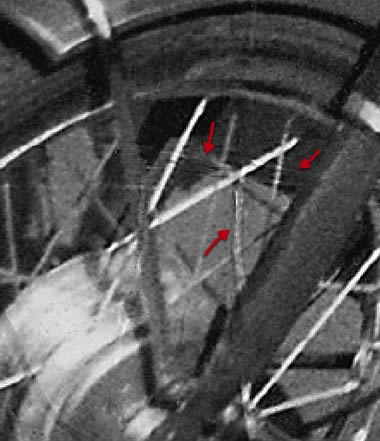

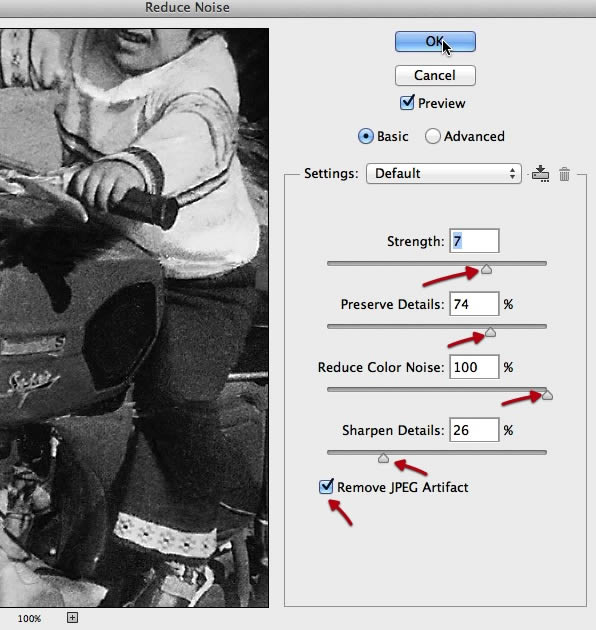
38、我们将使用减少杂色工具来去除整个图像中的杂色。
39、将图层复制一份,然后按下图设置,注意不要过头了,可以自己实验一下。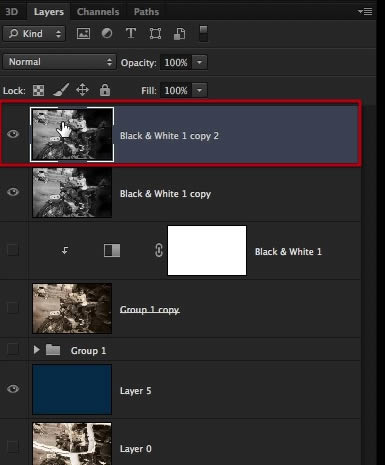
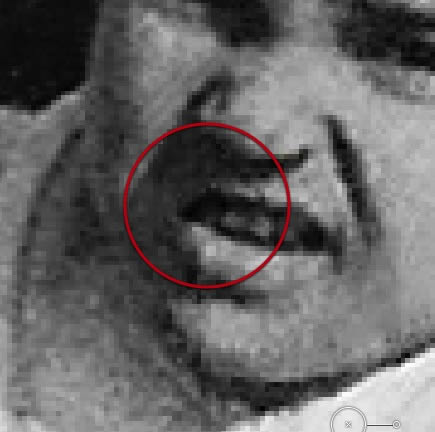
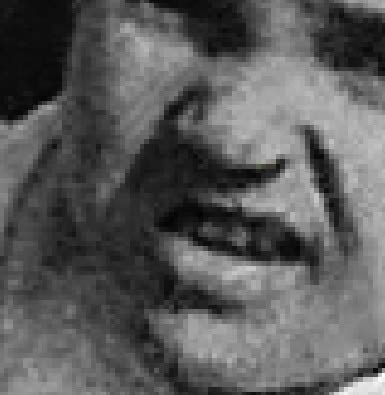
40、这孩子嘴唇需要修复一下,我们可以用这孩子上嘴唇的右面来修复他的左面。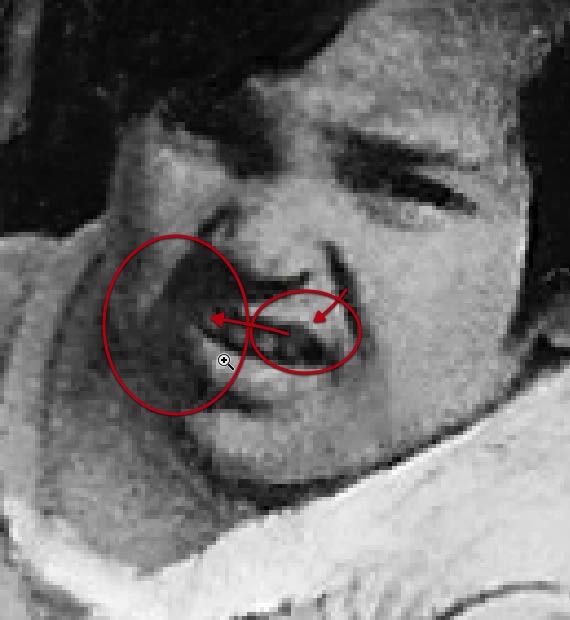
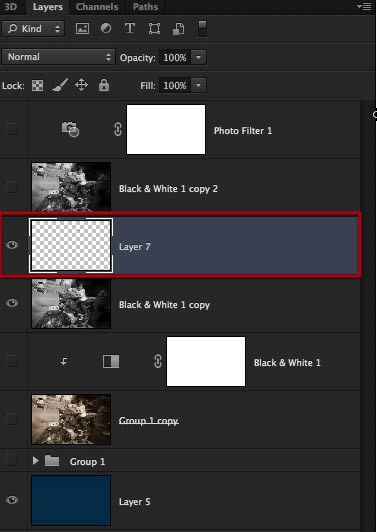
(本文来源于图老师网站,更多请访问http://m.tulaoshi.com/psxpcl/)41、使用套索工具,选择右嘴唇后复制,然后建立新图层,粘贴。
42、编辑-变换-水平翻转,然后再稍微调整。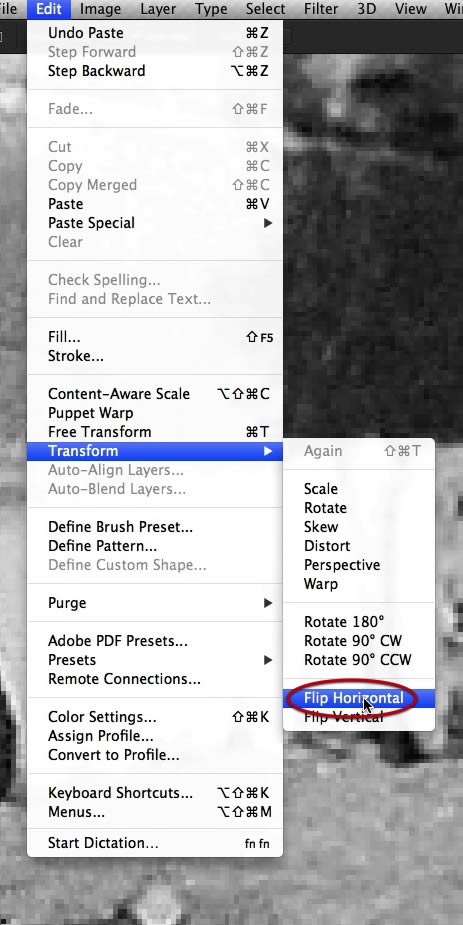
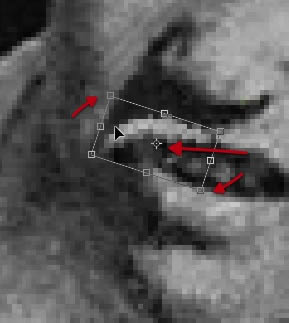
43、然后选择扭曲。
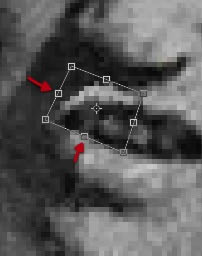
44、使用加深工具来增添一点阴影。
45、调整完后,合并图层,快完工了。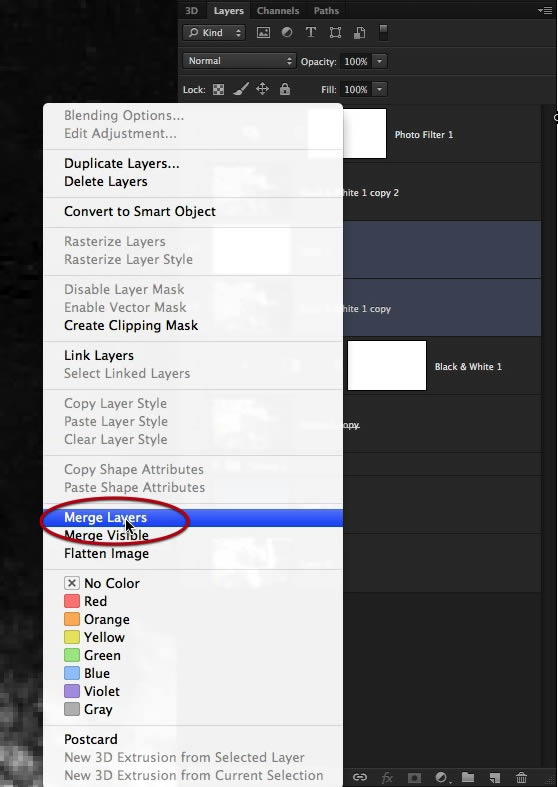
46、斑点和灰尘怎么办?使用污点修复工具吧,记得要用小尺寸,如下图。
47、先从面部开始,干掉这些小颗粒。
48、然后燃料箱也处理一下,这部分细节丢失了。
49、这个部分放大后才能找到,这里也是细节丢失。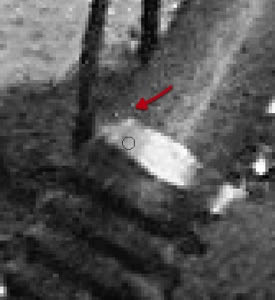
50、这部分污点应该是胶水引起的,也要耐心处理。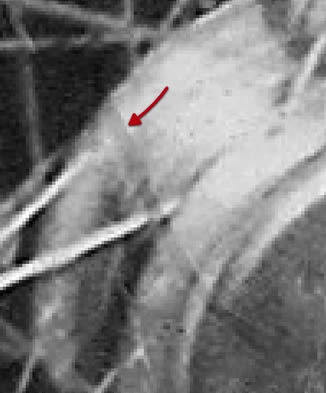
51、一旦发现那里不对头,就重新开始修复,比如说头发部分,这样更自然。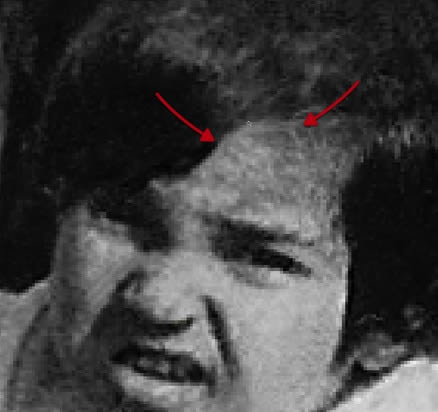

最终效果:


