原图

最终效果
1、打开素材图片,创建可选颜色调整图层,对黄色进行调整,参数及效果如下图。这一步快速把地面颜色转为黄褐色。
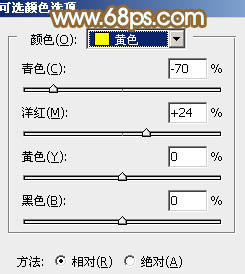
图1
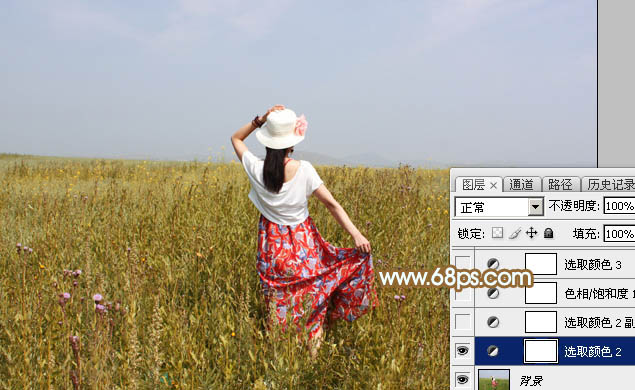
图2 2、按Ctrl + J 把当前可选颜色调整图层复制一层,效果如下图。
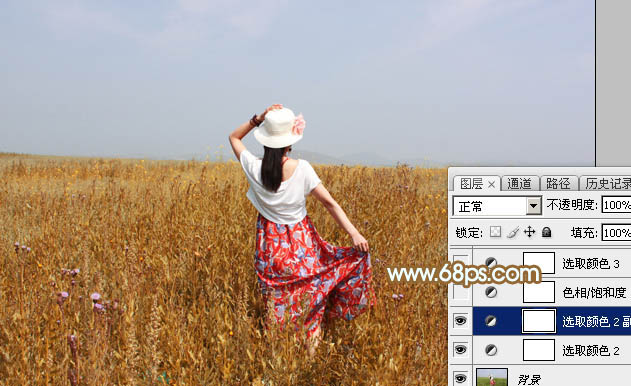
图3 3、创建色相/饱和度调整图层,对全图、红色,黄色进行调整,参数设置如图4 - 6,效果如图7。这一步主要把地面的颜色转为红褐色。
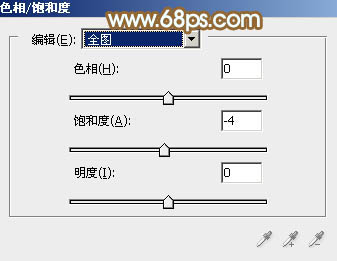
图4
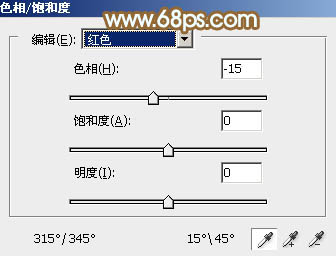
图5

图6
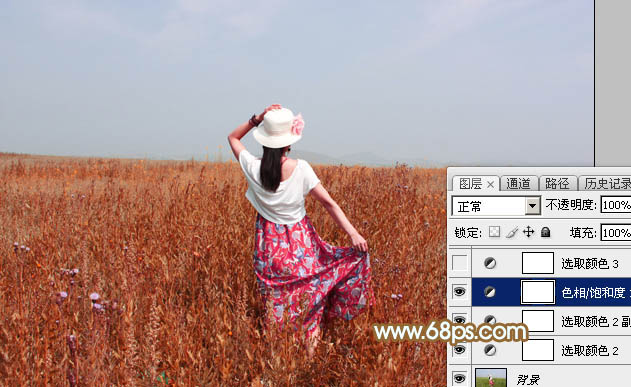
图7
4、创建可选颜色调整图层,对红、黄,白进行调整,参数设置如图8 - 10,效果如图11。这一步把图片中的暖色稍微调亮一点,并加强高光颜色。

图8
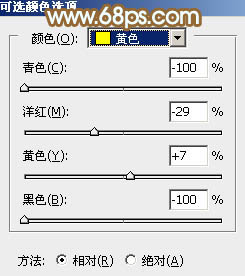
图9
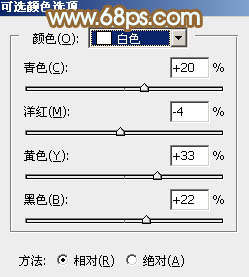
图10
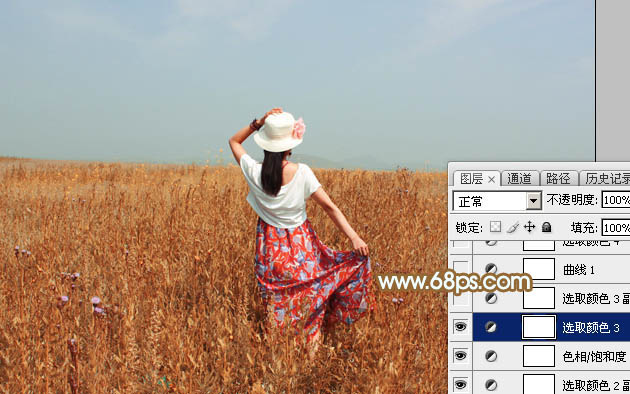
图11 5、按Ctrl + J 把当前可选颜色调整图层复制一层,不透明度改为:30%,效果如下图。
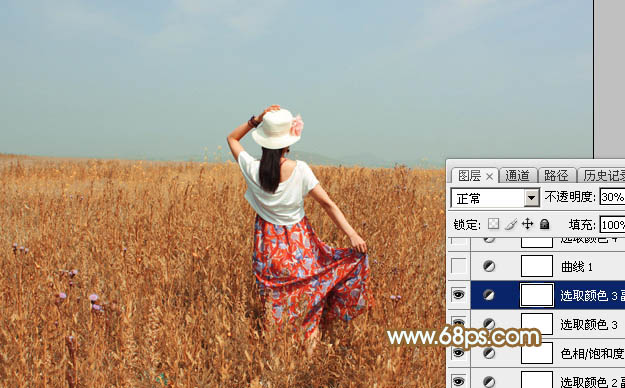
图12 6、创建曲线调整图层,对红,蓝通道进行调整,参数设置如图13,14,效果如图15。这一步给暗部增加褐色。
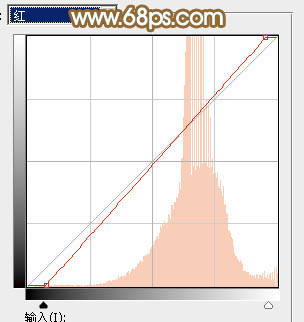
图13
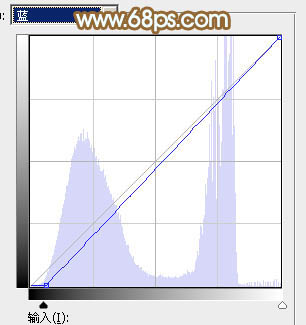
图14
图15
7、创建可选颜色调整图层,对红、黄、白,黑进行调整,参数设置如图16 - 19,效果如图20。这一步主要给天空部分增加青蓝色。
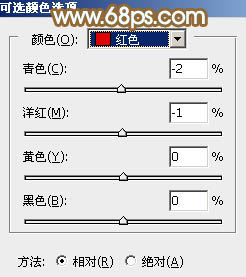
图16
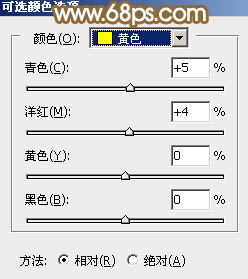
图17

图18
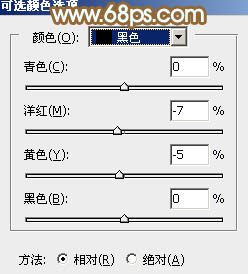
图19
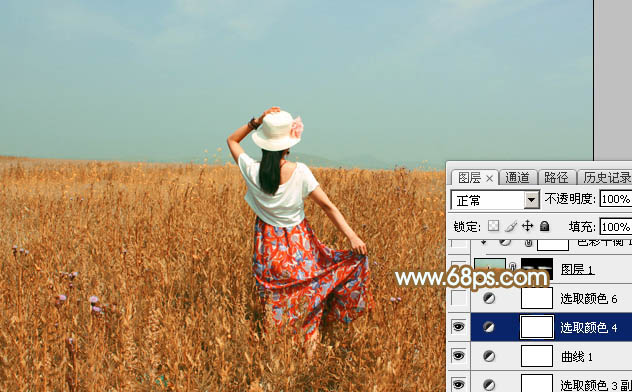
图20 8、创建可选颜色调整图层,对红、黄、青、白,黑进行调整,参数设置如图21 - 25,效果如图26。这一步给图片增加淡黄色。
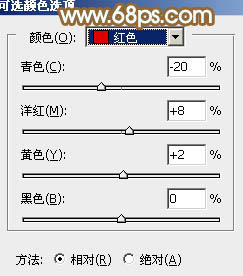
图21
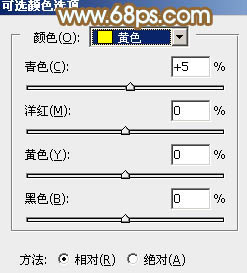
图22
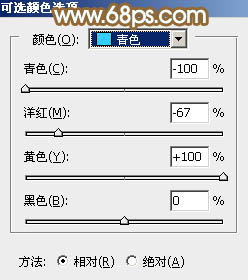
图23
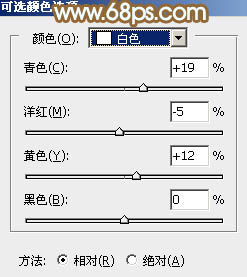
图24
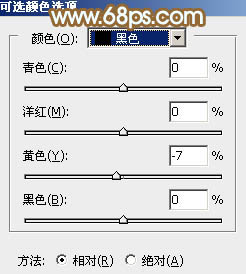
图25
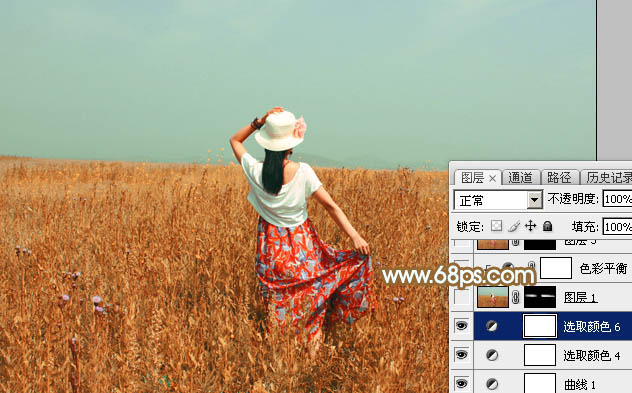
图26
9、创建可选颜色调整图层,对红,白进行调整,参数设置如图27,28,效果如图29。这一步主要给天空部分增加淡青色。
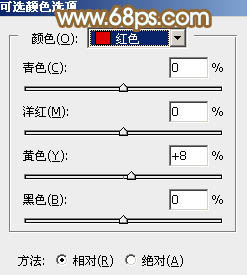
图27
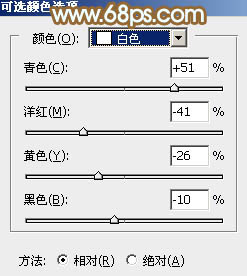
图28
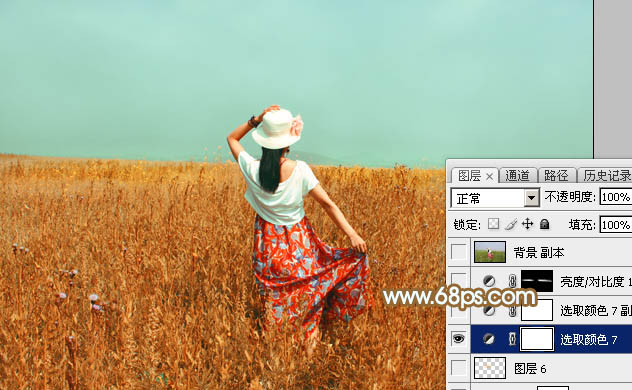
图29 10、按Ctrl + J 把当前可选颜色调整图层复制一层,不透明度改为:30%,效果如下图。
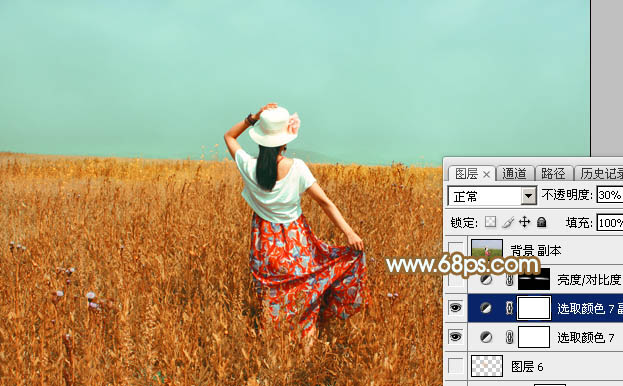
图30 最后给图片局部增加一点光晕,再把整体柔化处理,完成最终效果。


