下面,图老师小编带您去了解一下PS结合SAI把车内的美女转成闪亮的仿手绘效果,生活就是不断的发现新事物,get新技能~
仿手绘的方法基本接近,不过高手善于在细节、颜色、装饰等方面下功夫。如下面的教程,作者的高光刻画的非常到位,尤其是肤色部分有种类似水晶的效果,非常可爱。
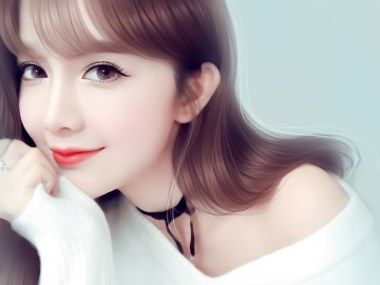
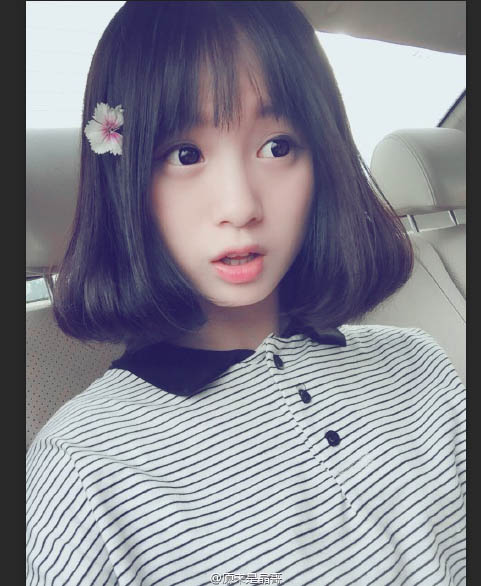
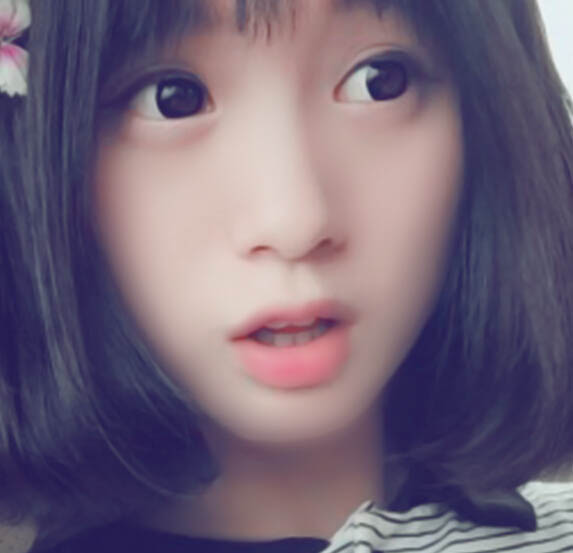
最终效果
最终效果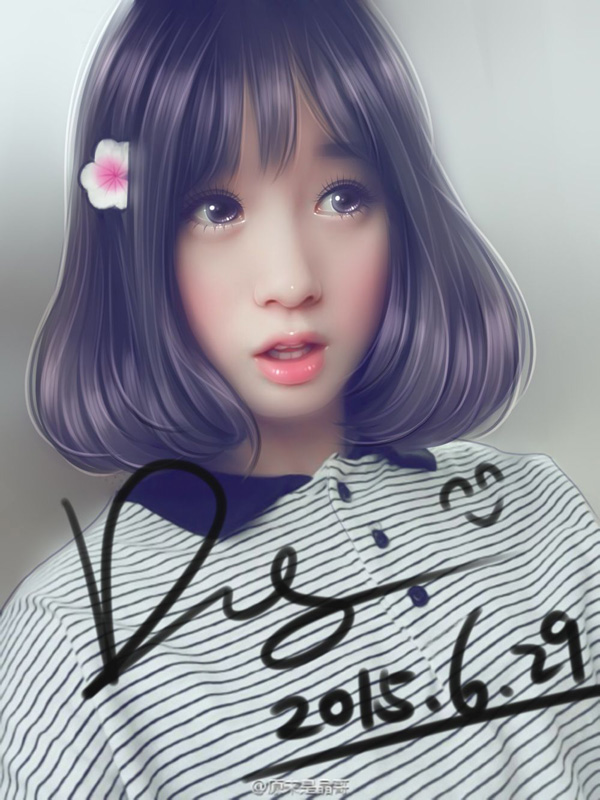
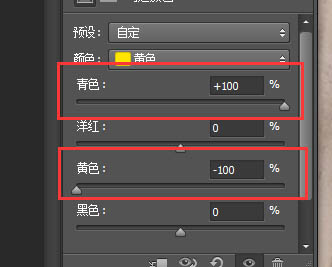
1、打开ps找到“可选颜色”点开这个圆圈最下面的选项就是。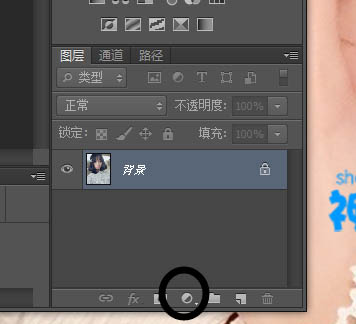
2、调色:我一般就调红黄黑,调色自己看着图去调就行,不一定要跟着我的脚步,这个没有固定的设置。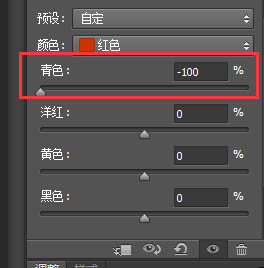

3、用多边形套索工具圈出皮肤,也就是整个脸。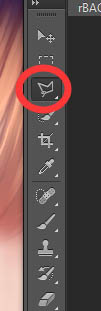
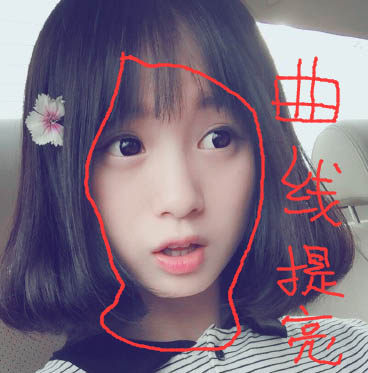
4、用曲线稍微提亮。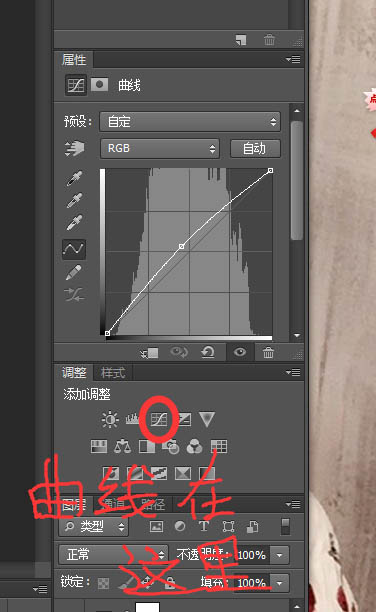
5、调整图片大小,不然画起来就会有马赛克,一般宽度2000-2500就行了。在“图像”里找到“图像大小”调宽度就行,其余的不要动。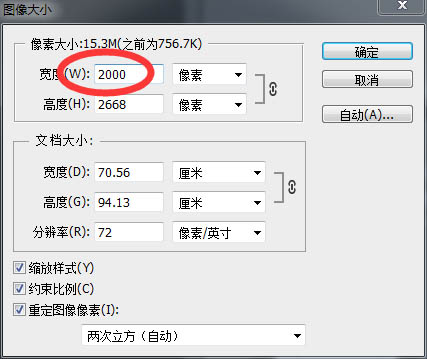

6、然后就是处理图片的噪点,一般大家都是用中间值,不过我习惯了用“减少杂色”了。在滤镜里找到“杂色”选“减少杂色”。
强度拉到最高,其余的拉到最低。
7、然后就是保存图片到sai里去画,我习惯了保存为JPG格式,JPG格式会压缩图片的像素,要是不想压缩就用png格式吧,存图我就不说了,大家应该都会存图吧,在“文件”里找到“存储为”就OK了。
然后在这里选格式。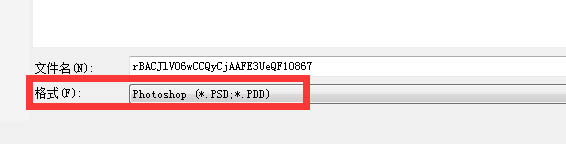
8、好多新手都不熟悉sai,我把常用的就都圈一下。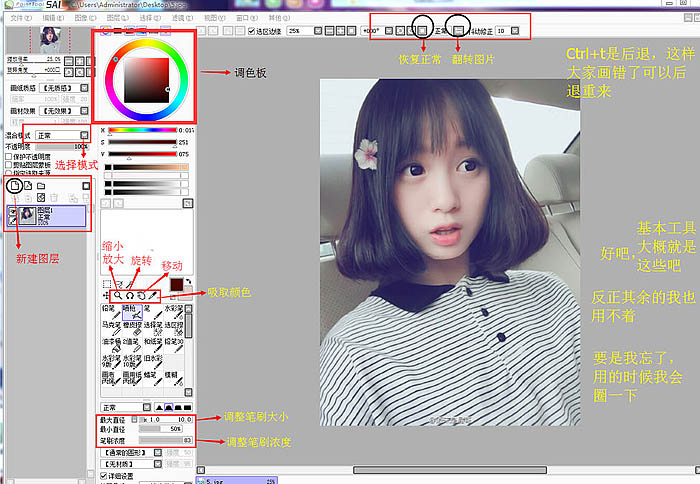
9、我就用文字表达吧,在原图上用模糊工具磨皮。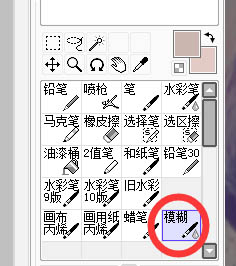
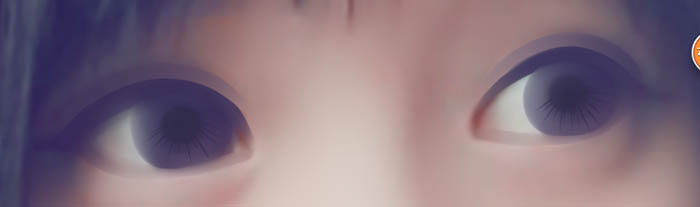
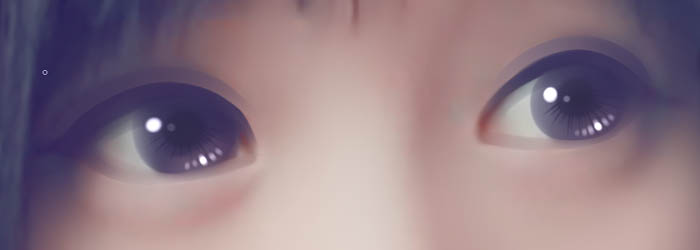
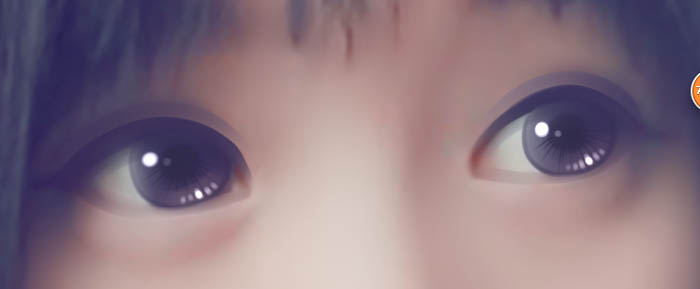
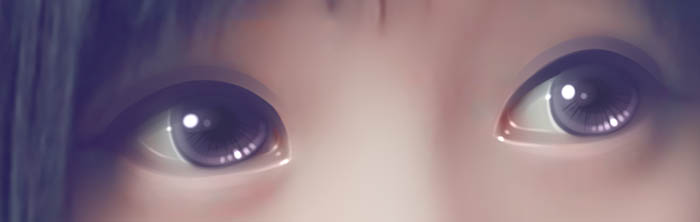
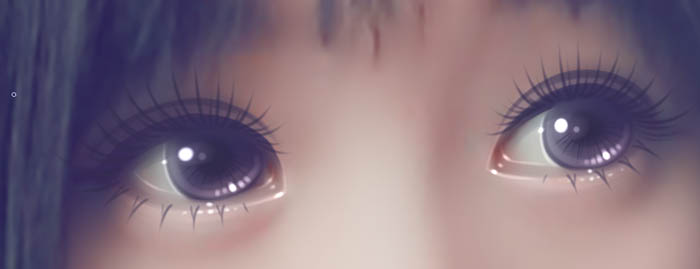
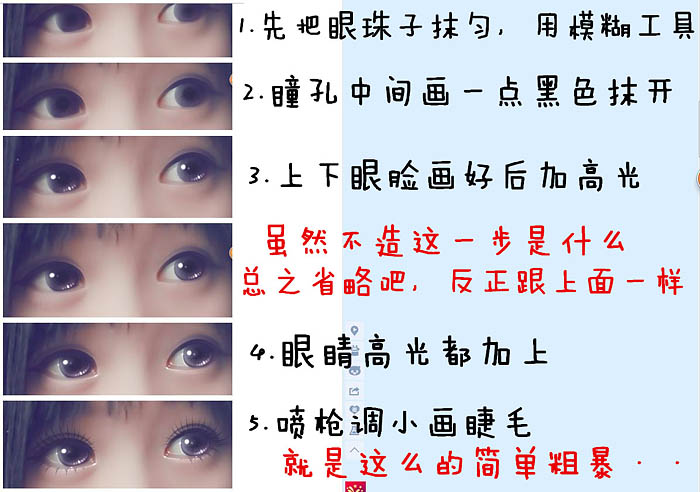
10、眼睛处理过程。
11、然后继续处理脸部,加点腮红什么的。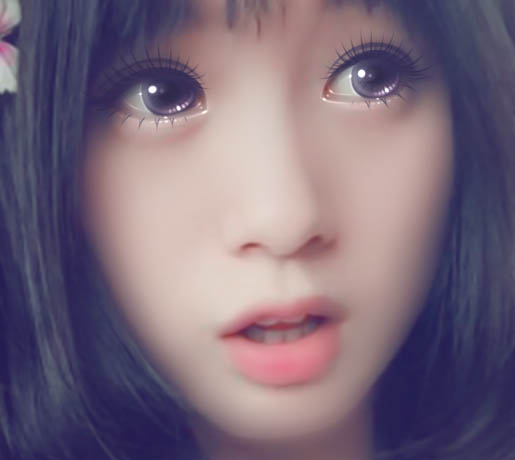
12、然后画嘴巴,画轮廓线。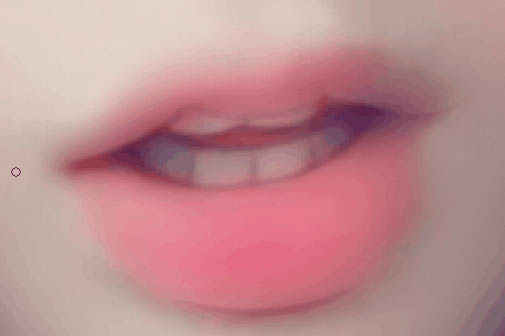
13、稍微上点阴影。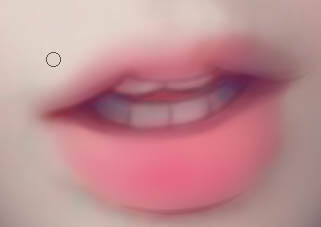
(本文来源于图老师网站,更多请访问http://m.tulaoshi.com/psxpcl/)14、上高光。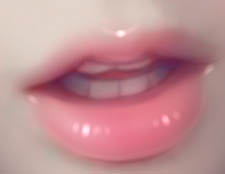
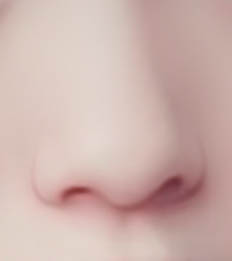
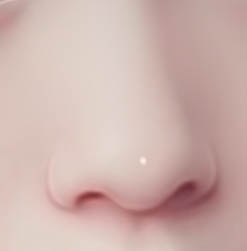
(本文来源于图老师网站,更多请访问http://m.tulaoshi.com/psxpcl/)15、接着画鼻子,鼻子就三步:勾出轮廓线,用深点颜色,浓度调淡点;给鼻子加点阴影;沿着轮廓画高光。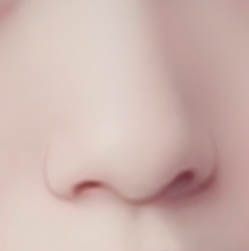
16、脸部就OK了。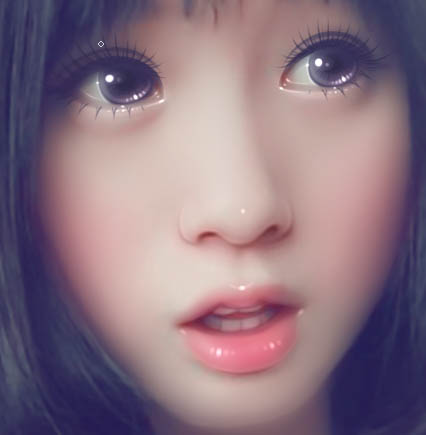
17、我把图存好,再打开了一次,这样方便我画头发。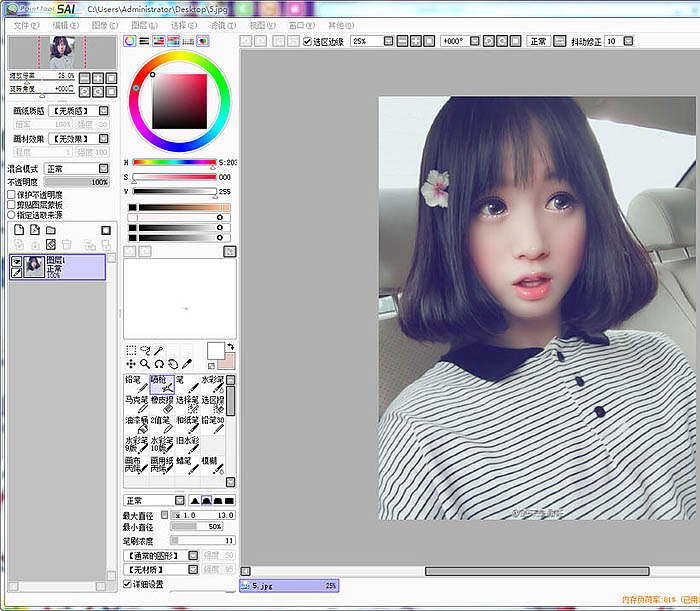
18、头发第一步,在原图上用“马克笔”画出头发的大概走向。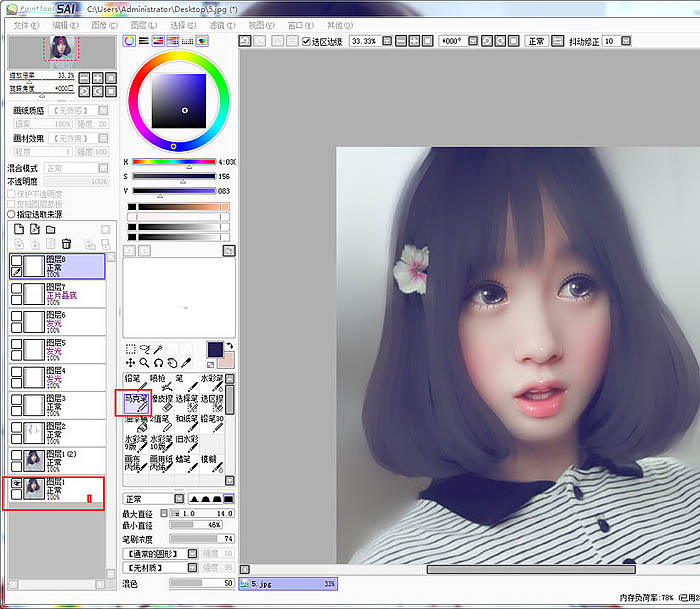
19、继续在原图上用“马克笔”勾出大致的线条,笔刷调小点画。
20、然后新建图层用“水彩笔”加阴影。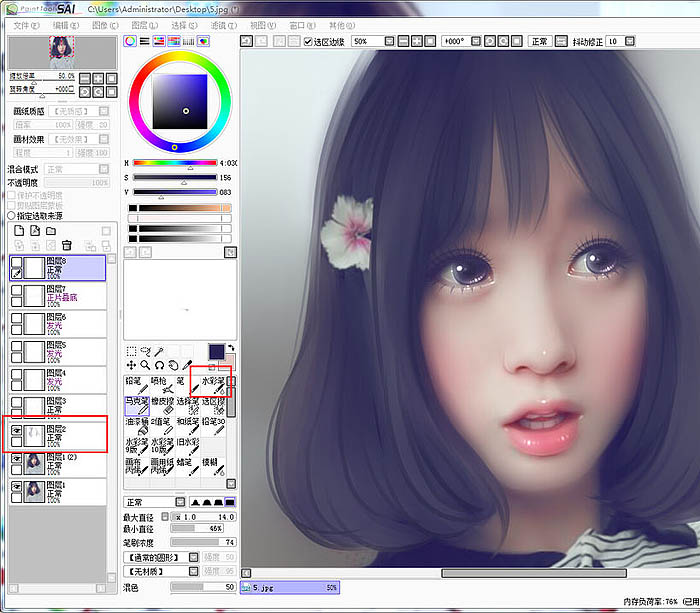
21、用皮肤色在头发的高光处画一层淡淡的。
22、接着画出高光,用发光图层。
23、然后在高光处加亮一下,依旧是新建发光图层。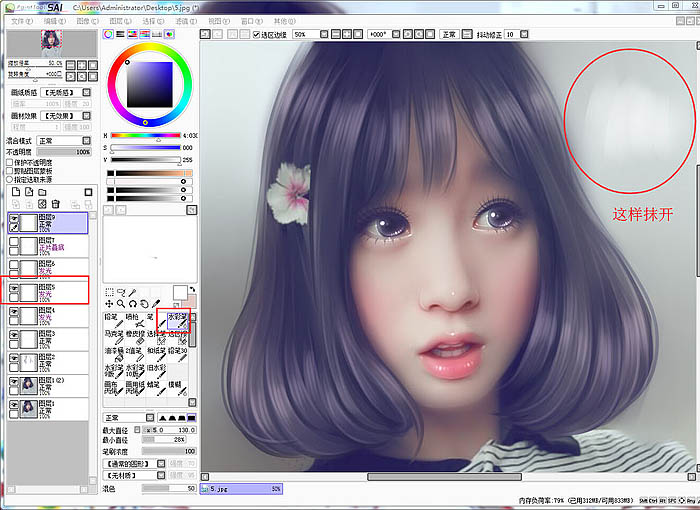
24、再用线条大致的画点发丝出来。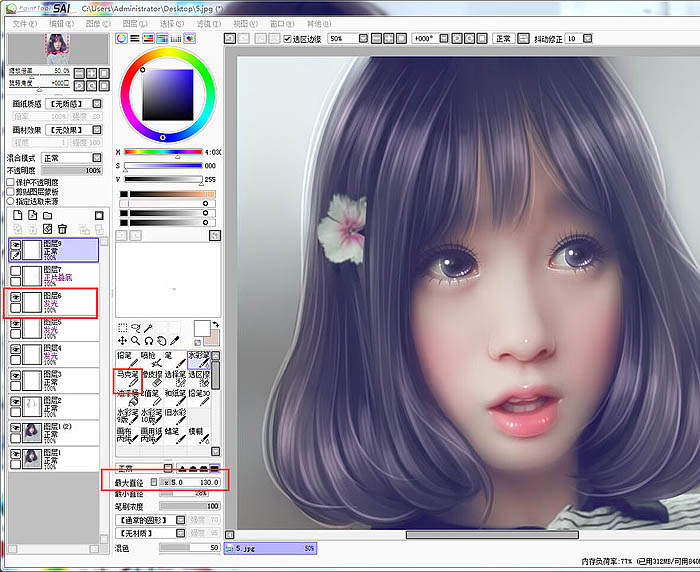
25、最后加深一下发丝。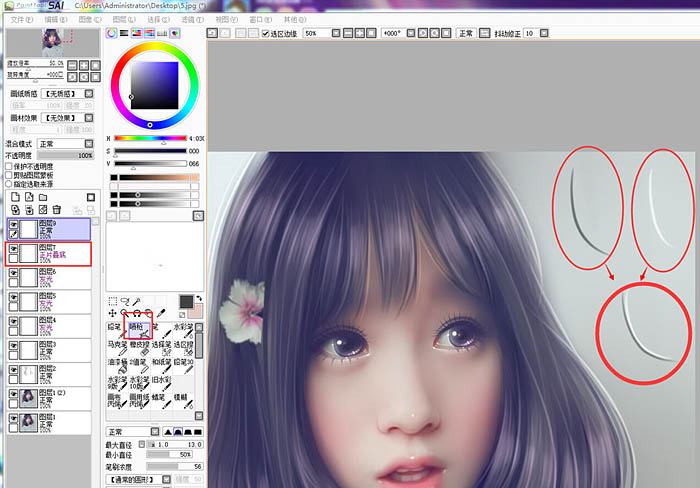
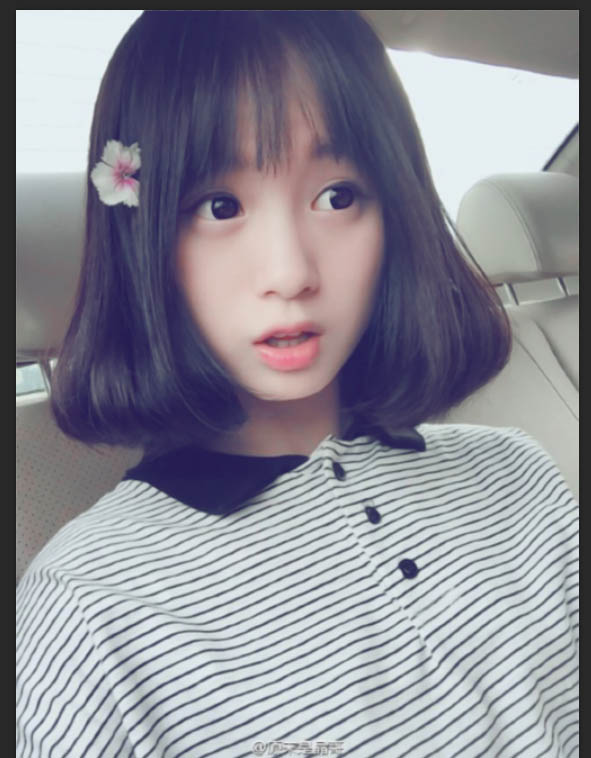
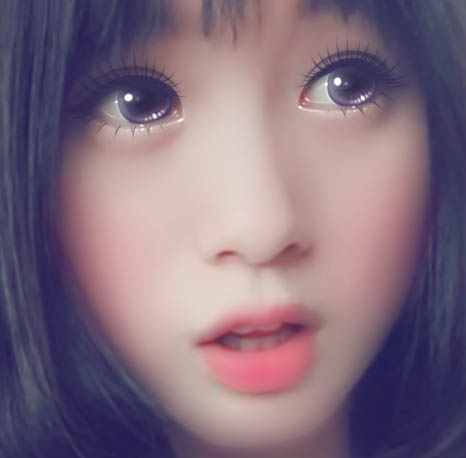
最终效果: