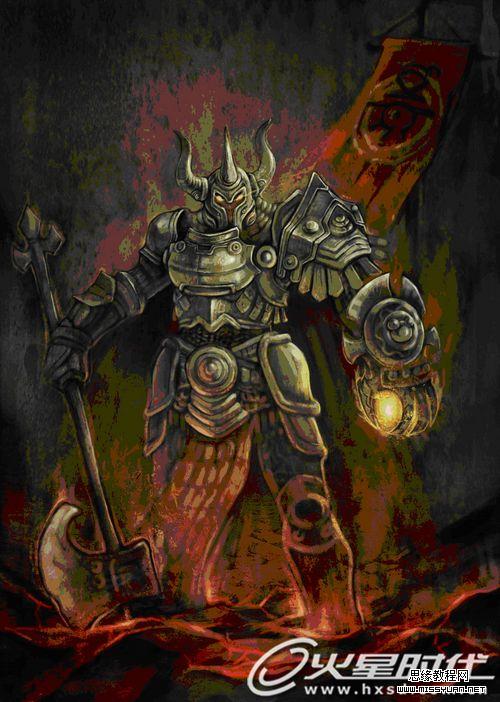
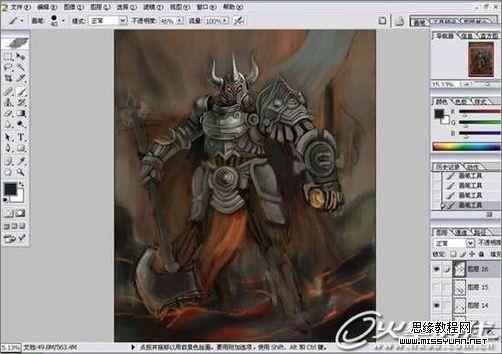
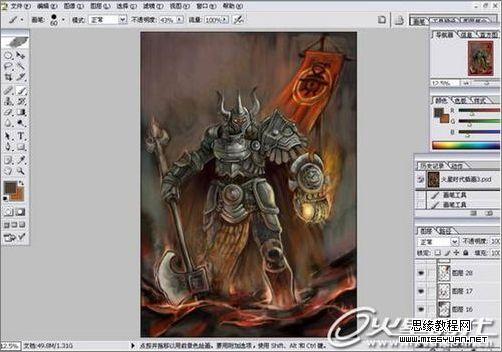
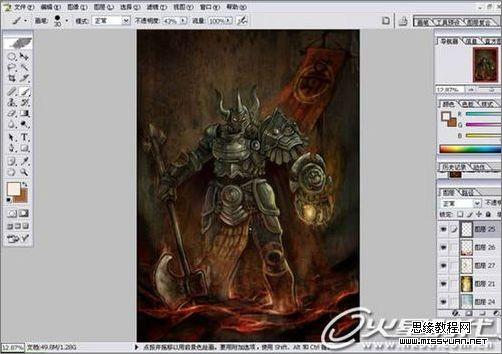
最终效果
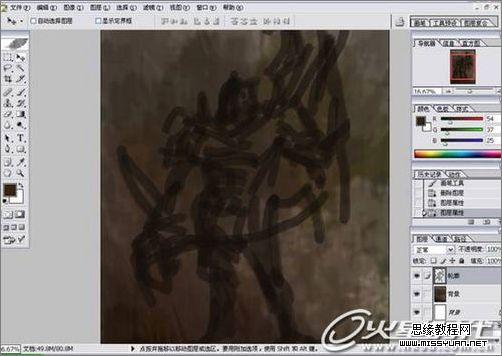
1.在作画的时候,我喜欢先把大的底色铺上.其实在作画的时候不一定非要按部就班的来,只要你喜欢,不管怎么画都行,关键感觉要学会找到感觉.当然基础才是最重要的。

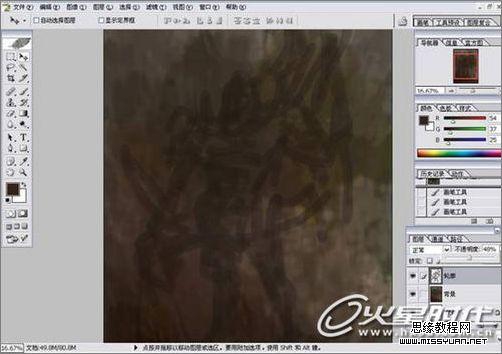
2.铺完底色后新起一图层将主体物的形态大概描绘出来。
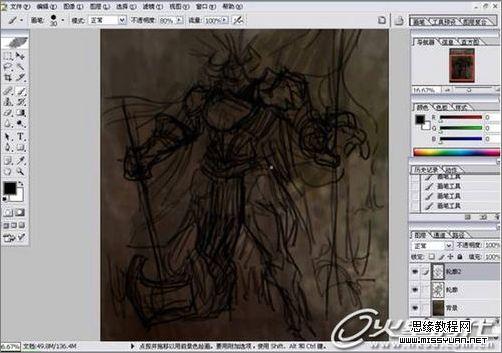
3.降低图层的透明度。
4.紧接上一步再创一图层,将之前的大形稍微细化。
5.开始上色,上色的过程中继续修饰形体,我习惯将这一步处同时进行。
6.把盔甲的结构勾勒清楚些,有助之后上色
7.用颜色继续填充,但一定要注意立体感。
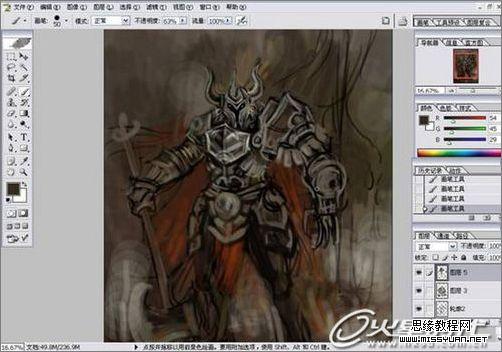
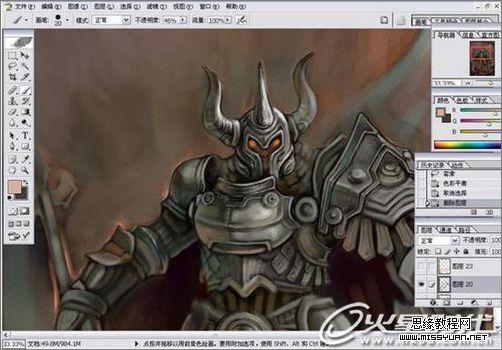
8.开始从头部进行。
9.慢慢细化,头部和胸甲进一步修饰。
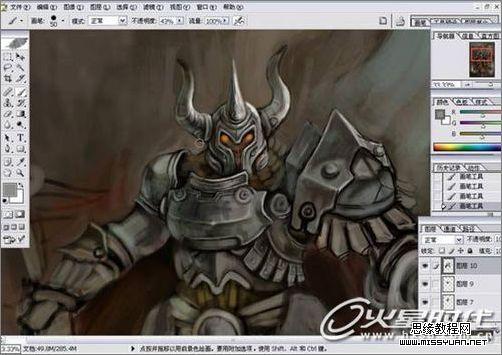
10.调整肩胛。
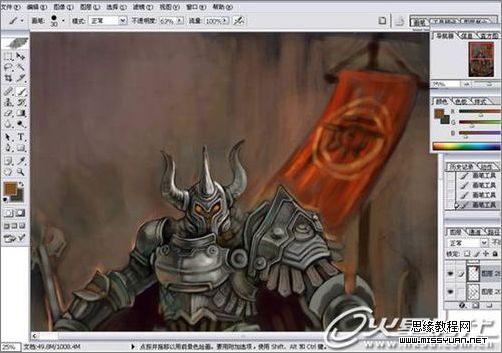
11.再来调整其它部位。
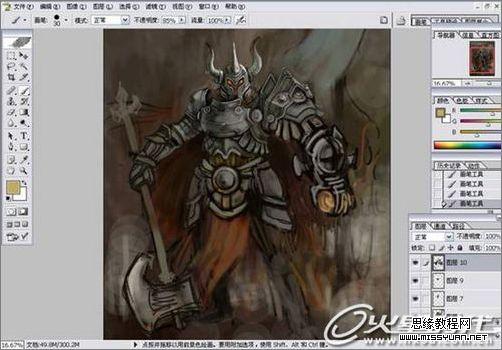
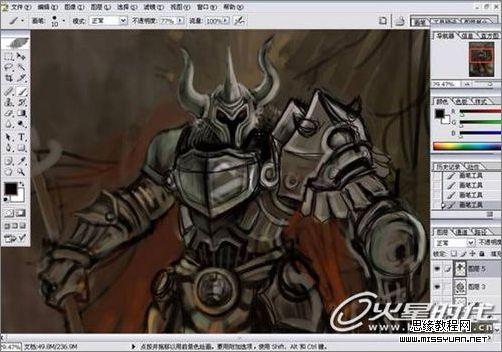
12.为了更好的营造气氛加点背景。
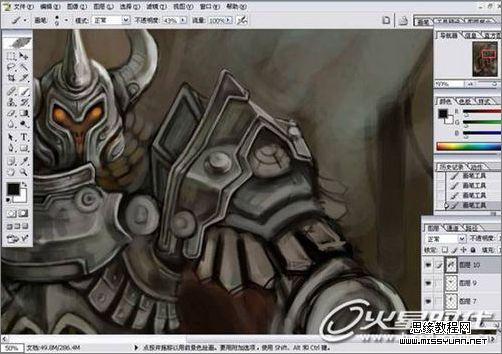
13.回到主体塑造其它细节。
14.修饰轮廓。
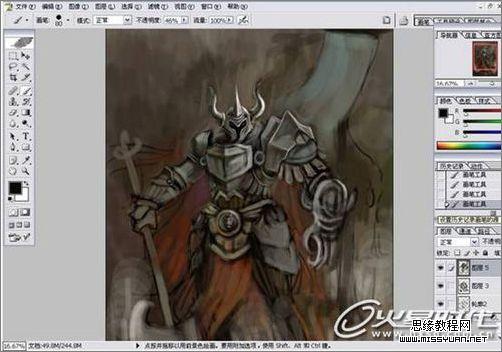
15.添上一面旗子。
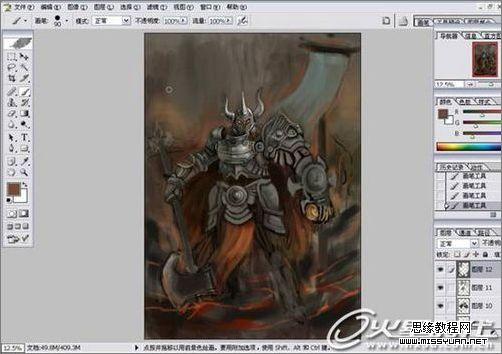
16.地面的效果非常重要,注意颜色的过度跟光感的表现。
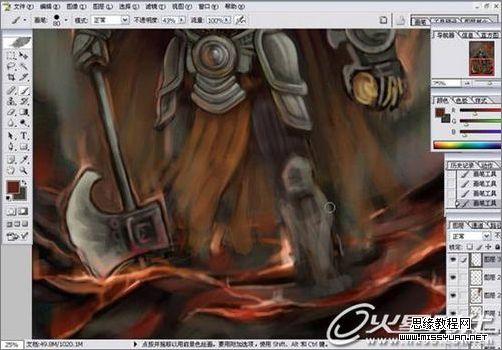
17.手中的火焰能够显示出战士的强大力量。
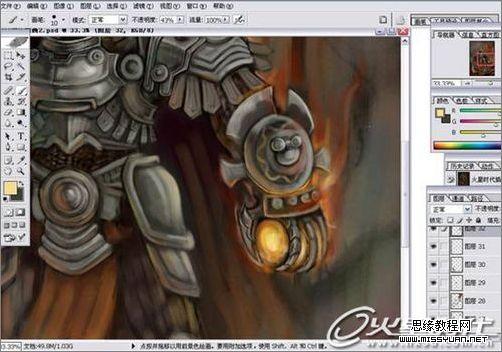
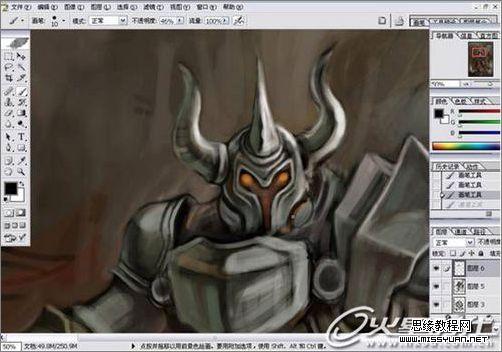
18.描写周边的反光和轮廓的亮光能体现较强的光感。
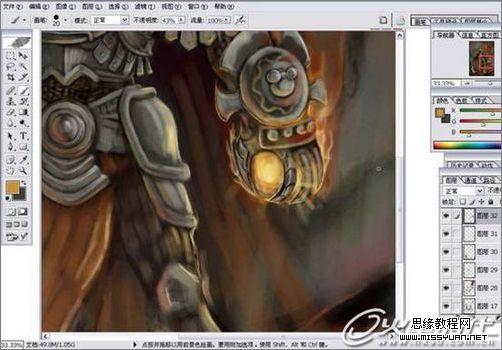
19.整体调整完成。
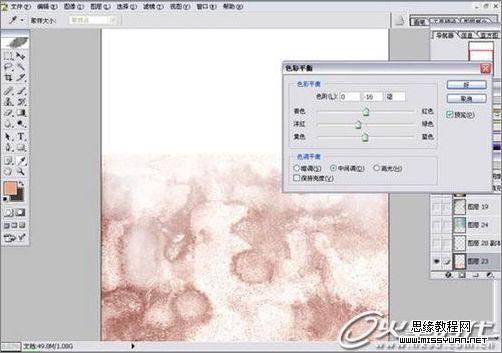
20.最后阶段我为了更好更方便的表现气氛和质感我选择了几张贴图,然后将贴图处理并合。在PS中将图层调节致正片叠底即可。建议大家平时可以多收集些关于贴图的素材,有的也可以自己去拍,在这幅作品中也用上了自己拍的图片,有锈迹和墙面地面。
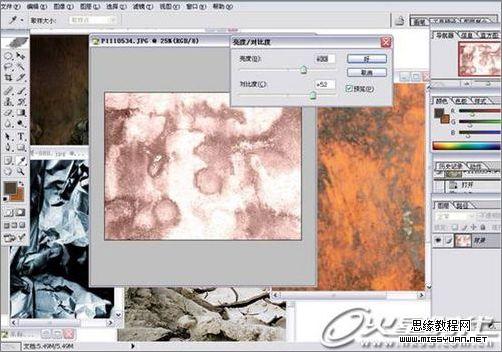
21.将处理过后的贴图放在需要的地方。
22.把多个不同的贴图正片叠底在一起。
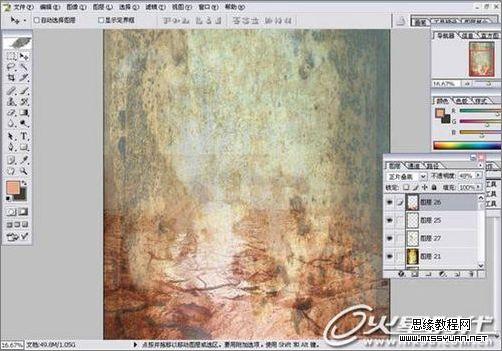
23.呈现的效果要比之前丰富很多。
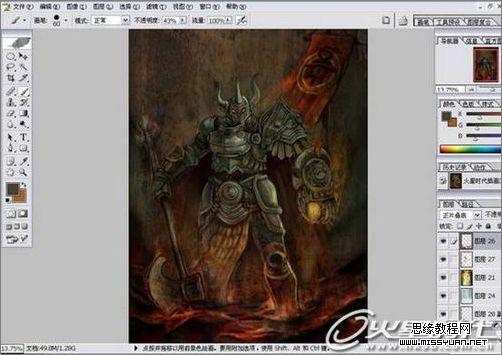
24.加上高光和反光。
25.修饰完成。
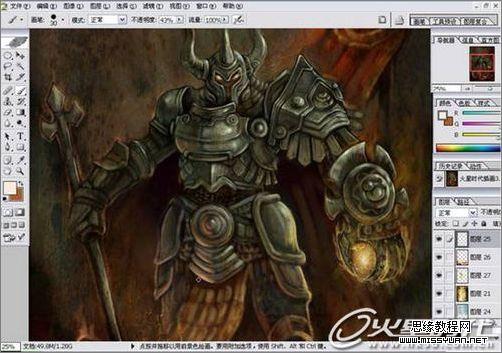
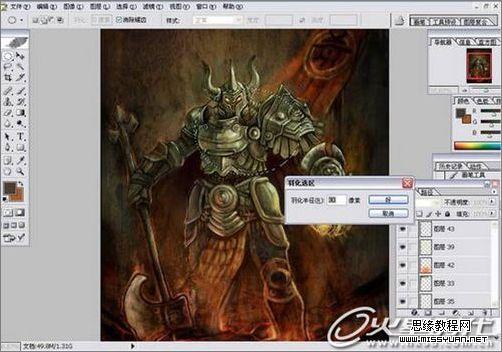
26.由于画面整体仍然较暗,这时我使用框选工具把亮点羽化调亮。
27.完成。


