最终效果
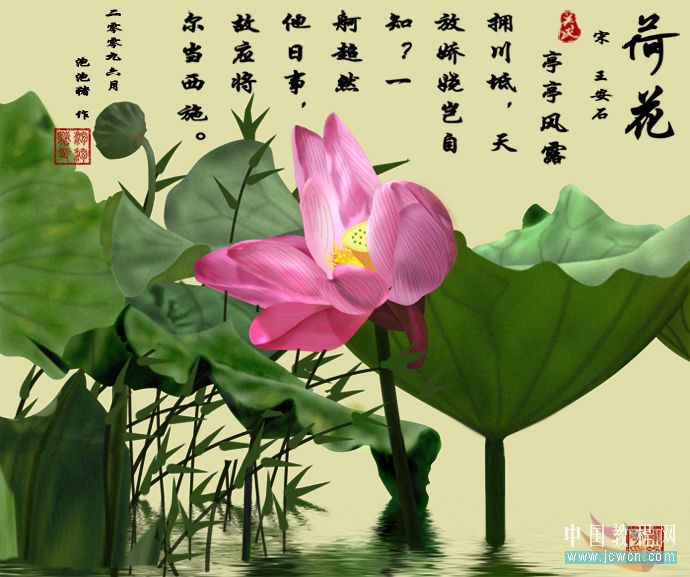

图1

图2

图3
2、新建图层。取名字为(花瓣2)。这次的花瓣画法和上差不多。只是在处理花瓣的内轮廓是使用了选取用加深减淡工具涂抹的而得到画瓣的效果。具体方法是:用钢笔工具勾绘出花瓣外轮廓填充颜色,然后再用钢笔工具勾绘出花瓣内轮廓,建立选区。在选区内用上面说的加深减淡工具使用的方法给花瓣添加明暗调及处理花瓣的一些细节。如图4-8:
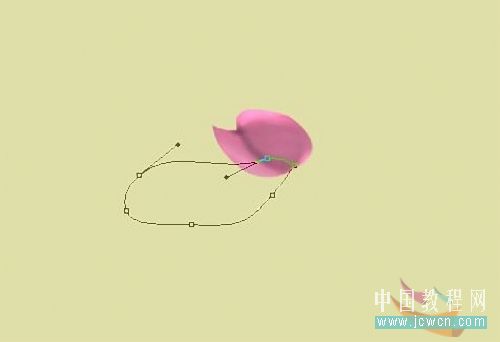
图4

图5
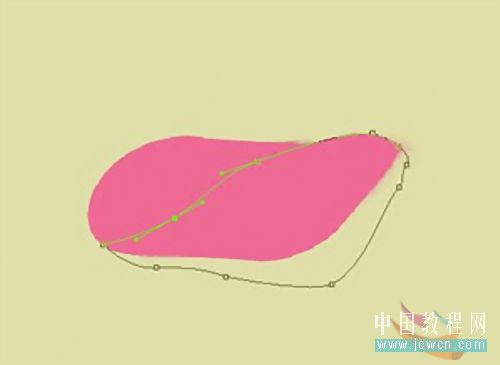
图6

图7
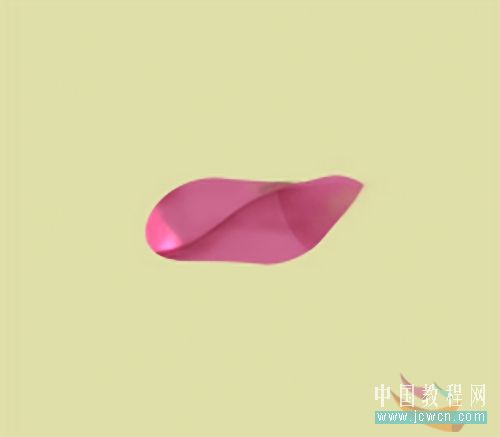
图8
3、新建图层。取名字为(花瓣3)。这次画的是重瓣的花瓣。方法是结合上面的使用选区的方式先用钢笔工具勾绘出一个大花瓣,再用选区工具在大花瓣里勾绘出一些小花瓣(注意先后顺序哦。)大概的顺序请看图9-14:
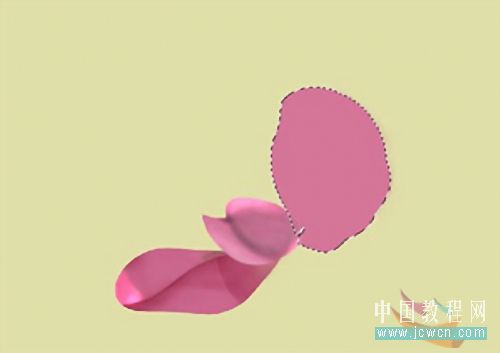
图9
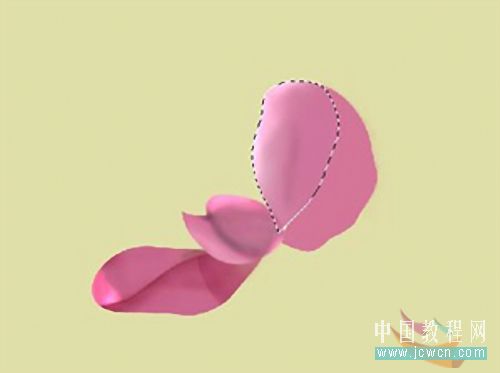
图10
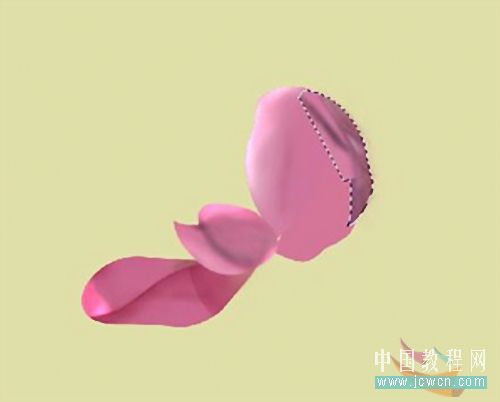
图11
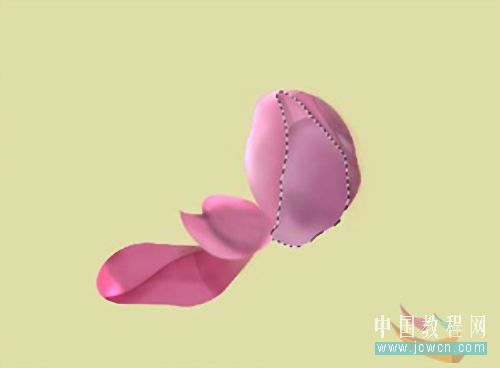
图12

图13
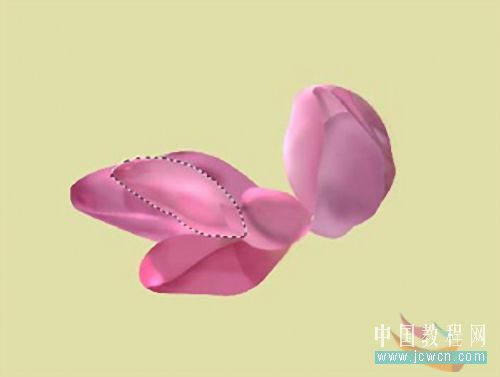
图14
4、接下来我再新建一层取名为莲蓬1。先用椭圆工具拉出一个椭圆。填充# e8e488号色(大家可以自定)。不要取消选区,进行收缩6像素左右,填充# 336600号色。完成莲蓬顶面。接下来我们再在莲蓬图层下新建一层取名莲蓬2,用工笔工具勾绘出莲蓬的下部,转换为选区填充#d69b59;然后合并莲蓬1、2层。有小笔头的画笔在莲蓬上用绿色和淡黄色点上一些小点作为链子。。呵呵。。这样我们的莲蓬就搞定了。然后用变形工具缩小放到花瓣的下面一个合适的位置。至于花蕊我使用钢笔工具在莲蓬旁边随意勾出一些线条然后描边,再用椭圆画笔笔头用黄色装点得到的。这里的不详说了,对了还有荷花上的纹理,也使用工笔工具一条一条勾绘出来的。我想大家都能做。。哈哈哈。效果请看图15-20:
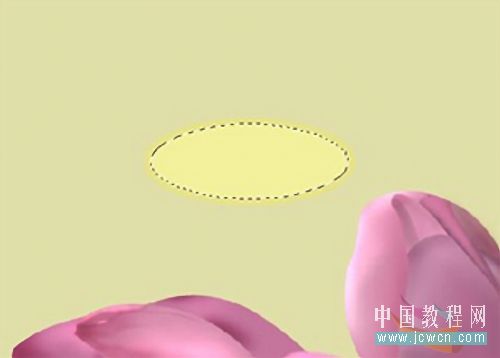
图15
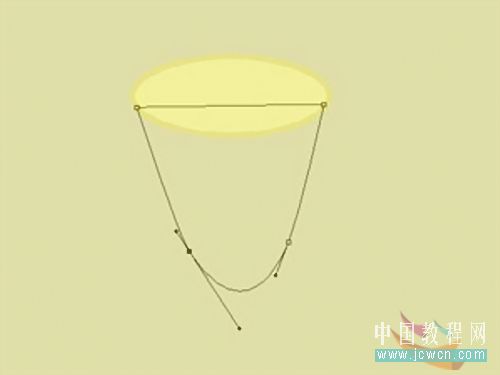
图16

图17

图18

图19
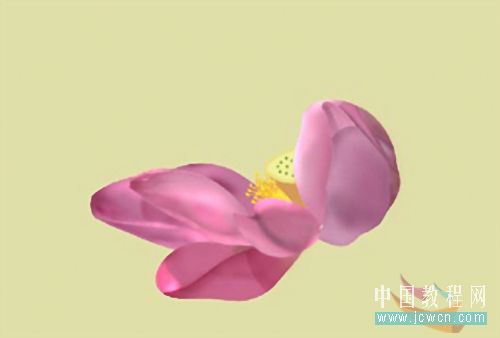
图20
5、当我给荷花加上一支茎秆,,这样看上去,荷花的造型出来了。也可以说这样的荷花也可以用了,只不过是一朵残荷而已。呵呵呵。。其实残荷也挺美的。。。大家觉得未尽意。也可以像我这样在给荷花加上一些花瓣。让其更完美一些。方法和上面讲的一样。注意每画一个花瓣都要新建一个图层。这样方便我们在后期进行位置调整。我的如下图:
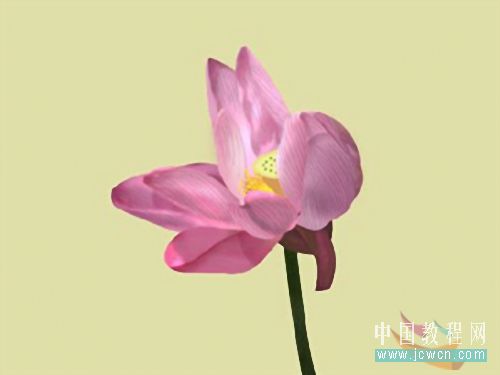
图21 6、我们画好了荷花,就该开始画荷叶了,开始前我们先给荷花所有图层建一个组。把荷花层的所有层都放在里面。这样可以减少我们的图层数量。这个工具方便啊、、呵呵。 画荷叶的方法我还是用钢笔工具加加深减淡工具来完成。我也选其中的一两片荷叶来讲述。
7:先在荷花图层组的下方建一层取名荷叶,用钢笔工具勾绘出荷叶,形状大家自由发挥吧,我就不多说了。然后填充绿色,同样用加深简单工具涂抹出荷叶的明暗调。如图22-30:
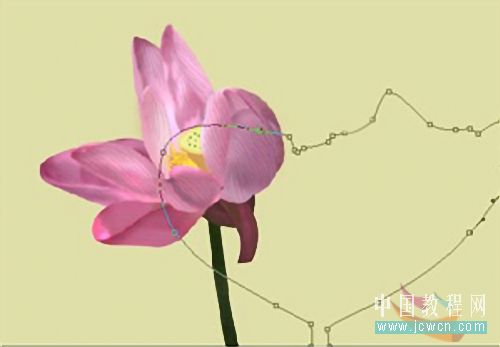
图22
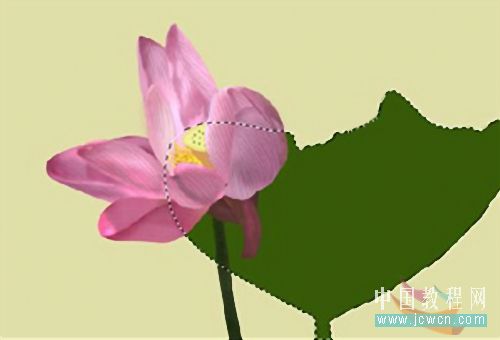
图23
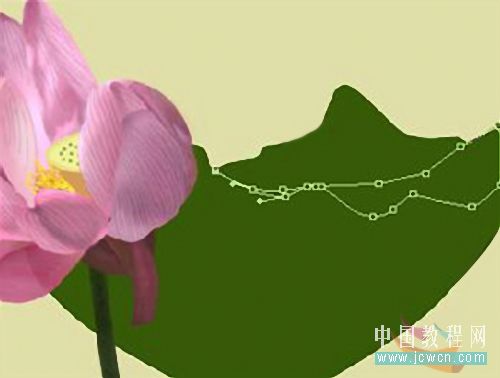
图24
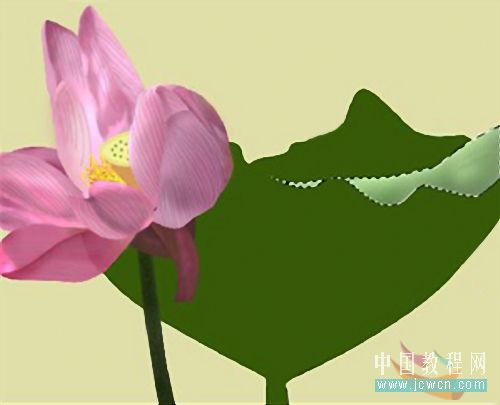
图25
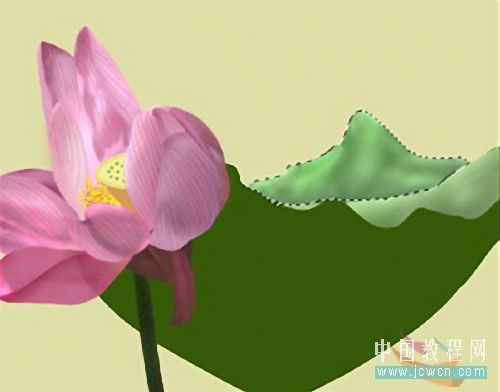
图26
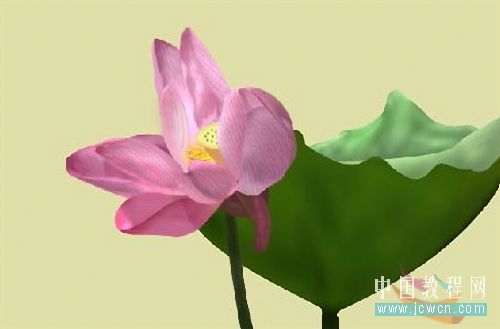
图27
由于时间的关系我就不做效果图里其他叶子的分解图了。方法是一样的。不过我在加水影的时候用了倒影滤镜。最后请大家多多指教。最终效果:
图34