下面,图老师小编带您去了解一下Photoshop鼠绘梦幻的绿色卡通树,生活就是不断的发现新事物,get新技能~
这篇教程详细介绍卡通大树的鼠绘方法。大致可以分成两个部分来绘制,树干和树冠部分。树干部分的绘制相对容易一些,涂一些简单的明暗效果即可。树冠部分制作比较繁琐,用到的笔刷也较多。需要细心一点。
最终效果 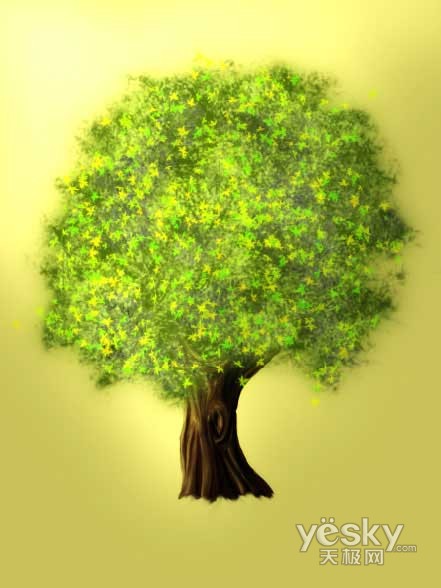
(本文来源于图老师网站,更多请访问http://m.tulaoshi.com/psshuhuijiaocheng/)1、在Photoshop中按“ctrl+n”新建文件。设置如下。
2、选用画笔工具描绘大树的轮廓。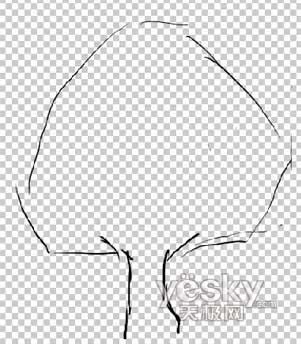
3、创建新的图层,用粗一些的黑色画笔绘制树干。
(本文来源于图老师网站,更多请访问http://m.tulaoshi.com/psshuhuijiaocheng/)4、换一个笔刷,设置如下。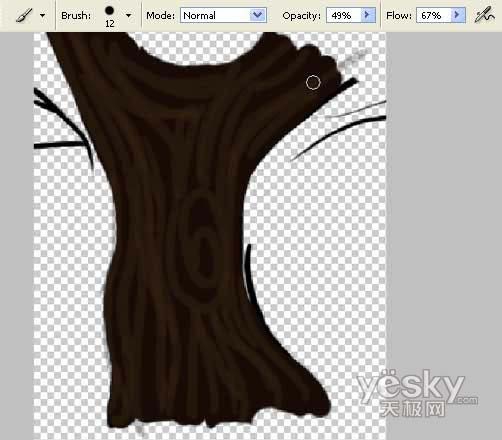
5、用咖啡色描绘,表现树干的亮部和暗部。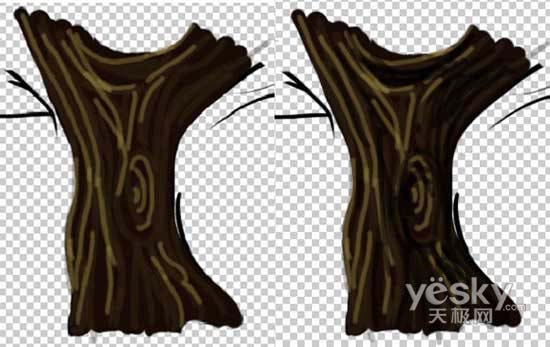
6、用模糊工具增加光影效果。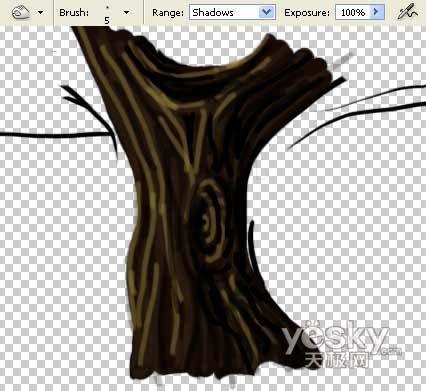
7、用涂抹工具在树干端头出拉出尖细的树杈。注意下图右上角效果。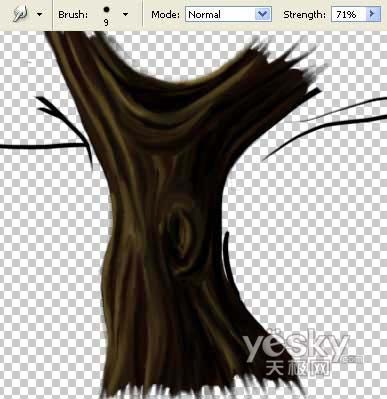
8、创建新的图层,用大尺寸的绿色画笔涂抹出树冠的形状。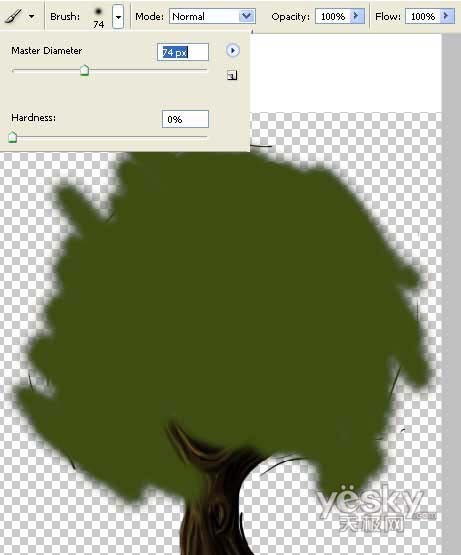
9、选择树叶效果的笔刷描绘树冠,制造丰富的树叶纹理效果。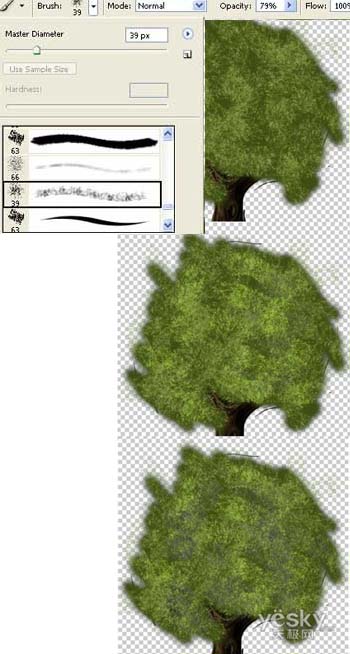
10、在树木底层插入一个背景层,填充暗黄色,如下图。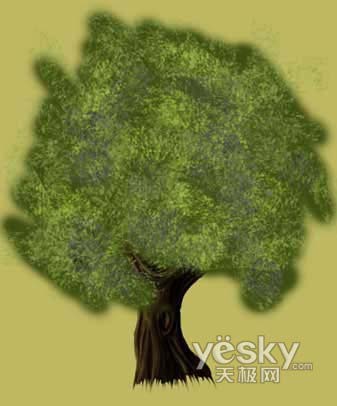
11、选择橡皮擦工具,选择下图左上角的自然笔刷形状,在树冠边缘擦出自然的状态,如下图。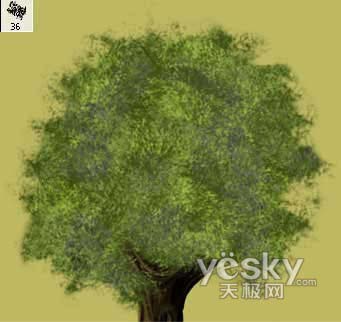
12、选用涂抹工具,采用较大的笔刷尺寸,在树干底端擦出树根的形状。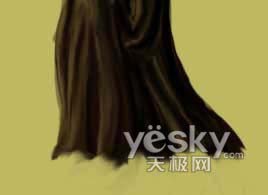
13、选择菜单:图像 调整 亮度/对比度,调节画面亮度和对比度,设置如下。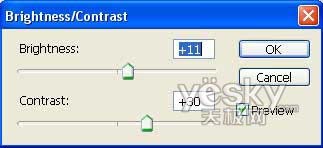
14、选择树叶形状的笔刷,做下图设置。并选择前景色为亮绿色,背景色为深黄色。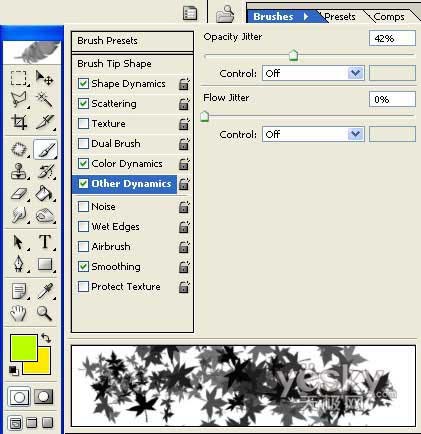
15、用设置好的树叶笔刷在树冠部分涂抹。
16、复制树冠层,并将下面一层的树冠层用高斯模糊滤镜做模糊处理。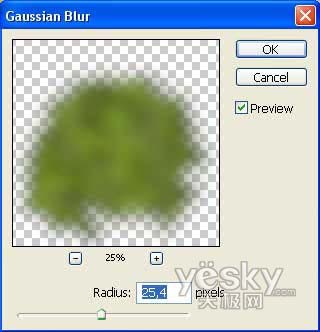
17、用加亮工具给画面的左上角、树冠以及树干轮廓部分加亮,增加阳光普照的画面效果。
18、再将树木复制一层,在上面一层做高斯模糊,并设置图层模式为“柔光”,将不透明度设置为73%。完成!
(本文来源于图老师网站,更多请访问http://m.tulaoshi.com/psshuhuijiaocheng/) 


