我爱娜娜0607
2016-01-29 20:26
get新技能是需要付出行动的,即使看得再多也还是要动手试一试。今天图老师小编跟大家分享的是PS鼠绘一张简洁的写意国画,一起来学习了解下吧!
本教程的制作基本上都是用画笔来完成,可见鼠绘中画笔的应用非常重要。尤其是画不同的色块时需要选择合适的笔刷,这样画出来的效果才自然。
最终效果 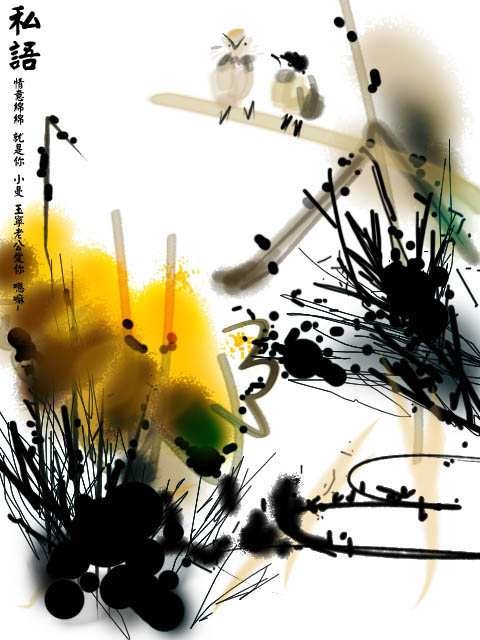
1、建立一个文档,尺寸大小自定。
2、新建图层,选择前景色为中黄色!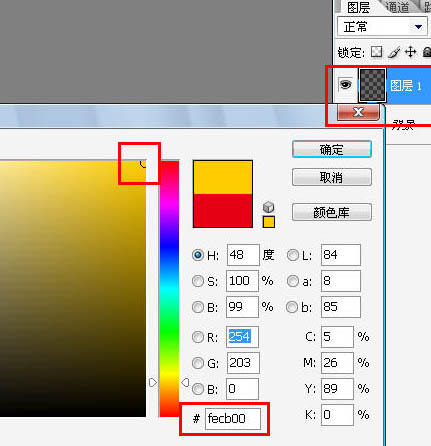
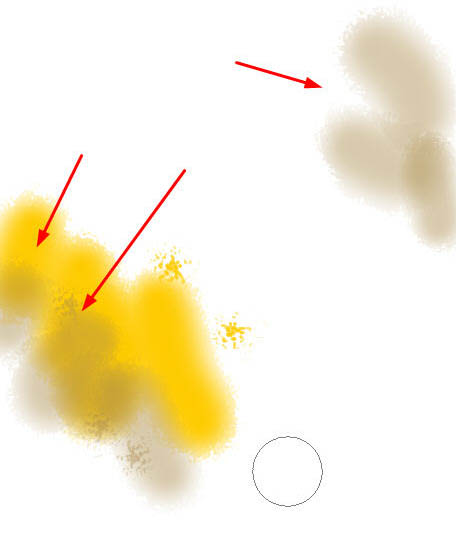
3、按下“B”选择画笔工具,鼠标右键选择笔刷,这里我选择“喷枪双重柔边画笔”。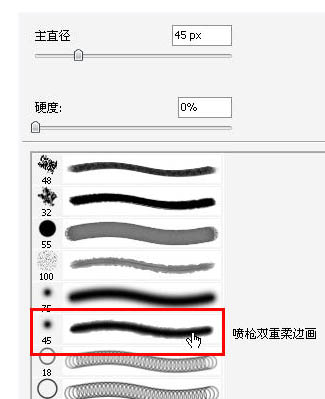
4、在新建的图层上绘制几篇枯黄荷花叶子。注意走向。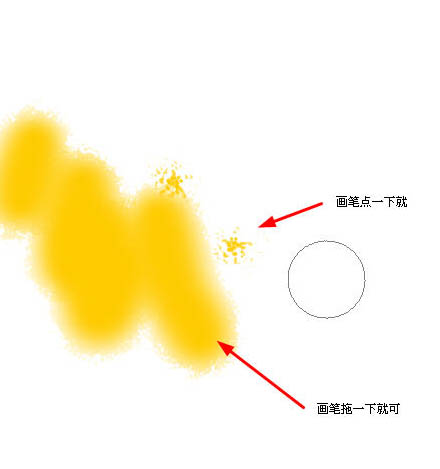
5、再次选择较深的颜色,使用同样的画笔绘制一些暗色,是色彩有点层次感!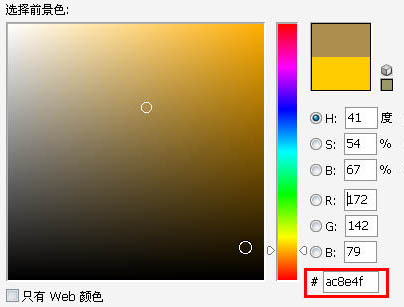
6、选择钢笔工具,绘制一条折线!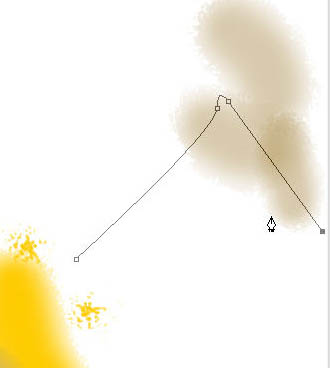
7、选择一种深褐色,在路径面板,鼠标右击路径,选择“描边路径”。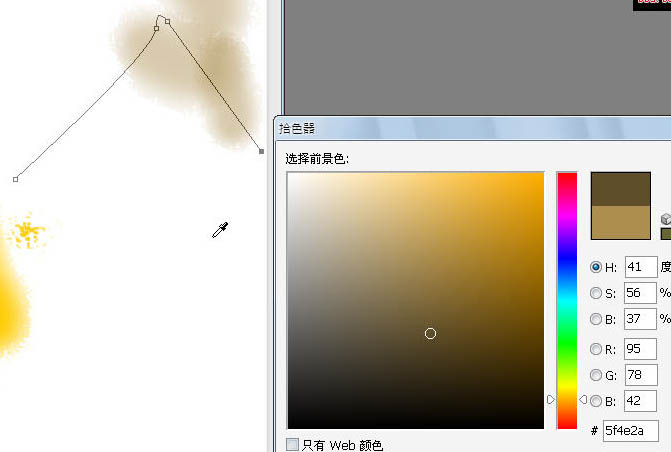
(本文来源于图老师网站,更多请访问http://m.tulaoshi.com/psshuhuijiaocheng/)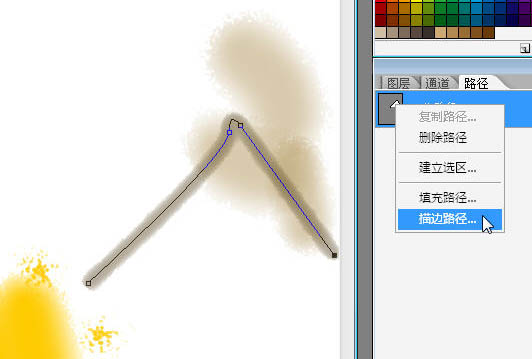
8、颜色加深一个层次。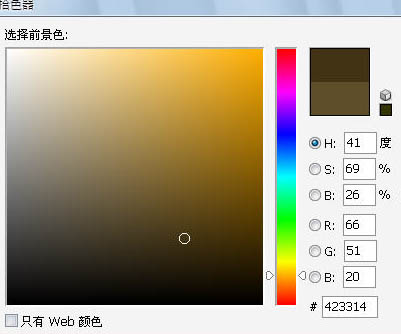
画笔缩小一个尺寸,再次做描边注意这次要勾选“模拟压力”了。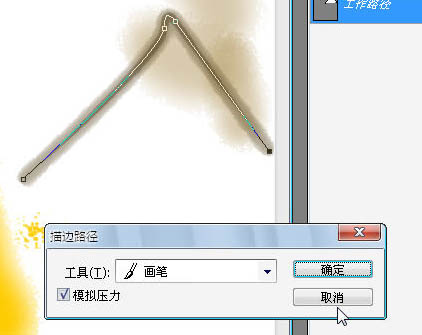
9、细细的修改一下画面效果,绘书法和绘画中有回峰的笔法,主要是欲扬先抑的运笔方法。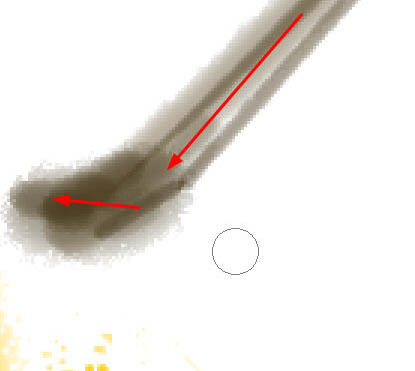
10、随意的绘制几条芦苇和水草路径。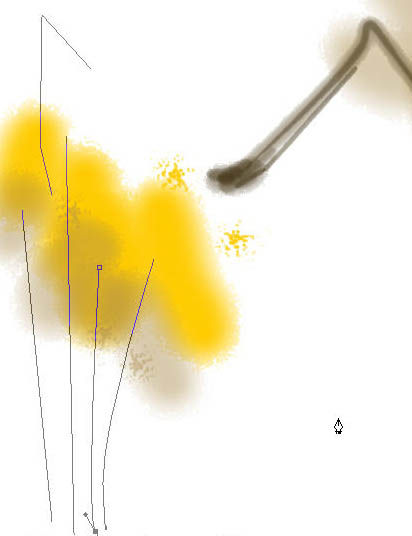
11、前景色黑色,继续描边。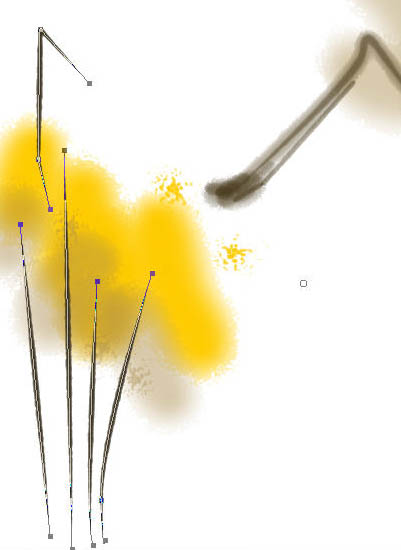
12、选择一种浅黄色,绘制前面的水草路径。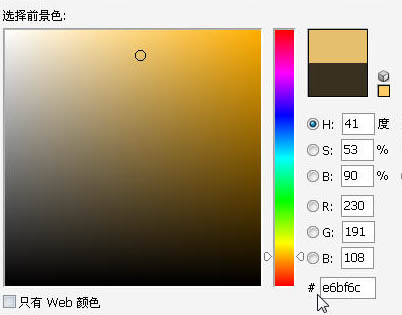

描边路径。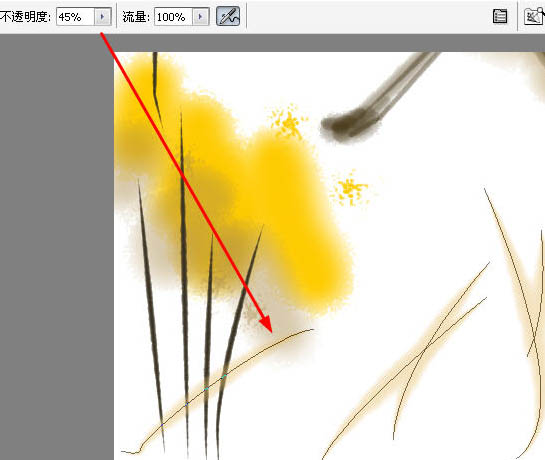
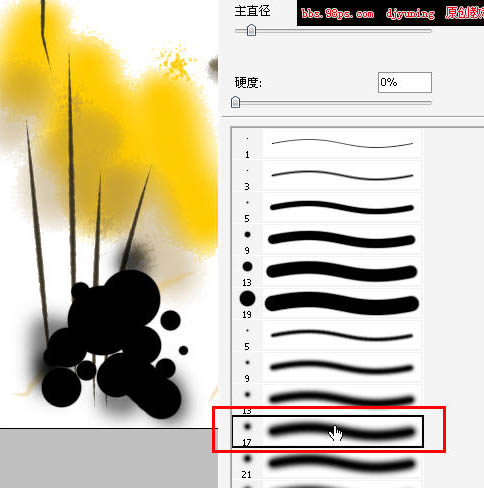
13、加一些水墨的味道效果,选择莫默认的画笔。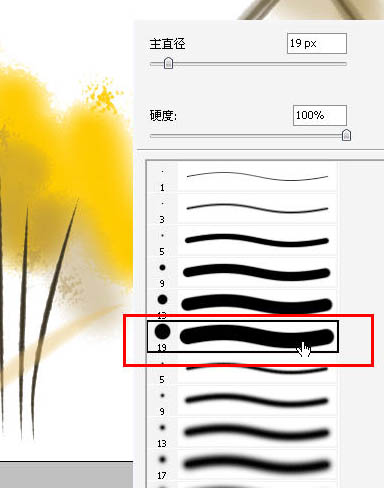
(本文来源于图老师网站,更多请访问http://m.tulaoshi.com/psshuhuijiaocheng/)前景色黑色在途中随意点击几个大小不等的效果,可以实时用柔边的画笔做晕染的修饰。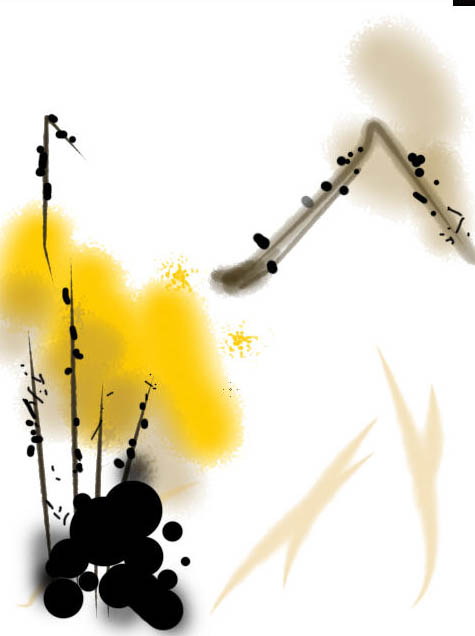
14、选择“圆头水彩画笔”。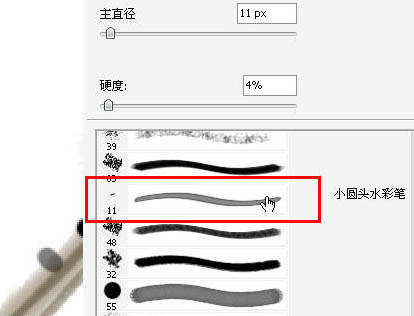
绘制一条横向的苇子。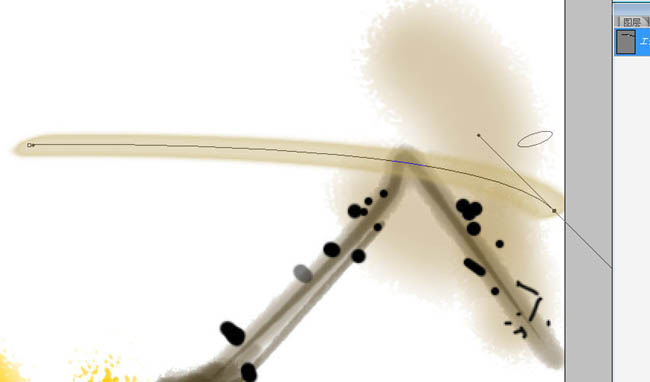
15、还是“水彩画笔”绘制出肥肥的肚子。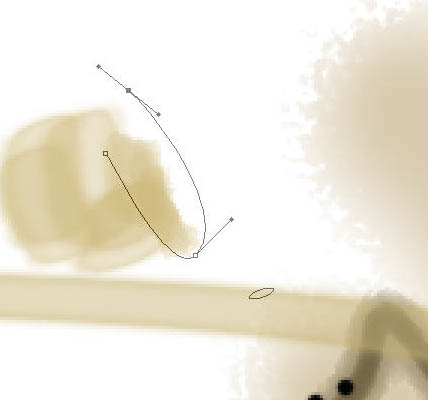
16、绘制出翅膀和脖子上的羽毛。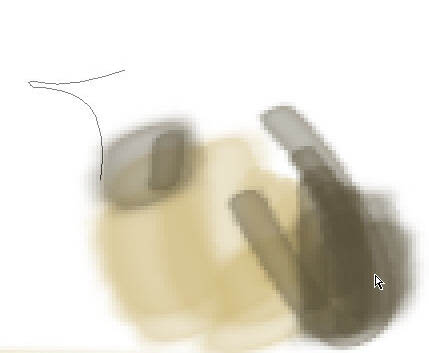
17、对勾画的嘴做描边。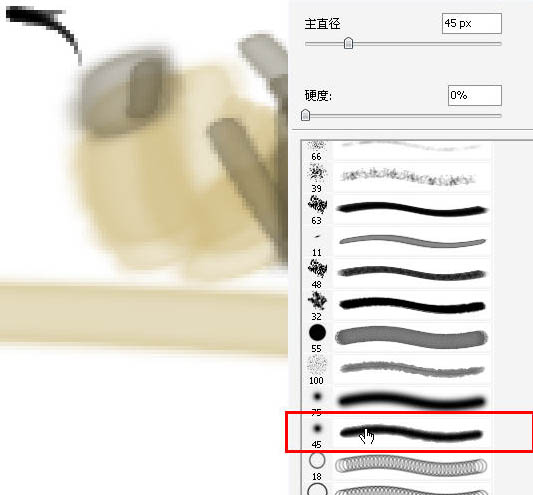
18、脑袋修饰一下,点上小眼睛。
19、加上脚。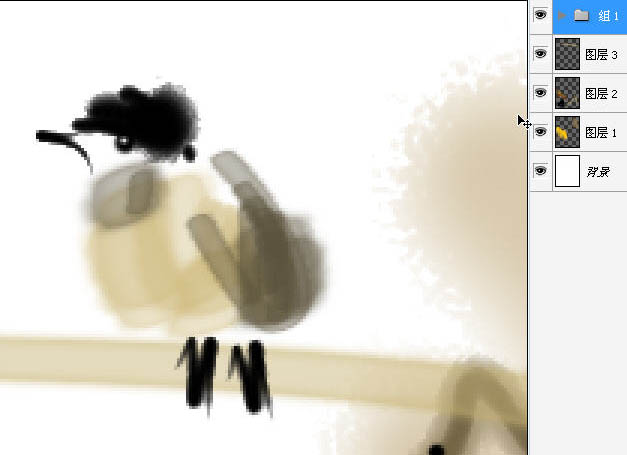
20、同样的方法绘制另一个鸡,并调整位置~效果如下。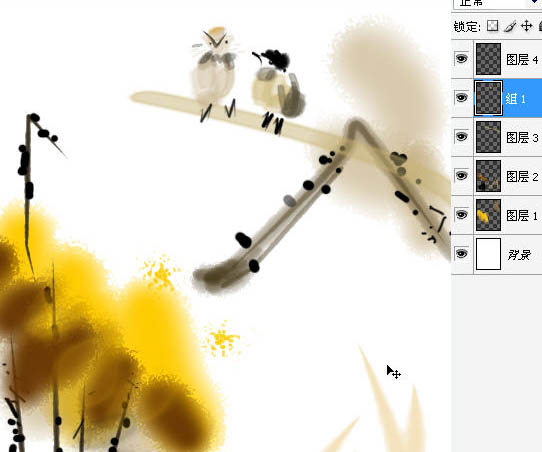
21、用钢笔随意勾选一下物体的边缘。
22、再次描边。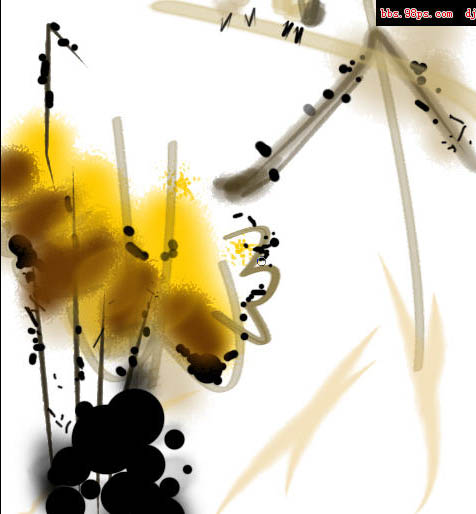
23、继续制作墨迹效果,注意:这里的画笔的大小要适时的变化,不要一味的大小,要极大极小的制作。可以放松的制作效果,看起来自然么。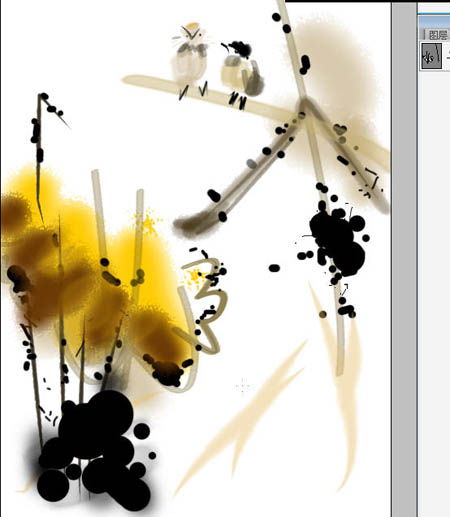
24、画面的层次感和节奏感不是很丰富,那我们就多加些细细的碎碎的线条打破大片的面的沉闷,画笔调整到2~3px。随意的乱花就OK了。但是要注意乱中有序哦。
25、差不多了吧?在最上方“叠加”一层颜色调整,局部做一下颜色的丰富,你看我加了绿色,蓝色来渲染画面。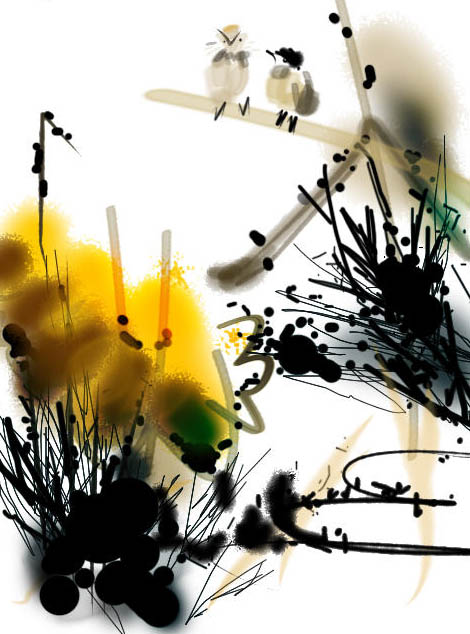
最终效果:


