富甲一方95598
2016-01-29 19:43
岁数大了,QQ也不闪了,微信也不响了,电话也不来了,但是图老师依旧坚持为大家推荐最精彩的内容,下面为大家精心准备的PS鼠绘荒原上的美丽月色,希望大家看完后能赶快学习起来。
风景画不仅要有华丽的视觉,更要有意境。要善于把自己的情感融入画面。在构图的时候要善于用细节来表现自己的情感。这样画出的作品才耐看。
最终效果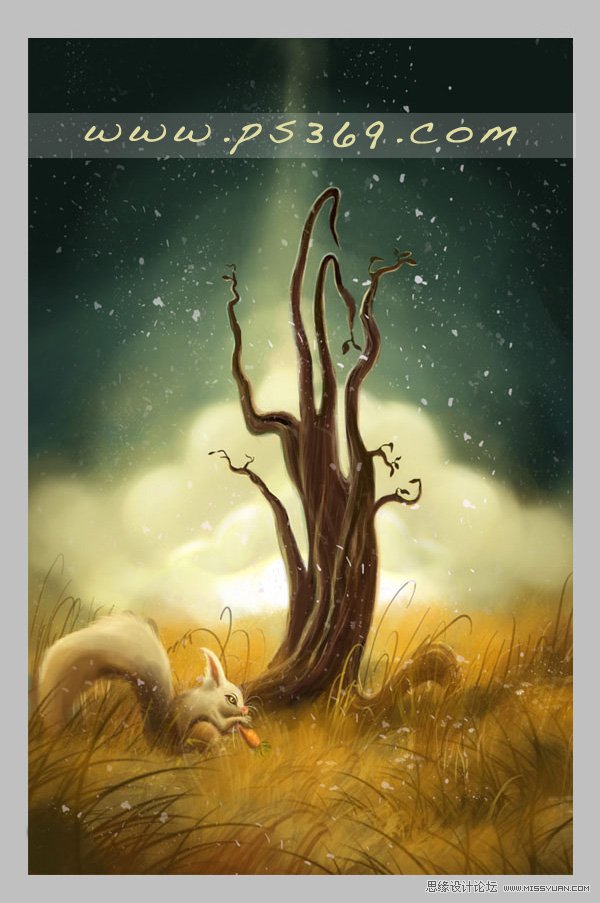
1、先画出线稿,如果没有版子可以在纸上画好在扫描到电脑中。

2、在PS中新建一个640X948像素的画布。
3、把画好的图放到画布中,并修好好名称。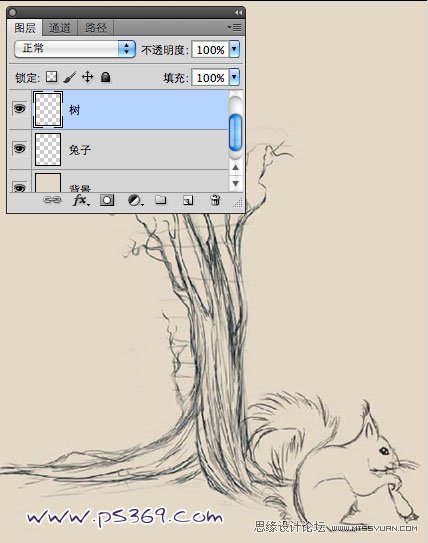
4、确认要使用到的颜色,下面有个色板,保存下来以备后面使用。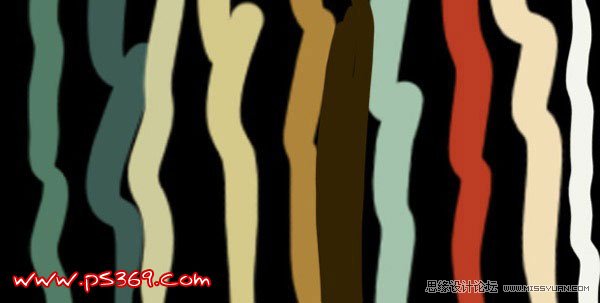
5、在工具箱中选择画笔工具。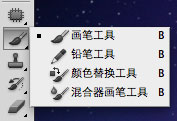
6、选择一个合适的画笔如图(如果没有,可以点旁边小箭头,追加大小可调节的圆形笔刷)设置画笔工具的属性,大小19PX,硬度100%。然后选择画。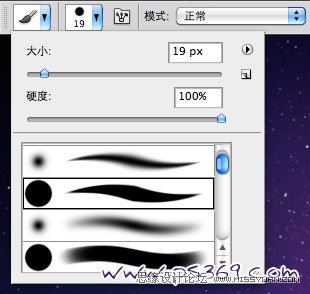
7、打开画笔预设,快捷键F5,或在菜单栏点击,窗口/画笔。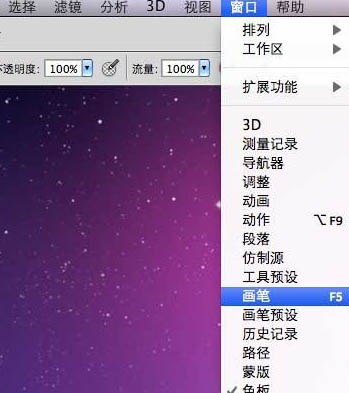
8、对画笔进行设置。设置如图。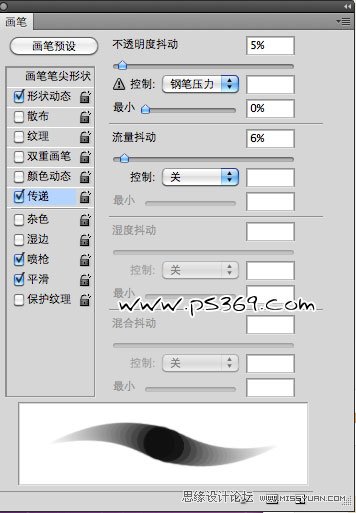
9、测试你的画笔,看看能不能控制它。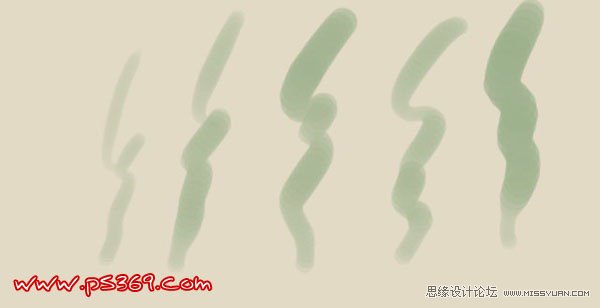
10、选择背景层,然后用渐变工具做一个黄绿渐变。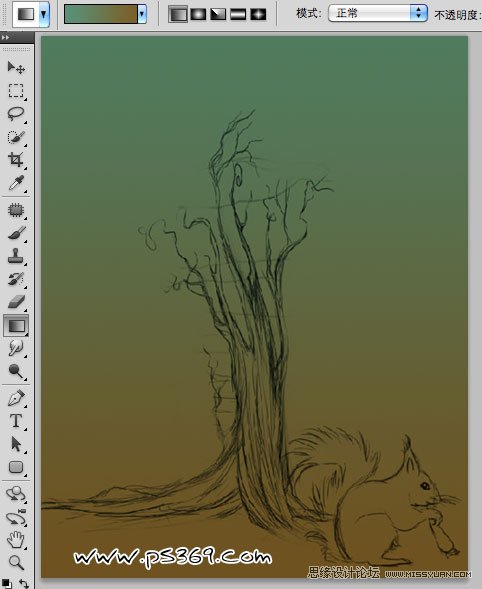
11、在建立两个新层,一个叫天空颜色,一个叫树的颜色。在把动物层隐藏,使用画笔工具涂抹出一个大致的天空和树。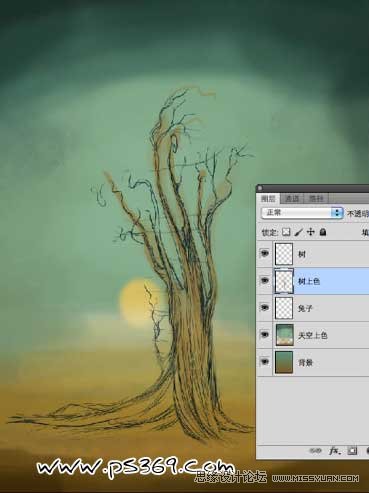
12、添加更多的细节,注意书后的太阳。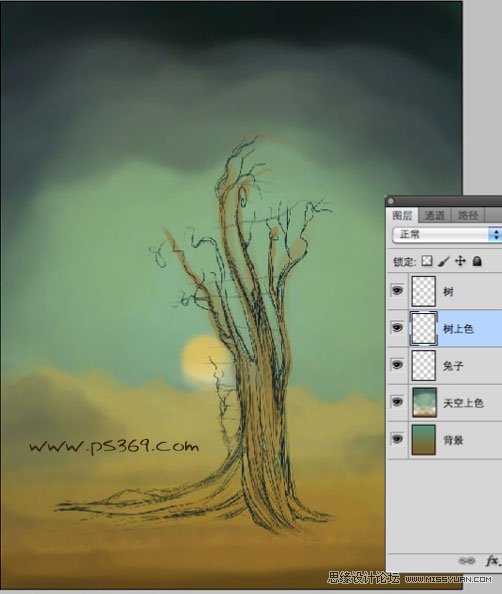
13、给树画上更多的颜色。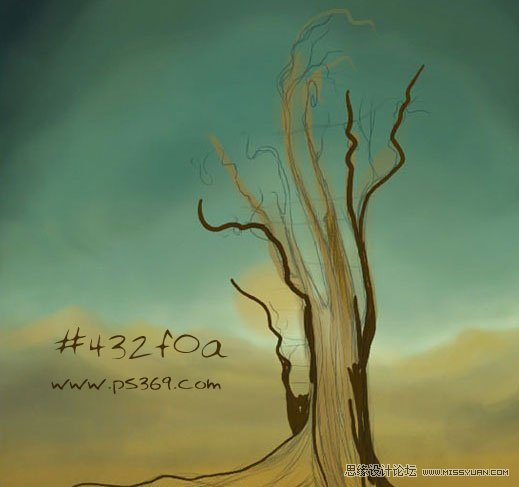
14、隐藏天空颜色图层,这样方便更好的给树上色。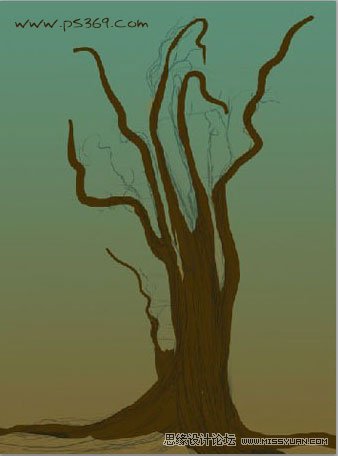
(本文来源于图老师网站,更多请访问http://m.tulaoshi.com/psshuhuijiaocheng/)15、给树的边缘画上颜色。
16、选择画笔工具,使用沙丘草笔刷来画一些前面的草地。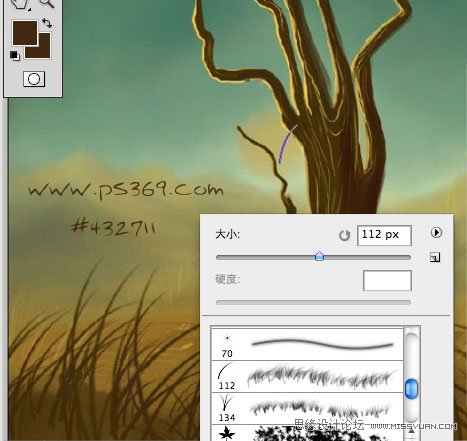
17、在画出后面的草地。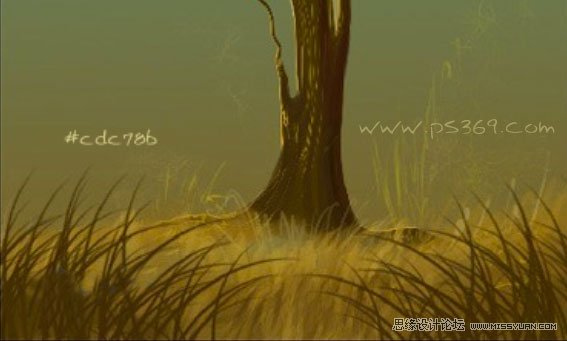
18、使用加深减淡工具,给树做出明暗对比。
(本文来源于图老师网站,更多请访问http://m.tulaoshi.com/psshuhuijiaocheng/)19、使用较深的颜色让树变的更逼真。
20、在画一些绿色和蓝色的草....电脑出问题,之前的重新画了,所以有一些不同,不过方法是一样的。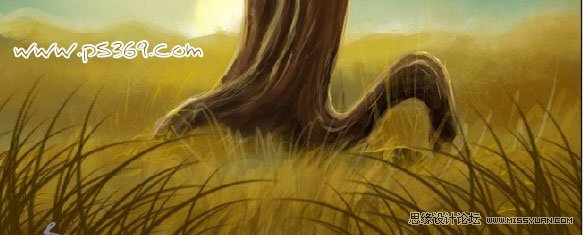
21、画一些草在树的后面。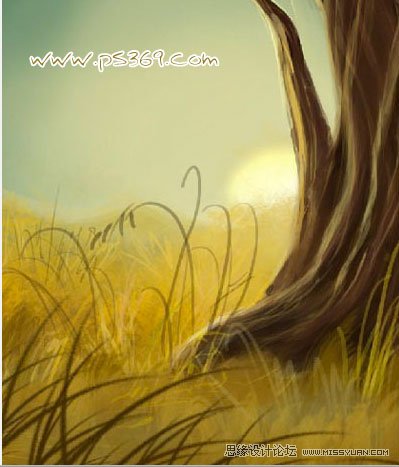
22、新建一个层,画一朵小花。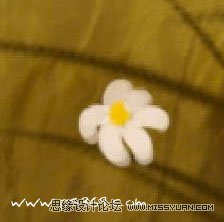
23、按CTRL+T自由变换,然后右键/变形。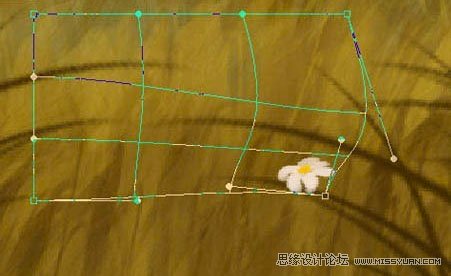
24、多复制几层,放到周围的草地上。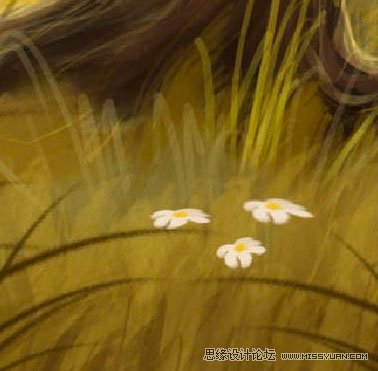
25、在建立一个新图层,给背景画一些云层。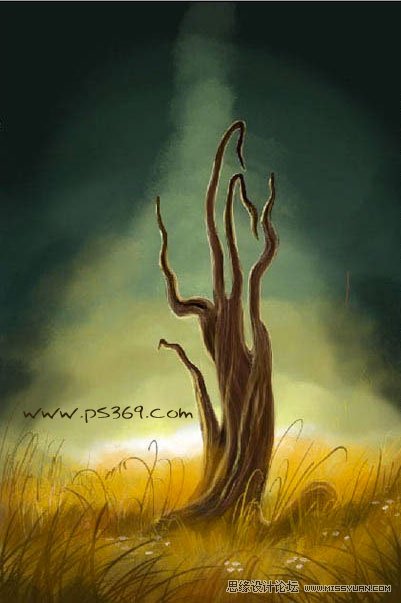
26、在新建一层,画一些更深一些的云。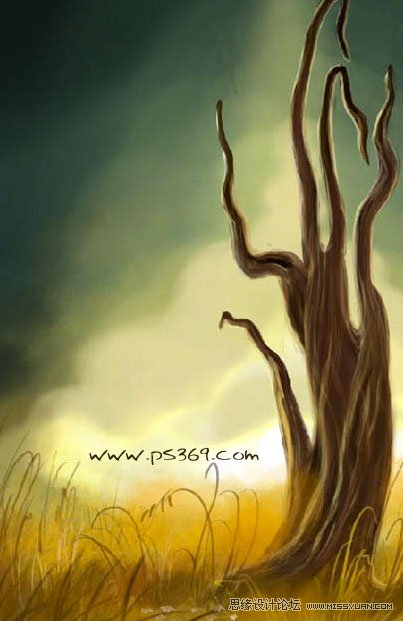
27、给树脂画一些叶子。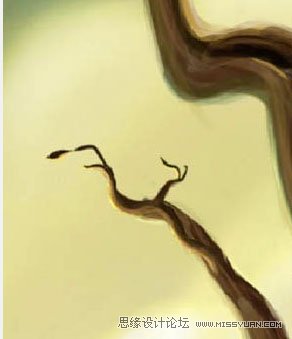
28、到现在为止,你的画因该是这样的。。。下次我还是录制视频吧,图文教程真麻烦。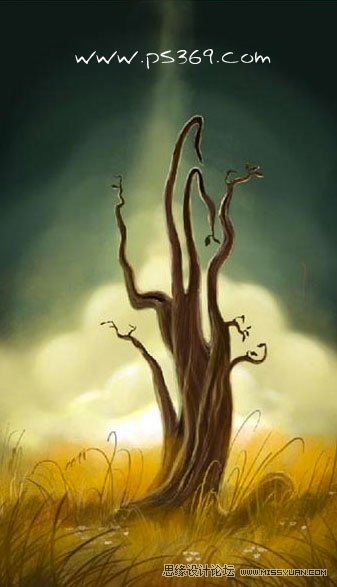
29、打开之前的动物图层。
30、参照下面图片进行上色。
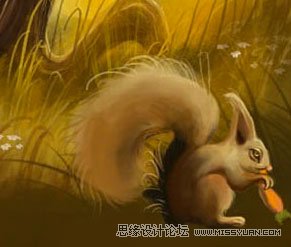
31、用蒙板檫掉多余的地方。然后使用加深减淡增加一些阴影。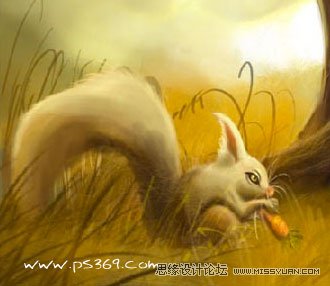
32、放到适合位置,到这时你的图因该是这样的。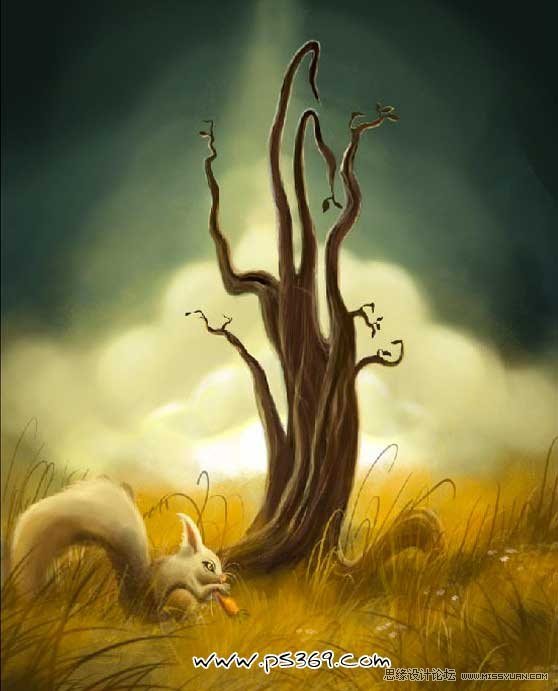
最后在找一些花瓣笔刷装饰,完成最终效果。


