相关PS创意合成教程:http://www.jcwcn.com/portal-topic-topicid-11.html
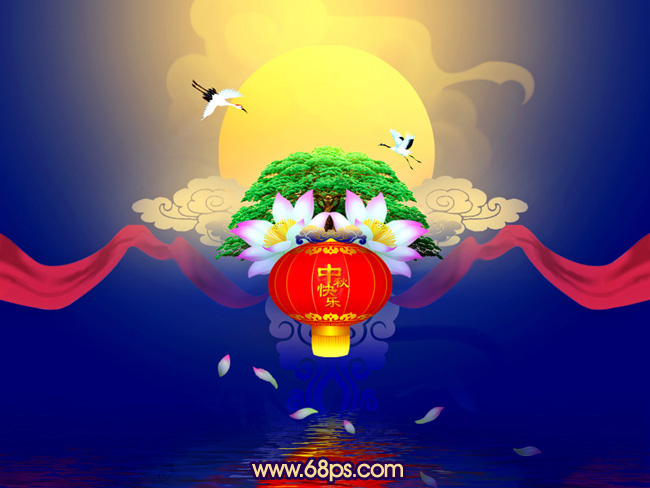
本例为Photoshop创意合成教程,主要介绍运用PS制作一款古韵风格的中秋节贺卡,教程讲解了如何运用素材进行合成的制作流程,另外也讲解了如何调整整体色调,使整个画面看起来比较融洽,希望能给朋友们带来帮助~~
最终效果
1、新建一个850 * 625像素的画布。选择渐变工具,颜色设置如图1,有顶部中间向下拉出图2所示的径向渐变
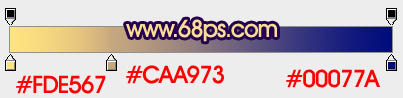
图1

图2
2、创建色彩平衡及亮度/对比度调整图层,微调一下背景颜色,数值自定。大致效果如下图。

图3
3、新建一个图层,用椭圆选框工具拉出图4所示的正圆选区,选择渐变工具,颜色设置如图5。由右上只左下拉出线性渐变。确定后把图层混合模式改为“叠加”,效果如图6。
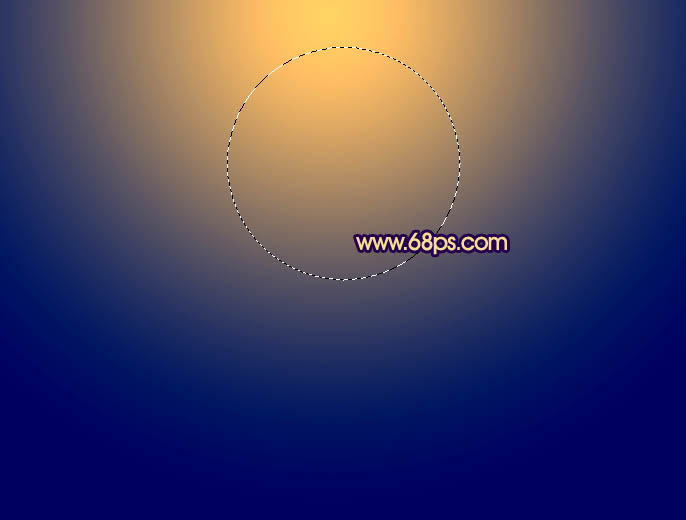
图4
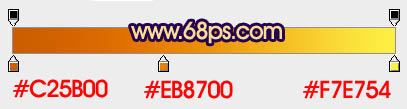
图5

图6
4、打开云彩素材1,拖进来,锁定图层不透明度后拉上图7所示的线性渐变。然后把图层混合模式改为“柔光”,效果如图8。

云彩素材1
图7

图8
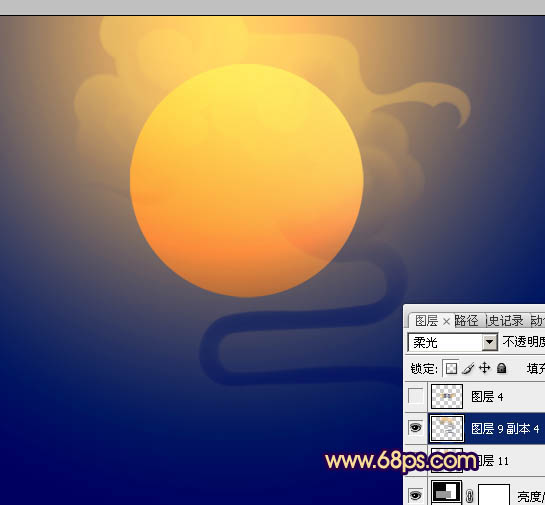
图9
5、打开云彩素材2,拖进来锁定图层不透明度,拉上同上的线性渐变。然后复制一层,水平翻转后与前一层对接起来,效果如图10。再把这两层合并。

云彩素材2

图10
6、把合并的云彩复制两层,适当调整大小和位置,效果如下图。

图11
7、同上的方法加入云彩素材3,效果如下图。

云彩素材3

图12
8、再加入红色飘带,对接后需要稍微调整一下局部的明暗。

红色飘带素材
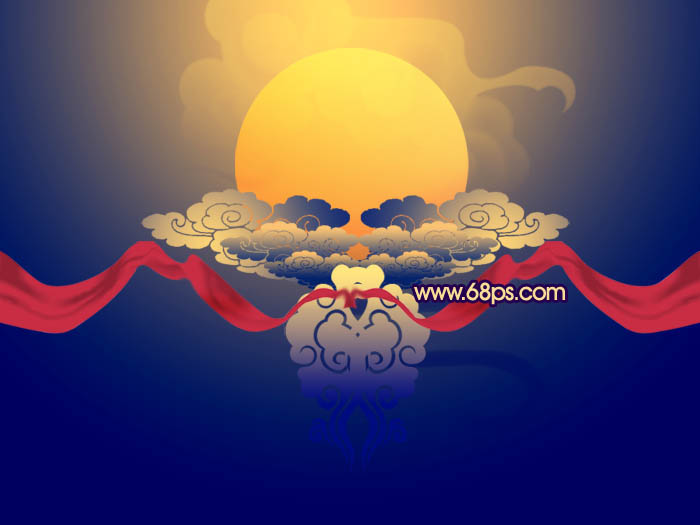
图13
9、新建一个图层,用椭圆选框工具拉出下图所示的椭圆选区,按Ctrl + Alt + D 羽化120个像素后拉上同上的线性渐变。

图14
10、打开古松素材,拖进来放好位置。用加深工具把底部稍微加深,顶部用减淡工具涂亮,效果如图15。

古松素材
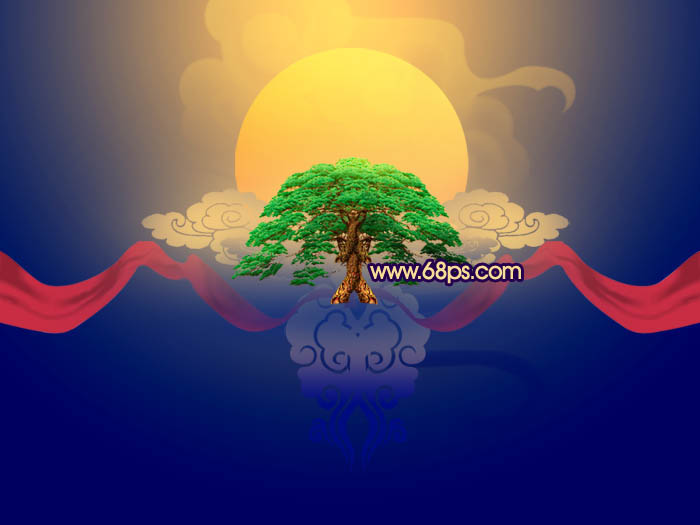
图15
11、加入仙鹤素材,拖进来,调整好位置和大小,效果如下图。


图16
12、加入荷花素材,调整好明暗,效果如图17,18。

荷花素材

图17
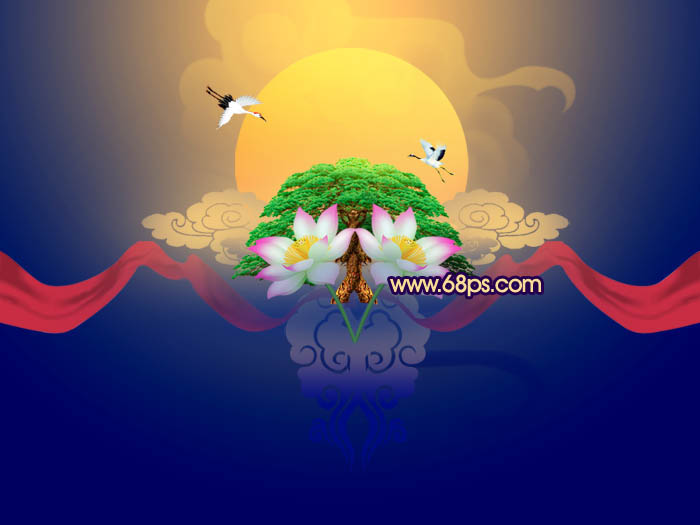
图18
13、加入红色灯笼调整好大小,效果如下图。

灯笼素材

图19
14、创建色彩平衡调整图层,调整高光颜色,参数设置如图20,效果如图21。
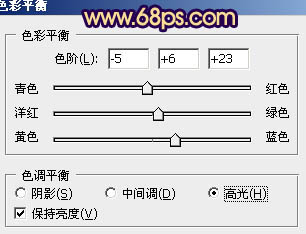
图20
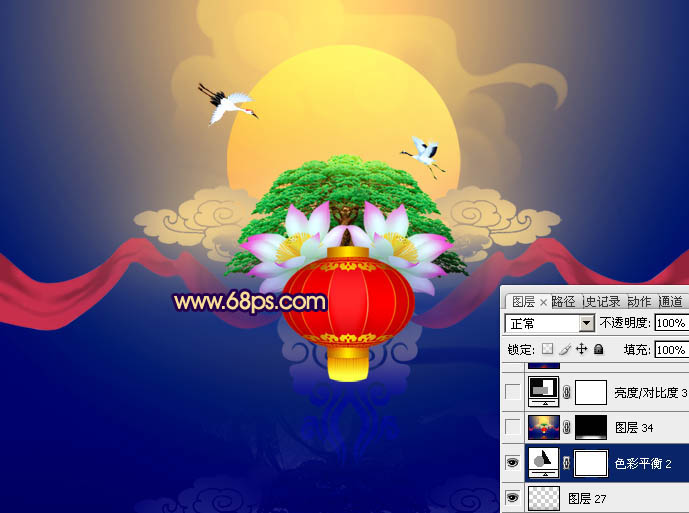
图21
15、新建一个图层,按Ctrl + Alt + Shift + E 盖印图层,用水之语滤镜加深水纹倒影(这款滤镜需要去网上下载,这是必备的滤镜外挂,建议安装,本站也有下载:Flood 104水波倒影滤镜),效果如下图。
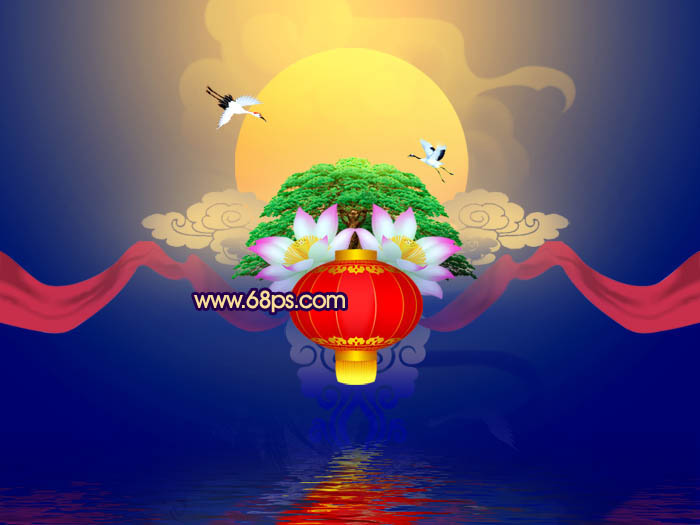
图22
16、创建亮度/对比度调整图层,参数设置如图23,效果如图24。
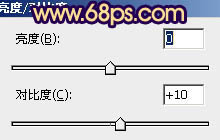
图23
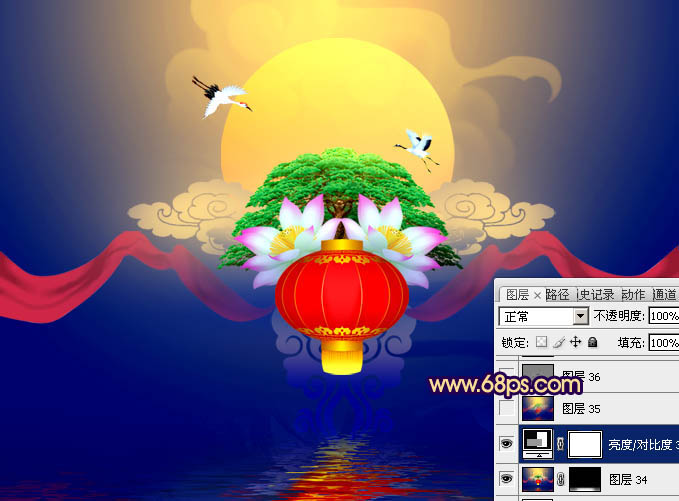
图24
17、再微调一下整体颜色,效果如下图。
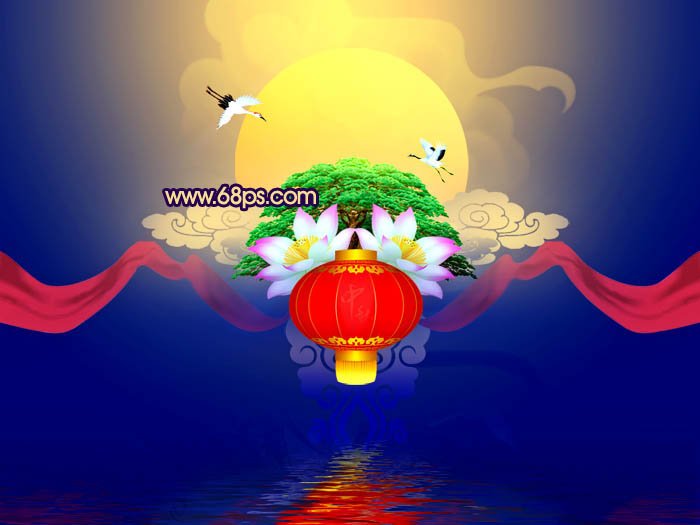
图25
18、加上文字和简单的花纹装饰,大致效果如下图。

图26
19、画面底部还有点空,需要再装饰一些素材。打开花瓣素材,随意加上一下花瓣,再调整好明暗,过程如图27,28。

花瓣素材
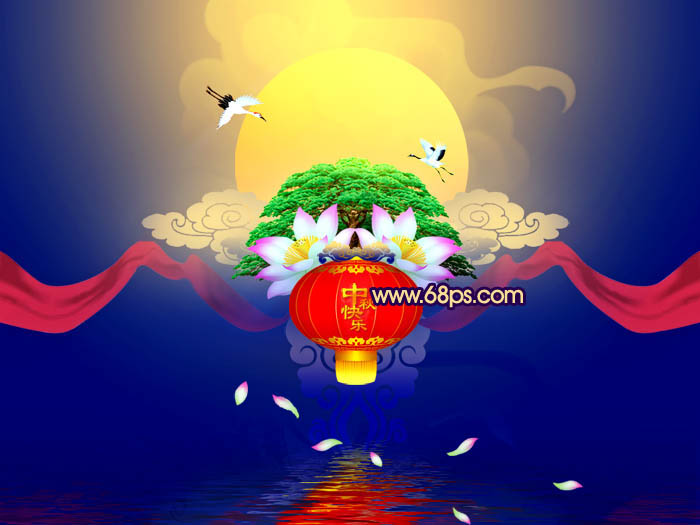
图27
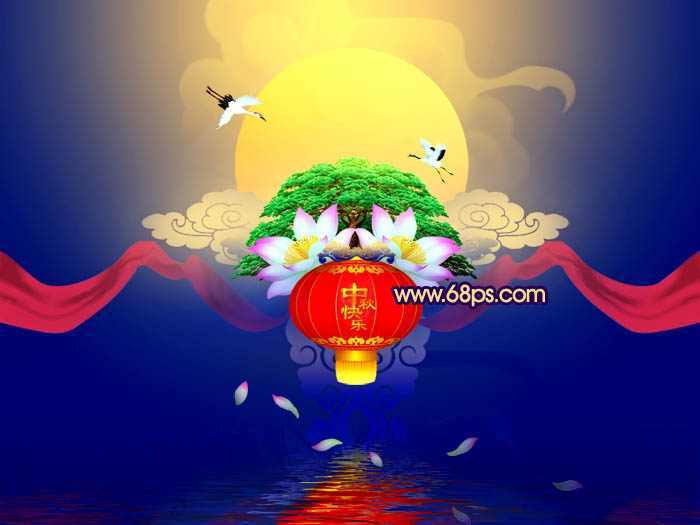
图28
最后调整一下细节,完成最终效果。
最终效果
在学习中遇到问题可以到 论坛PS求助版块 发贴求助!


