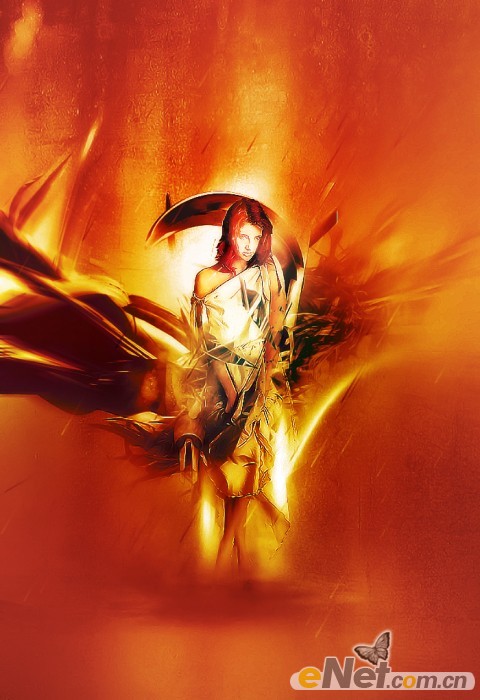
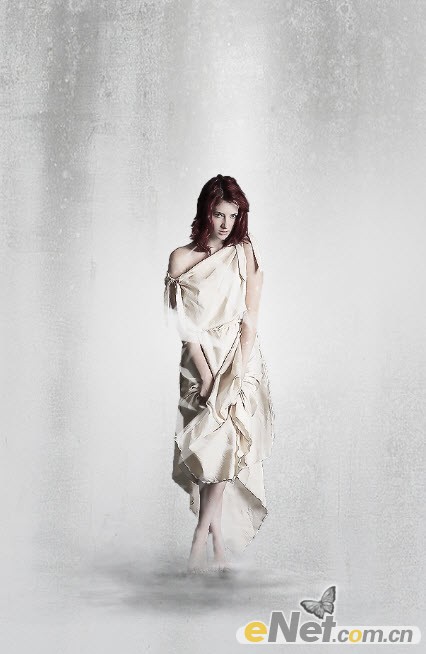
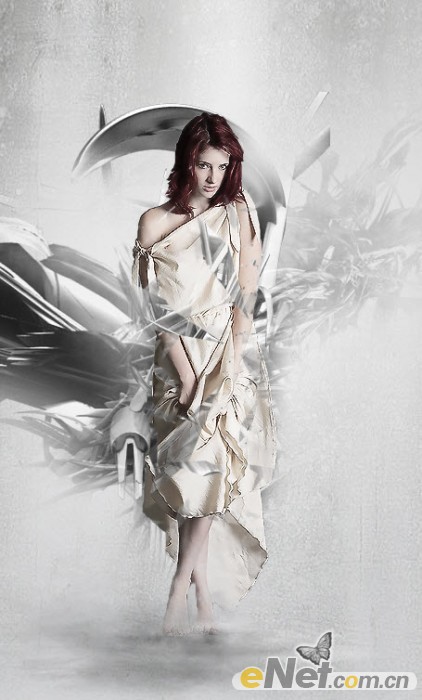
先看一下最终效果:
1.新建一个文件大小为700*1200像素,默认颜色。将“墙面纹理”图片打开,使用“矩形工具如下图选择。

将框选的部分复制并粘贴到新建的文件上,使用“自由变换“调整到新建图片大小

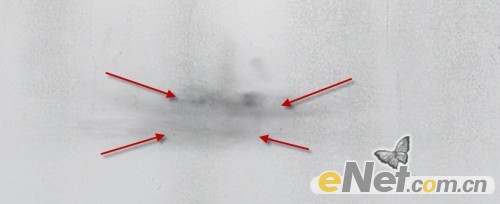
创建一个新的层,使用黑色软角笔刷,设置不透明度与流量为40%左右,在画布的最底层绘制如下图所示的黑斑,作为地面
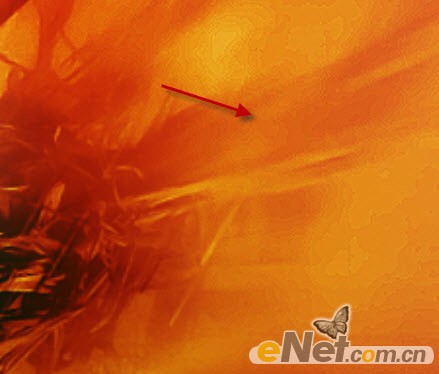
使用“橡皮擦“工具设置不同的透明度,在图片的右侧涂抹,制造出照明的效果
(本文来源于图老师网站,更多请访问http://m.tulaoshi.com/ps/)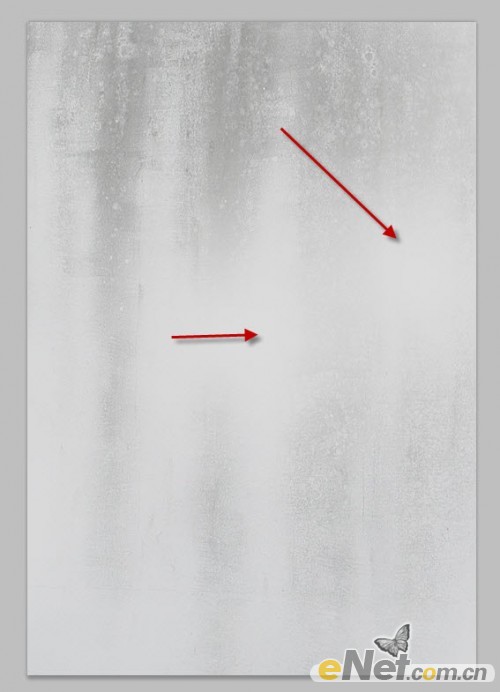
完成后效果如下

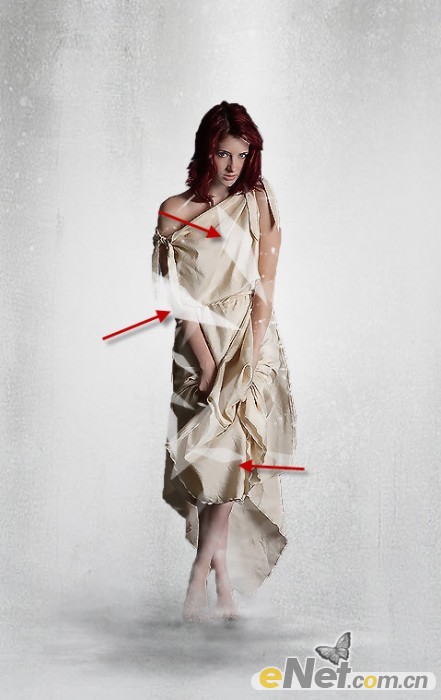
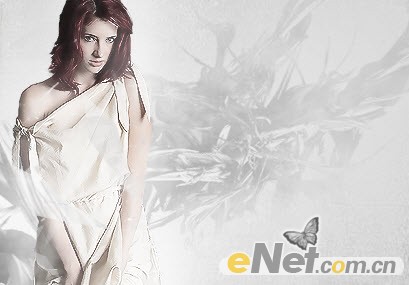
2.打开一张美女照片,并将她抠选下来,复制到我们制作的背景上,新抠的人物模型边缘很硬,需要修改,给人物图层添加“蒙版“使用“橡皮擦“工具,按图所示涂抹,记住适当调整不透明度。
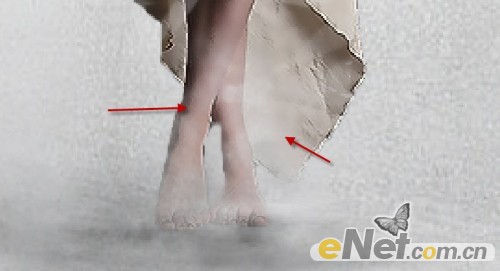
使用云雾刷,在人物的脚下涂抹,制作云雾效果,这时笔刷流量和不透明度为40%左右
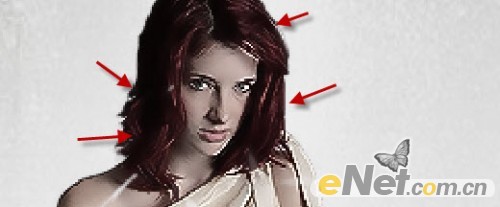
使用“橡皮擦“工具,调整大小3px,硬度95%,顺着头发涂抹
 123第二页
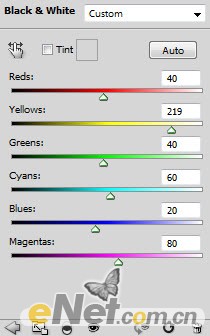
点击图层面板下方的“创建新的图层或调整图层”选择
黑白
曲线
色阶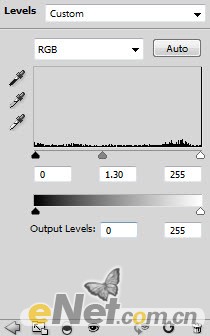
设置完后,得到如下效果
3.打开扭曲的3D纹理,并用矩形工具选取一部分
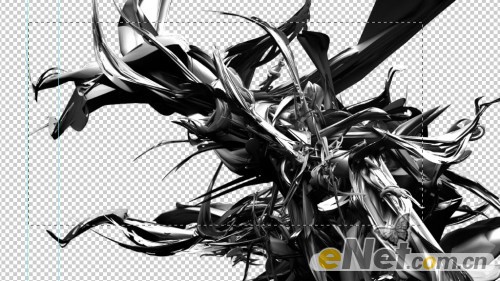
复制粘贴到画布上,使用自用变换工具调整大小及方向,放在人物层下方,如图所示
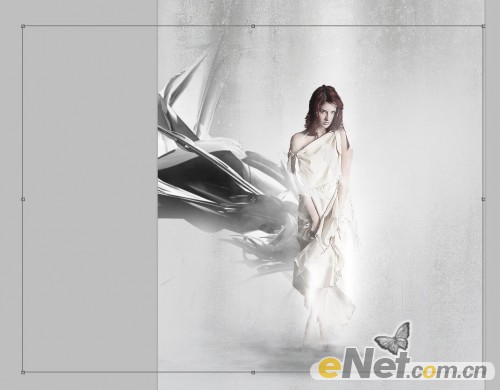
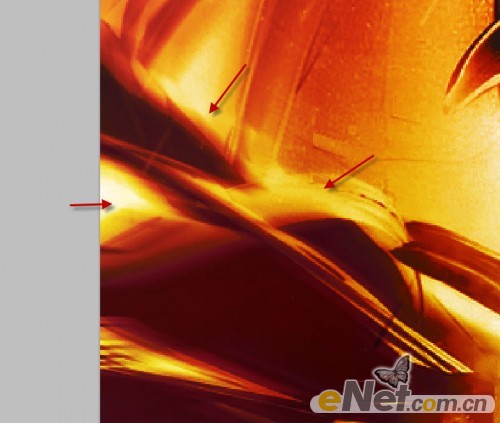
用大点的软角画笔,擦去灯光太亮的部位
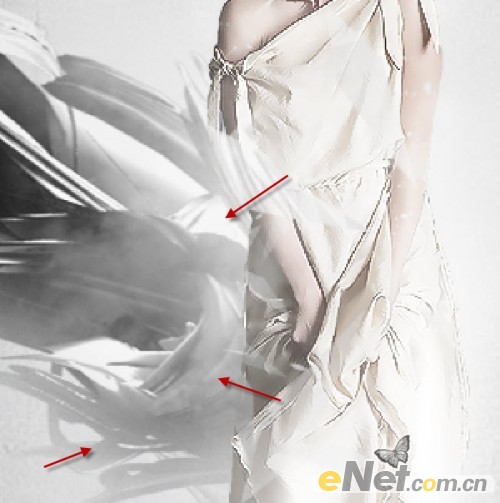
使用云笔刷,设置流量与不透明度为40%,在图示部分制作云雾缭绕的效果
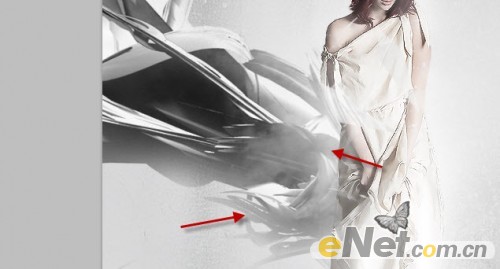
和上面同样的方法,在另一面也制作出同样的效果

将图层不透明度设置为60%得到如下效果
123第三页
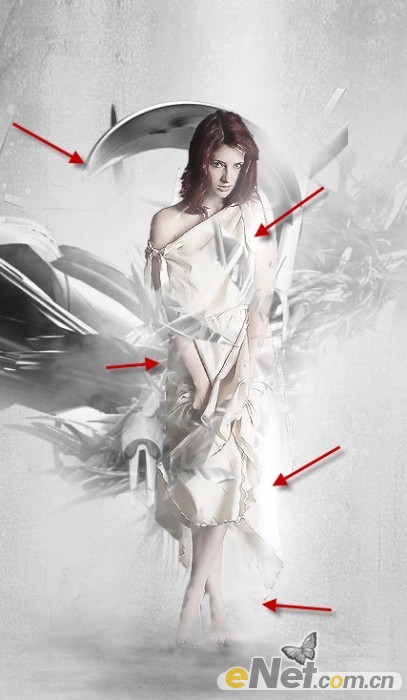
4.将扭曲的3D纹理,复制粘贴到画布上,如图所示。按住CTRl键,用鼠标左键点击人物图层调出选区
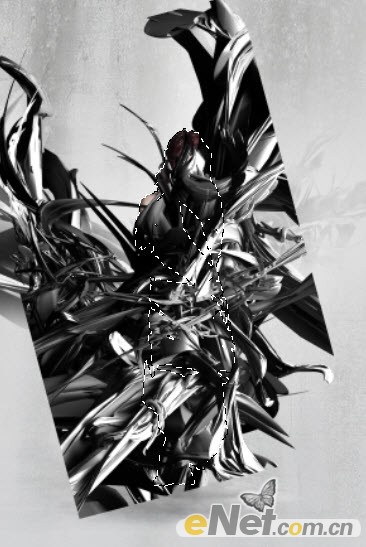
在选择到新粘贴的3D纹理图层上,选择菜单上的“编辑清除“,人物就会显现出来
给图层添加图层蒙版,用画笔工具将便用抹掉
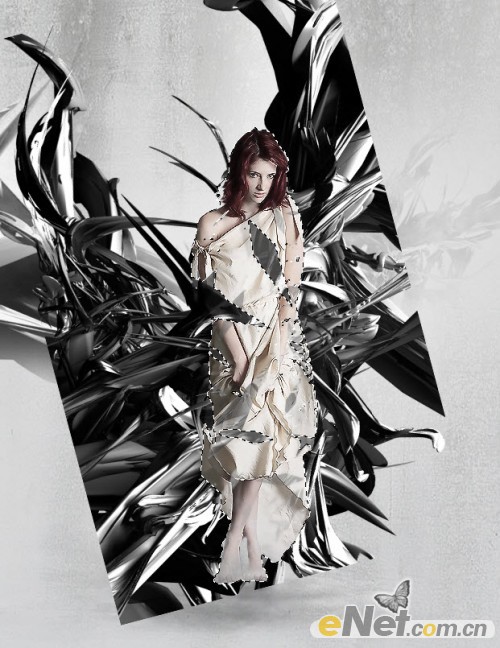
得到如下效果
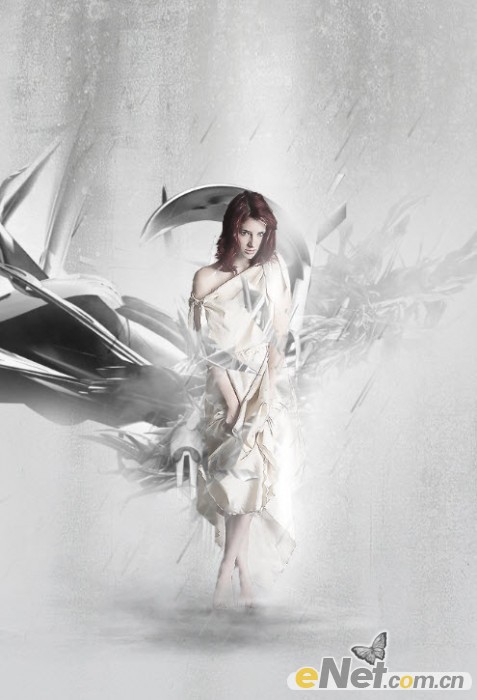
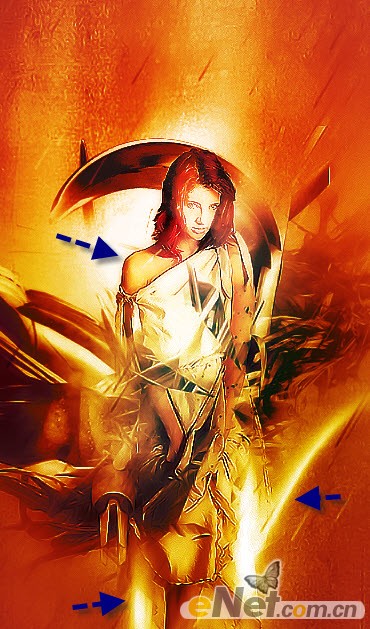
用雨笔刷如图添加一些下雨效果

使用白色软笔刷,刷出一些灯光效果,适当调整不透明度
下面看一效果
到这里基本就算完成了,剩下的就是调整图层填充颜色,你可以更具需要调处喜欢的颜色,下面使用径向模糊。
(本文来源于图老师网站,更多请访问http://m.tulaoshi.com/ps/)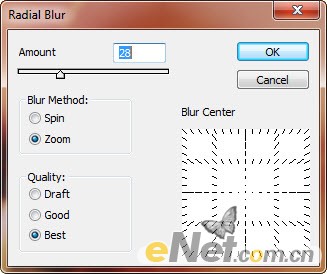
使用“动感模糊”,做一个深黄色的渐变,并设置混合模式为“叠加“。并在扭曲的纹理上添加一些光,用软角笔刷,并设置不透明度为30%左右
新建层,在图中用画笔工具,添加一些高亮线条,并设置不透明度为40-60%,起到高光的效果
得到最终效果