步骤1:
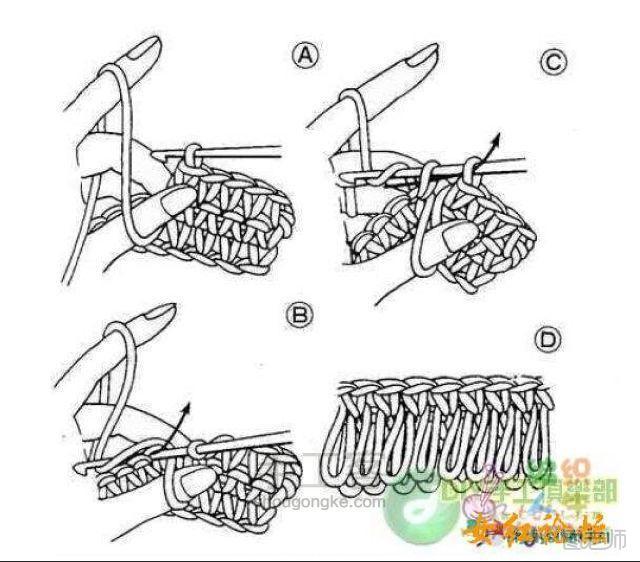
网上找的萝卜丝花的图解、看不懂的最好去搜视频看!
步骤2:

头部:(注意每隔一行就要钩萝卜丝花)1、环起6针短针!2、每针都加(12针萝卜丝花)3、隔一针加一针(18针短针)4、隔两针加一针(24针萝卜丝花)5、隔三针加一针(30针短针)6、隔四针加一针(36针萝卜丝花)7、隔五针加一针(42针短针)8、不加不减(42针萝卜丝花)9、不加不减(42针短针)10、不加不减(42针萝卜丝花)11、不加不减(42针短针)12、不加不减(42针萝卜丝花)13、不加不减(42针短针)14、隔五针减一针(36针萝卜丝花)15、隔四针减一针(30针短针)16、隔三针减一针(24针萝卜丝花)17、隔两针减一针(18针短针)填棉花18、隔一针减一针(12针短针)不钩萝卜丝花19、每针都减(6针短针)不加萝卜丝花收口缝合、留长线!
步骤3:

填棉!
步骤4:

头部完成!
步骤5:
(本文来源于图老师网站,更多请访问http://m.tulaoshi.com/bianzhi/)
天线:(绿色线)1、环起6针2、每针都加(12针短针)3、隔一针加一针(18针短针)
步骤6:

4、立一针锁针后连续钩3短针、翻转织片、再立一针锁针、不加不减钩3短针、一共钩6行、留长线!
步骤7:

步骤8:

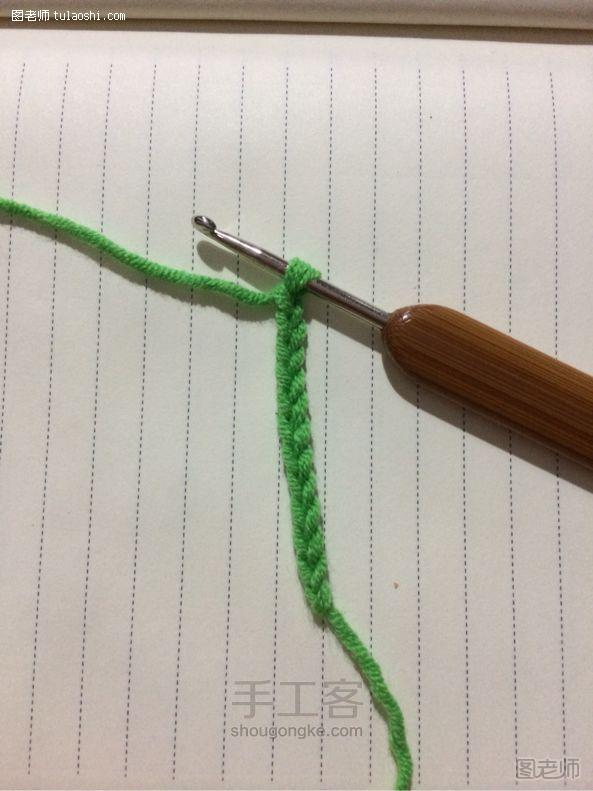
身体起始处、起11针锁针、立一针、如图钩短针、一共24针!
步骤9:
步骤10:

身体:(绿色线)1、起针11针锁针、立一针锁针、钩一圈短针、一共24针短针2、v x x x x x x x x x v v v x x x x x x x x x v v(30针)3、v x x x x x x x x x x v x v x v x x x x x x x x x x v x v x(36针短针)4、v x x v x x x x x x x x x x v x x v x x v x x x x x x x x x x v x x v(42针短针)5、x x x v x x x x x x x x x x x x v x x x v x x x v x x x x x x x x x x x v x v x v(48针短针)6-15、不加不减(48针短针)留长线
步骤11:
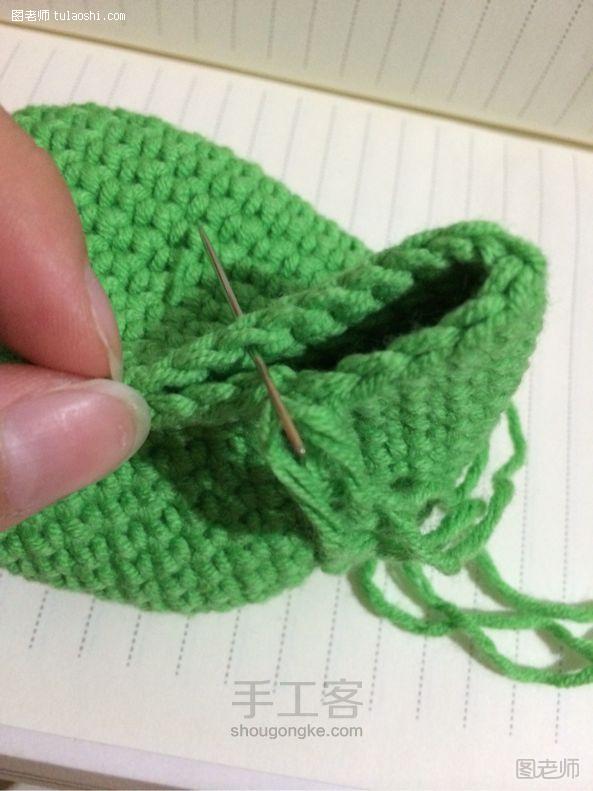
钩脚:第15行钩完后做引拔、然后换大头针缝、往右数11针缝合起来!
步骤12:
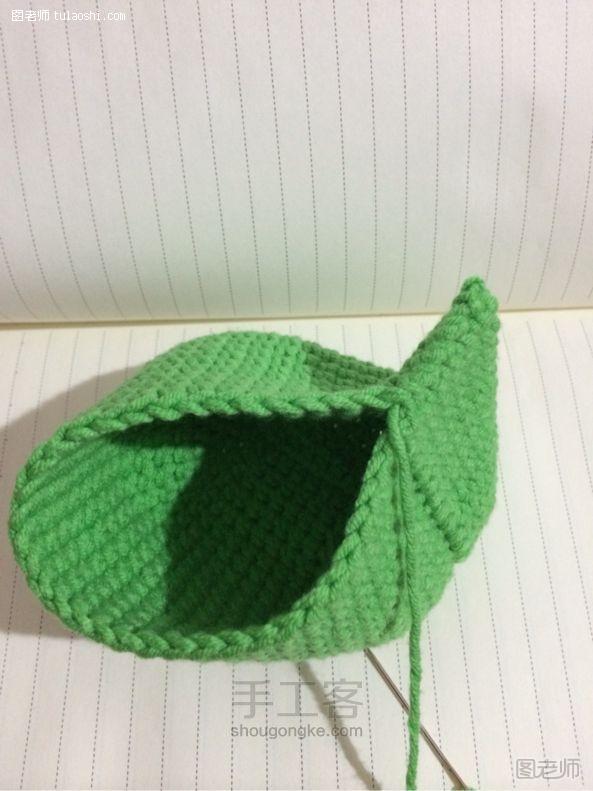
缝合如图、
步骤13:

在15行引拔针的地方往左数11针、同样缝合!
步骤14:
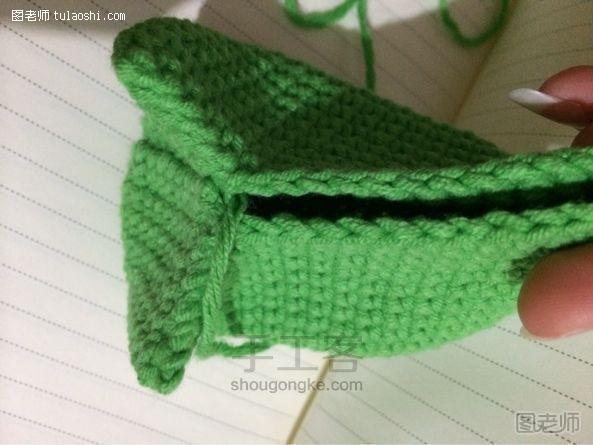
步骤15:

如图缝合4针!
步骤16:

填棉花!
步骤17:

如图取中间点!
步骤18:

拉紧、然后同上缝合、呈4只脚!
步骤19:

看似胖胖的身体^_^
步骤20:

把头缝在身体上!
步骤21:
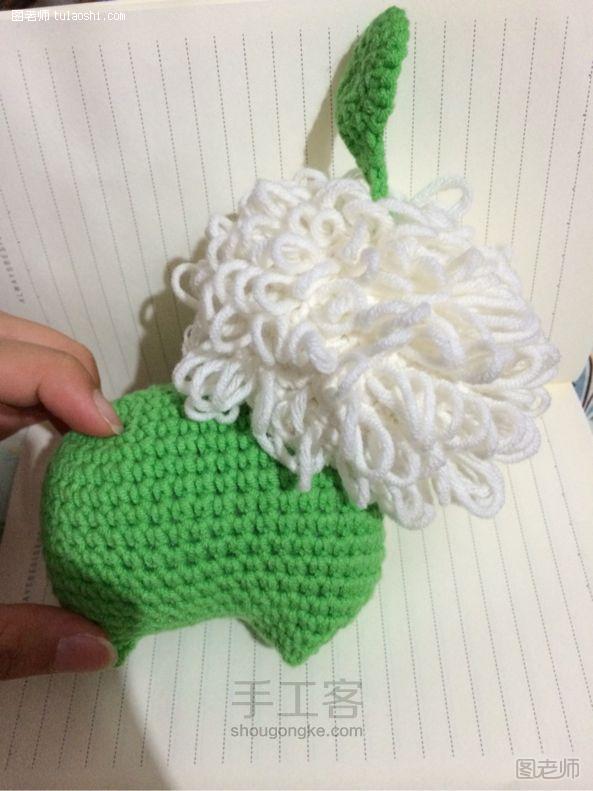
缝天线!
步骤22:
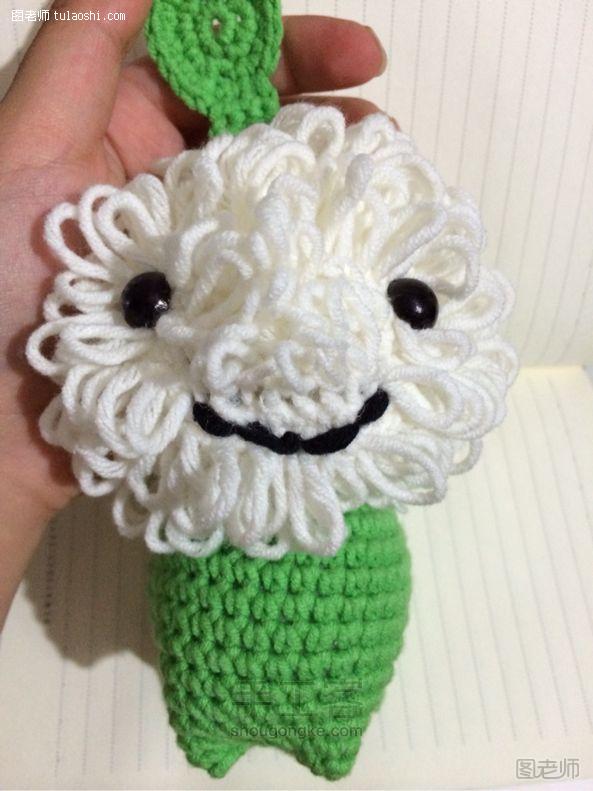
缝眼睛、缝嘴巴!(听起来好恐怖、缝眼睛又缝嘴巴的哈哈)
步骤23:

完成!
步骤24:
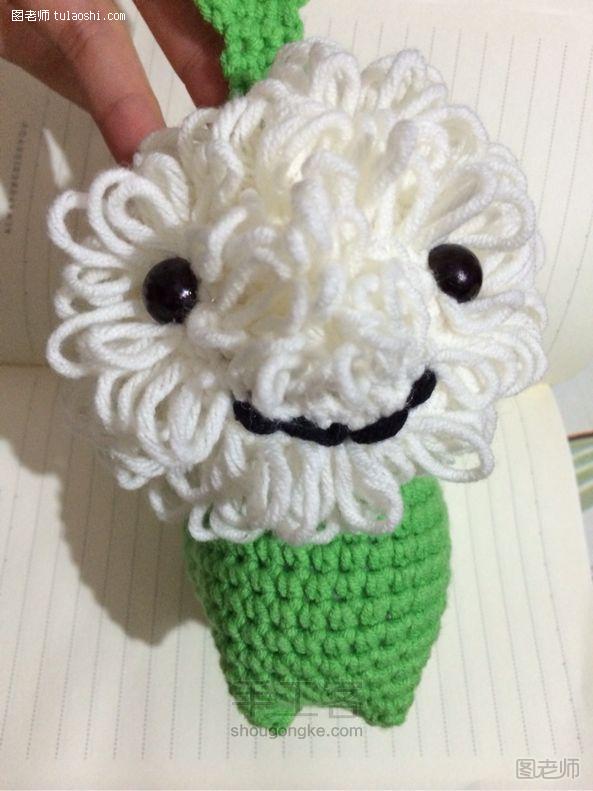
笑一个!
步骤25:
(本文来源于图老师网站,更多请访问http://m.tulaoshi.com/bianzhi/)
步骤26:
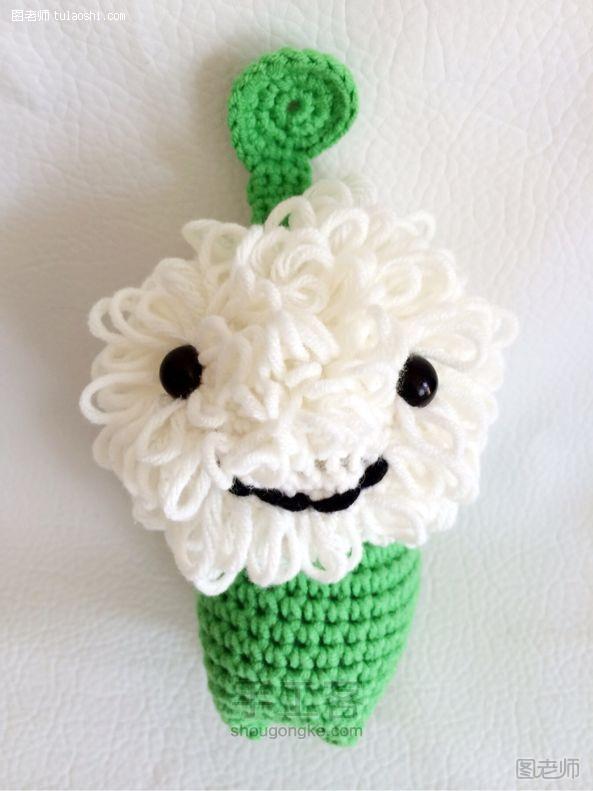
喜欢我么!
延伸阅读:
手工制作无害橡皮泥小技巧
橡皮泥是小朋友里面玩的比价多的一种玩具,但是外边买的一些橡皮泥总是有难闻的气体,今天小编给大家带来的是自己动手制作一个橡皮泥的小教程。安全又实用,让小朋友玩的开心,家长放心哦!
1.平底锅放水300g ,盐325g加入水中搅至溶解,将300g面粉,2茶匙醋,2汤匙植物油,少量食物色素或其他无毒染料加入,并搅拌均匀;
2.将平底锅放在炉上,使用最低温炉火加热,不断搅拌,直到变得颜色均匀,面团黏稠;
3.从平底锅刮起面团放于干净容器内,待完全冷却后再开始揉面团;
4.最后将揉好的面团装进密封容器或者塑料袋,放入冰箱冷藏,12小时后就可以拿出来玩耍了。
如果家里有小宝贝喜欢玩橡皮泥的,可以自己动手做一下,也可以带小宝贝一起动手试试哦!


