步骤1:

喜欢就点赞收藏关注我吧
步骤2:

重中划开不到底
步骤3:
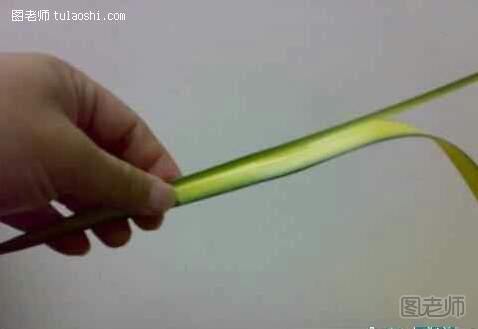
把梗弯起来夹在两片叶子中间
步骤4:
(本文来源于图老师网站,更多请访问http://m.tulaoshi.com/bianzhi/) (本文来源于图老师网站,更多请访问http://m.tulaoshi.com/bianzhi/)
步骤5:

两边各编制一扣
步骤6:
 (本文来源于图老师网站,更多请访问http://m.tulaoshi.com/bianzhi/)
步骤7:
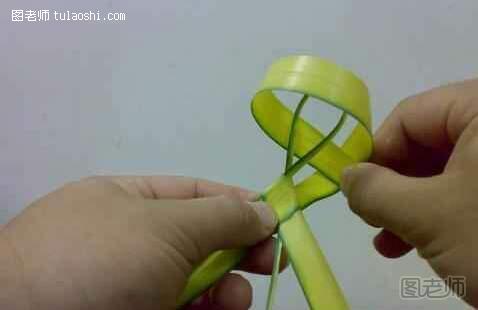 (本文来源于图老师网站,更多请访问http://m.tulaoshi.com/bianzhi/)
步骤8:
 (本文来源于图老师网站,更多请访问http://m.tulaoshi.com/bianzhi/)
步骤9:

在上边加上两片细的叶子
步骤10:

各编四扣
步骤11:
 (本文来源于图老师网站,更多请访问http://m.tulaoshi.com/bianzhi/)
步骤12:
 (本文来源于图老师网站,更多请访问http://m.tulaoshi.com/bianzhi/)
步骤13:
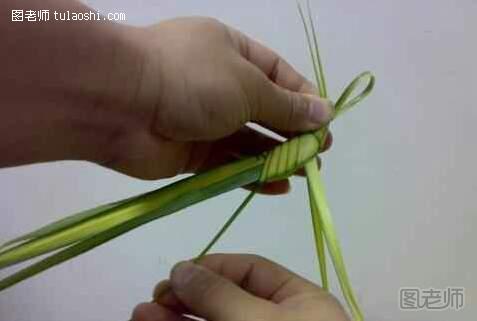
右手把梗拉紧
步骤14:
 (本文来源于图老师网站,更多请访问http://m.tulaoshi.com/bianzhi/)
步骤15:
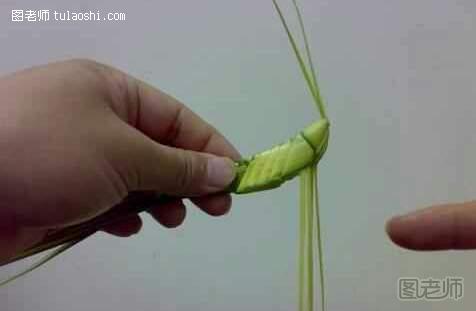 (本文来源于图老师网站,更多请访问http://m.tulaoshi.com/bianzhi/)
步骤16:
 (本文来源于图老师网站,更多请访问http://m.tulaoshi.com/bianzhi/)
步骤17:
 (本文来源于图老师网站,更多请访问http://m.tulaoshi.com/bianzhi/)
步骤18:
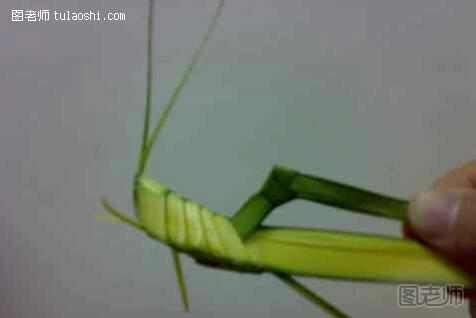
打结
步骤19:

修整
步骤20:

喜欢就点赞收藏关注我吧
延伸阅读:
有关制作羊毛毡的技巧(二)
1.怎么样把毛毡的小物和手机链之类的链接呢?
一般用锥子扎穿毛毡小物,乘毛毡还有没有合拢的时候,把9字针迅速穿过小物,尽量往里面推,然后把穿透的9字针的另一端用钳子夹弯,最后推拉一下9字针,这样让针的倒钩和毛毡搅在一起。把针弄好之后,就用手指搓揉一下,这样就行了。
2.一般做的时候用神马样的胶水呢?
我推荐用的就是那种普通的手工白胶。因为这种胶水不像502这样有腐蚀性,也不会像热熔胶有残留物。用的白胶之后,再用针扎几下这样就万无一失啦。
3.毛茸茸的好像很容易沾灰的样子,怎么样保持毛毡小物的清洁呢?
不用担心的哦,毛毡是不吸水的,所以不大会有浸渍的污垢,如果有灰觉得脏的话,可以用干净的布头掸一下。千万不要把毛毡的小东西浸泡到水里哦,所以洗衣服前一定要看看不要有什么遗漏了。但是如果是湿毡的话,经过的毡化的工序,湿毡就可以和普通的东西一样清理了。
4.怎么样才不会把针弄断呢?
我敢脚针真的很容易在你一不小心的时候就断了。所以大家一定要小心啊,关键是要尽量垂直下针,不管扎什么样的形状,都要让自己的针式直着扎下去哒。


